


11
English
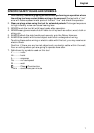
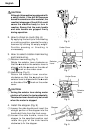
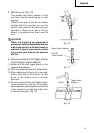
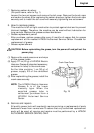
7. How to install tool
CAUTION: For tools such as a drill bit and a bull point, use only Hitachi genuine
parts.
(1) Clean, then smear the tool shank with
the grease provided in the green tube.
(2) Pull the tool holder in the direction of
arrow 1 and rotate it in the direction of
arrow 2 (counterclockwise). Fully insert
the tool shank into the hexagonal hole
of the front cover. (Fig. 3)
(3) Return the tool holder to fix the tool.
NOTE: Remove in the reverse order to
installation.
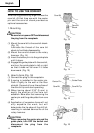
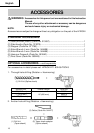
8. Regulating the number of rotations
and hammering (Fig. 4)
This rotary hammer is equipped with a
built-in electronic control circuit that can
adjust and regulate the number of
rotations and times of hammering. This
hammer drill can be used by adjusting
the dial, depending upon the contents
of operation, such as boring holes into
fragile materials, chipping, centering,
etc.
The scale ‘1’ of the dial is designed for a minimum speed with the number of 180
rotations per minute and 1,400 times of blow per minute. The scale ‘5’ is designed
for a maximum speed with the number of 360 rotations per minute and 2,800
times of blow per minute.
CAUTION:
Do not adjust the dial during operation. Doing so can result in injury because
the rotary hammer must be held by only one hand, disabling the steady control
of the rotary hammer.
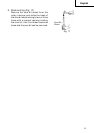
HOW TO USE
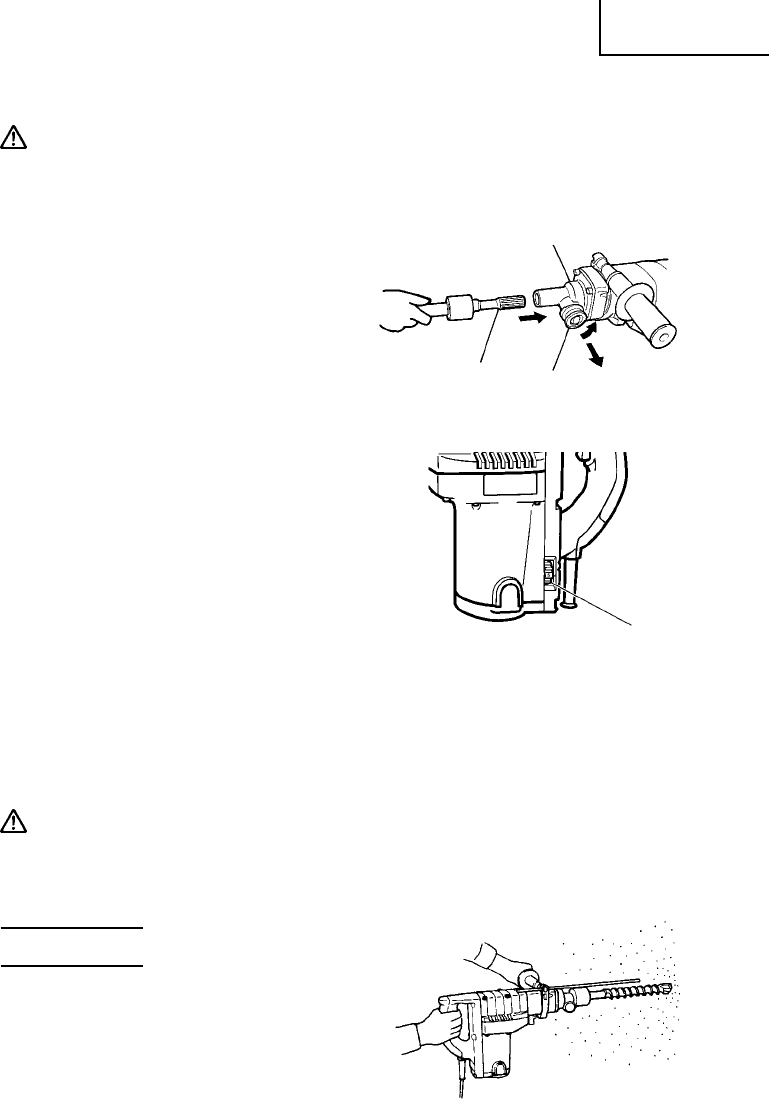
1. How to drill holes (Fig. 5)
(1) Pull the switch trigger after applying the
drill bit tip to the drilling position.
(2) It is unnecessary to forcibly press the
rotary hammer main body. It is sufficient
to slightly press the rotary hammer to
an extent that clips are freely
discharged.
Dial
Fig. 4
Front Cover
Tool Shank
Fig. 3
Tool Holder
Fig. 5
1
2