— 12 —
English
CHARGING METHOD
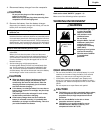
NOTE: Before plugging into the receptacle, make sure the
following points.
⅜ The power source voltage is stated on the
nameplate.
⅜ The cord is not damaged.
WARNING
ⅷ Do not charge at voltage higher than indicated on
the name plate.
If charged at voltage higher than indicated on the
nameplate, the charger will burn up.
ⅷ Do not use the electrical
cord if damaged. Have it
repaired immediately.
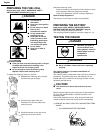
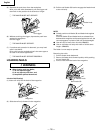
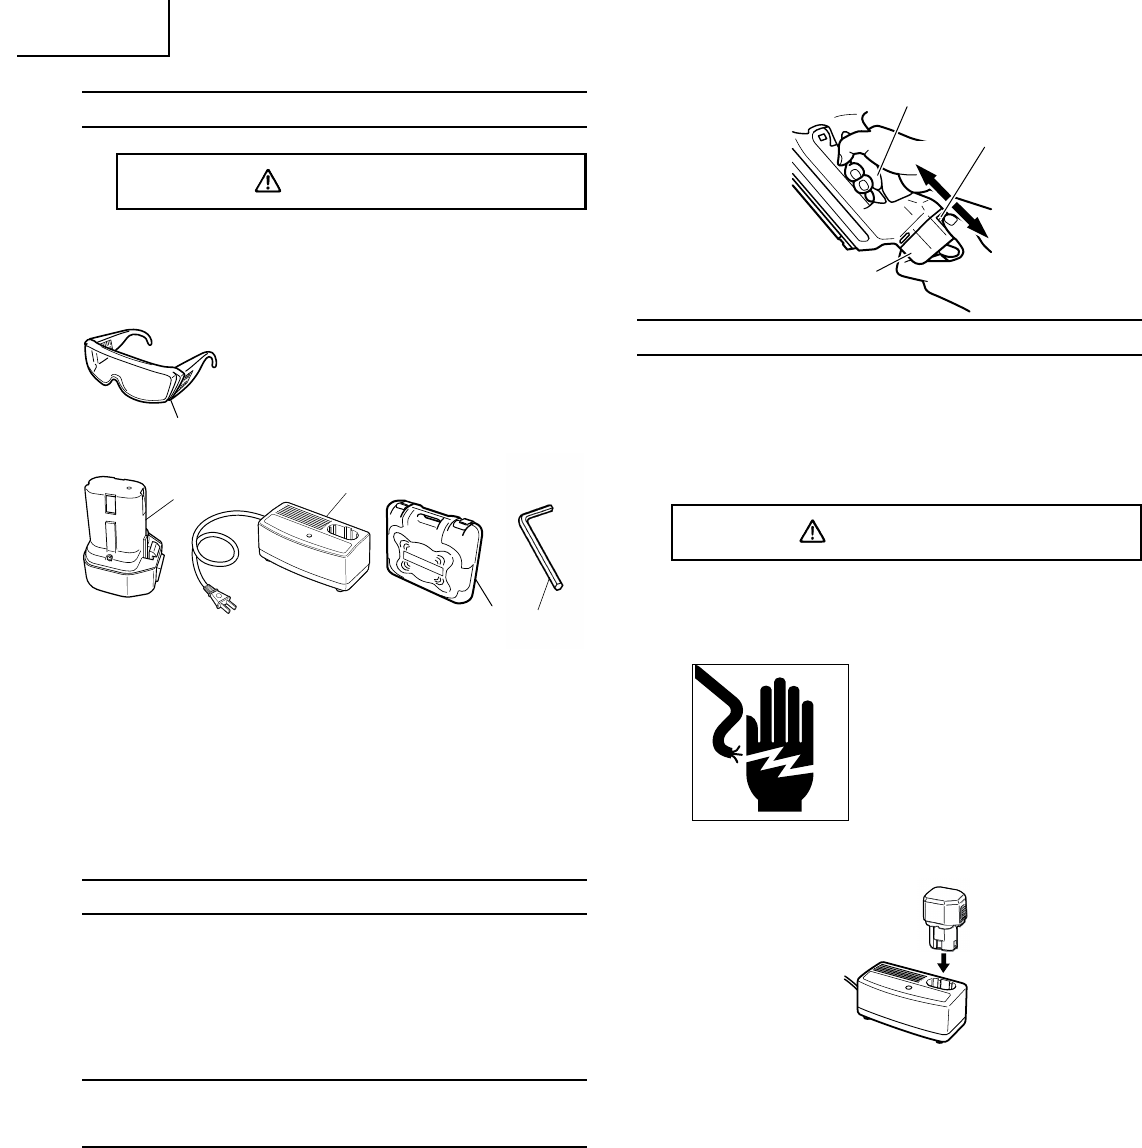
1. Insert the battery into the battery charger. Make sure it
contacts the bottom of the battery charger.
2. Insert the plug of battery charger into the receptacle.
3. Charging
⅜ When the plug of battery charger has been inserted
into the receptacle, charging will commence and the
pilot lamp will light on.
NOTE: If the pilot lamp does not light, pull out the plug
from the receptacle and check if the battery is
properly mounted.
⅜ In approx. 60 min. at 70°F (20°C), when the battery is
fully charged, the pilot lamp will go out.
NOTE: The battery charging time becomes longer when
a temperature is low or the voltage of the power
source is too low.
When the pilot lamp does not go off even if more
than four hour has passed after start of the
charging, stop the charging and contact your
HITACHI AUTHORIZED SERVICE CENTER.
OPTIONAL ACCESSORIES
sold separately
⅜ Fuel Cell Code No. 728-980
⅜ Gas Strip Nailer Lubricant
8 oz. (250 cc) oil feeder (Code No. 885-546)
NOTE: Accessories are subject to change without any
obligation on the part of HITACHI.
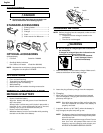
ACCESSORIES
DANGER
ⅷ Accessories other than those shown below can
lead to malfunction and resulting injuries.
STANDARD ACCESSORIES
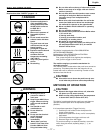
1 Safety glasses............................... 1
2 Battery ........................................... 1
3 Charger ......................................... 1
4 Case ............................................... 1
5 Allen wrench for M5 screw ......... 1
4
2
3
5
1
APPLICATIONS
⅜ Floor and wall framing.
⅜ Truss build-up, Window build-up.
⅜ Subflooring and roof decking.
⅜ Wall sheathing.
⅜ Mobile home and modular housing construction.
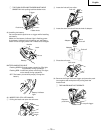
REMOVAL AND INSTALLATION
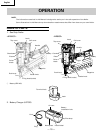
METHOD OF BATTERY
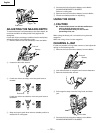
⅜ How to install the battery
Align the battery with the groove in tool handle and
slip it into place.
Always insert it all the way until it locks in place with a
little click. If not, it may accidentally fall out of the tool,
causing injury to you or someone around you.
⅜ How to remove the battery
Withdraw battery from the tool handle while pressing
the latch on the side of the battery.
Pull out
Latch
Handle
Battery
Insert


