


3
IMPACT DRILL SAFETY WARNINGS
1. Wear ear protectors with impact drills.
Exposure to noise can cause hearing loss.
2. Use auxiliary handles supplied with the tool.
Loss of control can cause personal injury.
3. Before drilling into a wall, fl oor or ceiling, thoroughly
confi rm that no items such as electric cables or conduits
are
buried inside.
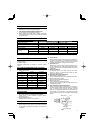
SPECIFICATIONS
Model VTP-16A VTV-16
Voltage (by areas)* (110V, 115 V, 120V, 127V, 220V, 230V, 240V)
Power input 800 W*
Speed change 1 2 3 4
No load speed 700/min 1400/min 0-700/min 0-1400/min
Capacity
Steel 16 mm 10 mm 16 mm 10 mm
Concrete 35 mm 16 mm 35 mm 16 mm
Weight (without cord) 3.8 kg
* Be sure to check the nameplate on product as it is subject to change by areas.
STANDARD ACCESSORIES
(1) Chuck wrench ..............................................................1
(2) Side handle ..................................................................1
(3) Depth stopper ...............................................................1
Standard accessories are subject to change without
notice.
OPTIONAL ACCESSORIES (sold separately)
○ Drill Bit for concrete
O.D Length Code No.
6.5mm 100mm 931851
8.0 100 931852
9.5 120 931853
10.0 120 931854
12.0 160 971704
13.0 160 931855
14.3 160 931776
16.0 160 971670
19.0 160 931856
Optional accessories are subject to change without notice.
APPLICATIONS
○ By combined actions of ROTATION and IMPACT:
Boring holes in hard materials (concrete, marble,
granite, tiles, etc.)
○ By ROTATIONAL action:
Boring holes in metal, wood and plastic.
PRIOR TO OPERATION
1. Power source
Ensure that the power source to be utilized conforms
to the power requirements specifi ed on the product
nameplate.
2. Power switch
Ensure that the power switch is in the OFF position. If
the plug is connected to a receptacle while the power
switch is in the ON
position, the power tool will start
operating immediately, inviting serious accident.
3. Extension cord
When the work area is removed from the power source,
use an extension cord of suffi cient thickness and rated
capacity. The extension cord should be kept as short as
practicable.
4. Fitting the drill bit
Fit
the drill bit into the chuck and use the chuck
wrench to secure it, tightening the chuck by each
of the three holes in turn.
5. Selecting the appropriate drill bit
○ When boring concrete or stone
Use the drill bits specifi ed in the Optional Accessories.
○ When boring metal or
plastic
Use an ordinary metalworking drill bit.
○ When boring wood
Use an ordinary woodworking drill bit.
However, when drilling 6.5 mm or smaller holes, use a
metalworking drill bit.
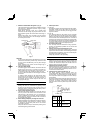
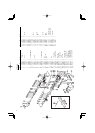
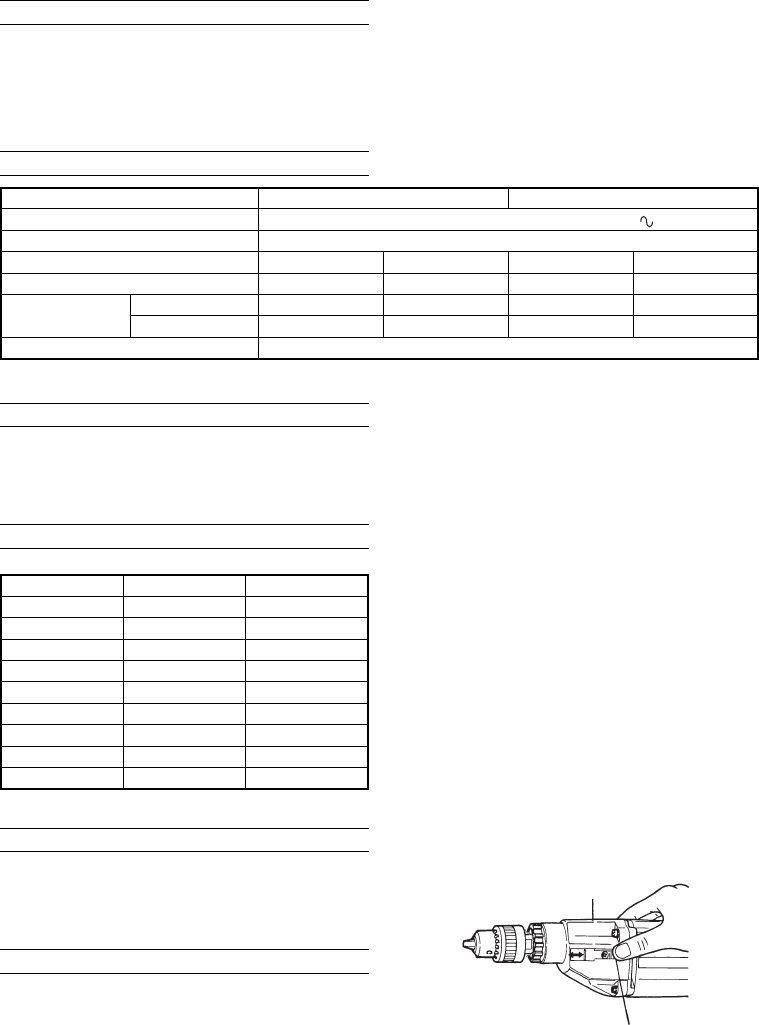
6. High-speed/Low-speed changeover:
Prior to changing speed, ensure that the switch is in
the OFF position, and the drill has
come to a complete
stop. To change speed, depress the shift Iock and
slide it in the appropriate direction, as indicated by the
arrow in Fig. 1. The numeral “1” engraved in the drill
body denotes low speed, the numeral “2” denotes high
speed.
Gear cover
Shift lock
(push and slide)
12
Fig. 1