32
4.6 COOLANT (Continued)
After the unit is drained and a new coolant filter element
is installed, refill the system with fresh coolant. Bring the
receiver level of coolant up to the midpoint of the sight
glass. Replace the fill cap. Start the compressor and run
it for a short time. The correct coolant level is at the
midpoint of the sight glass with the unit running in the
‘UNLOADED” mode.
4.7 SEPARATOR TANK
SCAVENGE SCREEN/ORIFICE
TOOLS REQUIRED
■ Open end wrench
■ Pliers
PROCEDURE
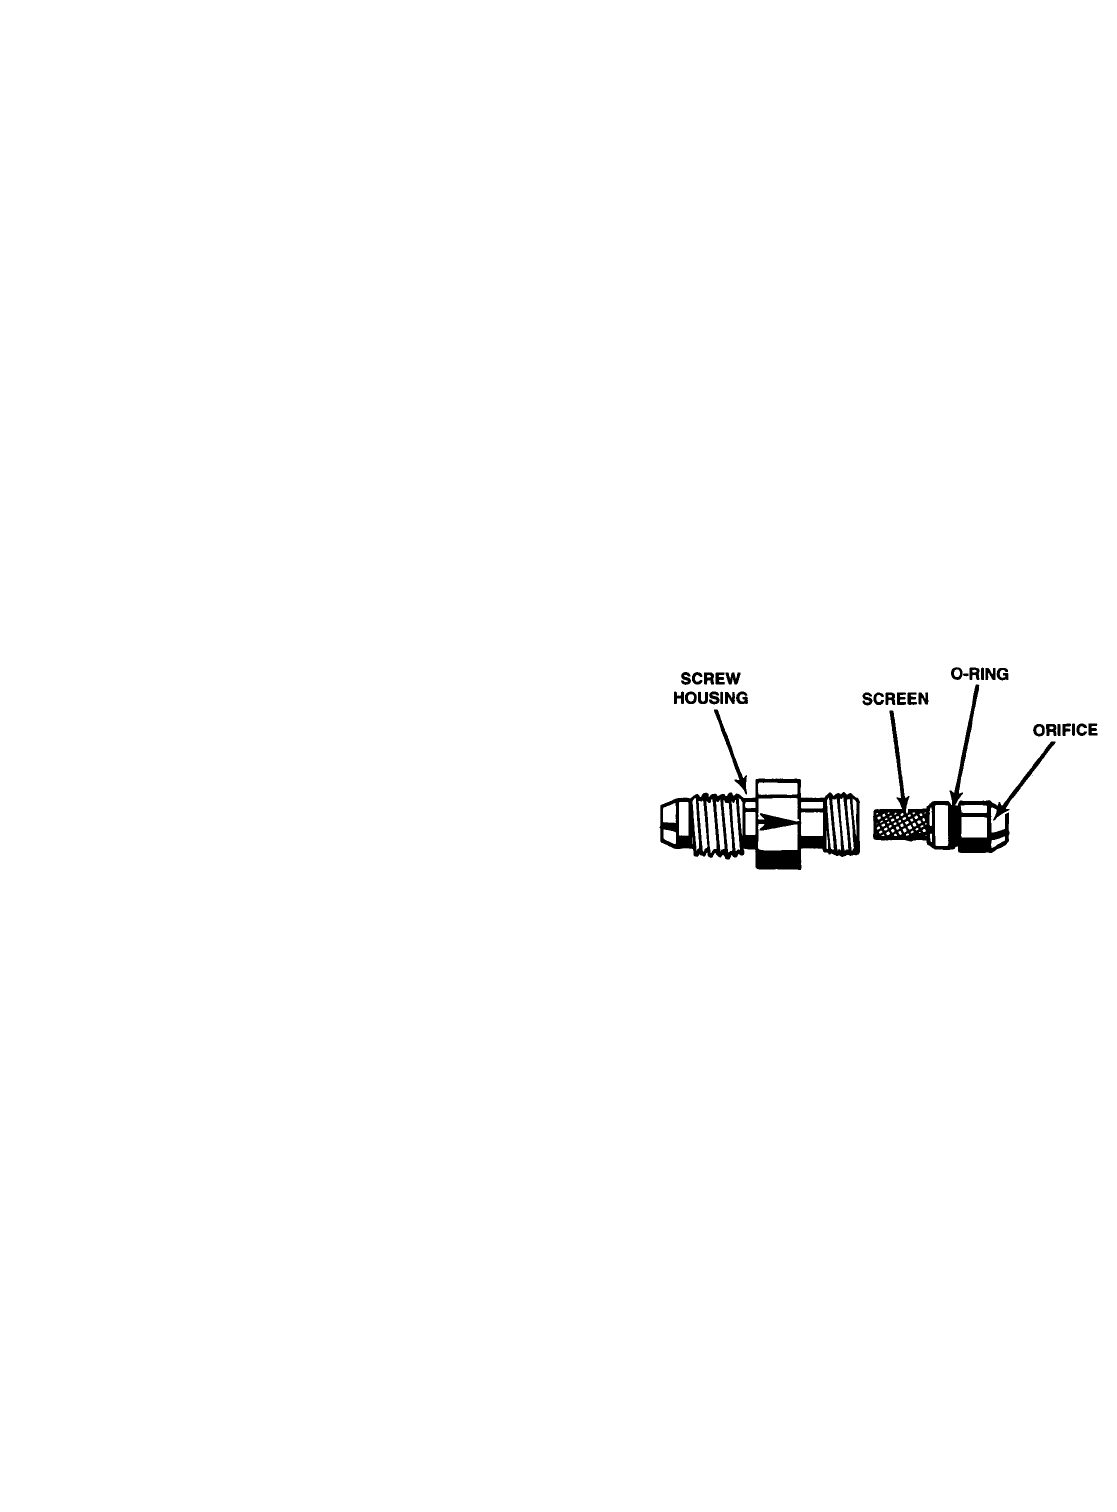
The screen/orifice assemblies are similar in appearance
to a straight tubing connector and will be located
between two pieces of 1/4 inch O.D. scavenge line
tubing.
The main body is made from 1/2 inch hexagon shaped
steel and the diameter of the orifice and a direction-of-
flow arrow is stamped in flat areas of the hexagon.
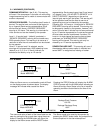
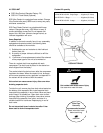
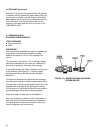
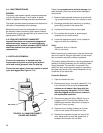
A removable screen and orifice is located in the exit end
of the assembly (See Figure 4.7-1) and will require
cleaning as outlined in the Maintenance Schedule,
Section 4.1.
To remove the screen/orifice, disconnect the scavenge
line tubing from each end. Hold the center section firmly
and use a pair of pliers to gently grasp the exit end of the
assembly that seals against the scavenge line tubing.
Pull the end out of the center section while using care to
prevent damage to the screen or sealing surfaces.
Clean and inspect all parts prior to reinstallation.
When the assembly is installed, confirm the direction of
flow to be correct. Observe the small arrow stamped in
the center section and ensure the direction flow to be
from the separator tank to the airend.
FIGURE 4.7-1 SEPARATOR TANK SCAVENGE
SCREEN/ORIFICE


