13
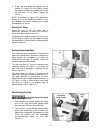
4. If the vise and blade are square but the
pointer (D, Figure 10) is off slightly, loosen
the screw and adjust the pointer until it lines
up with zero on the scale. Tighten the
screw.
NOTE: The handle (A, Figure 10) is adjustable.
Simply lift up on the handle and rotate it on the
pin. Release the handle, making sure it seats
itself properly on the pin.
Setting 45° Stop
Swivel the bow to the 45° angle. Use a
machinist’s protractor or similiar 45° device to
check the blade’s angle to the vise.
If adjustment is needed, loosen the hex nut on
the 45° stop (E, Figure 10) and rotate the screw
as needed with a 10mm wrench. When satisfied,
tighten the hex nut.
Setting Downfeed Rate
The downfeed rate of the blade is important to
band saw performance. Excessive pressure of
blade against the workpiece may break the
blade or stall the saw. In contrast, insufficient
pressure rapidly dulls the blade.
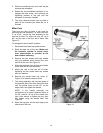
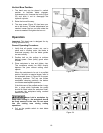
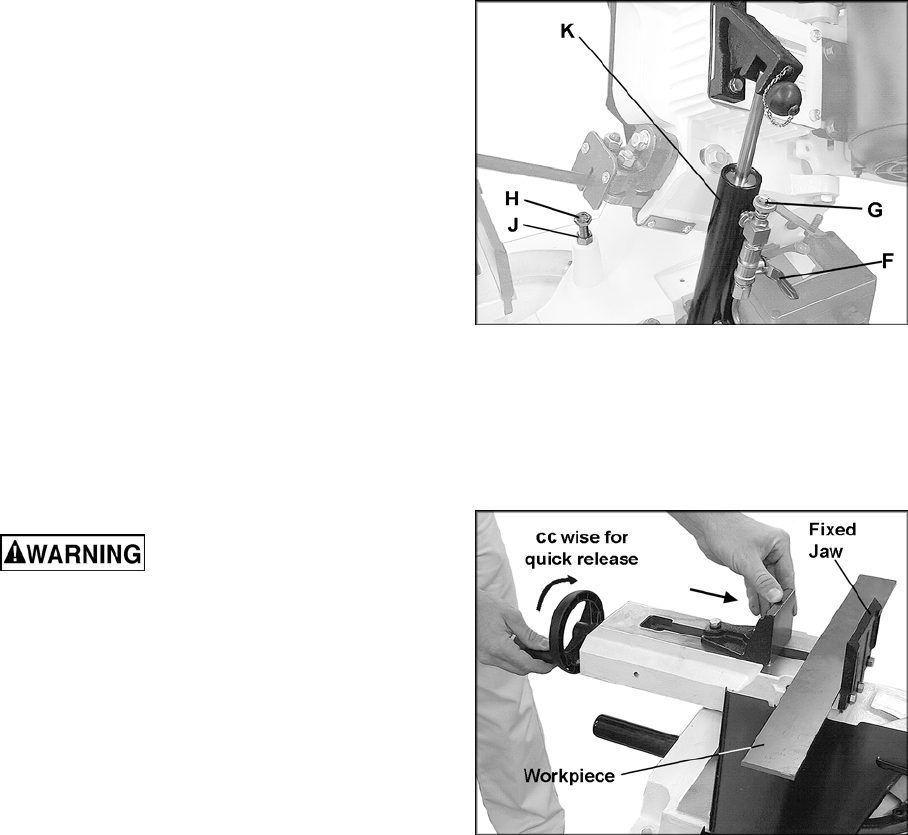
Turn the valve lever (F, Figure 11) parallel to the
hydraulic cylinder (K, Figure 11) to lower the
bow. The rate of downfeed is adjusted by the
dial (G, Figure 11).
The stop screw (H, Figure 11) prevents the
blade from contacting the base after the cut. It
has been adjusted at the factory. If future
adjustment is ever needed, loosen the hex nut
(J, Figure 11) with a 14mm wrench and rotate
the screw (H, Figure 11) as needed, then re-
tighten the hex nut (J, Figure 11).
Positioning the Vise
Keep hands away from blade
while adjusting the vise.
1. The workpiece is placed against the fixed
jaw on the right, which has already been
squared (see “Squaring Vise to Blade”).
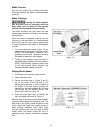
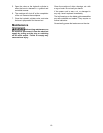
2. The vise has a quick-release feature which
allows fast positioning of the movable jaw
against the workpiece. Disengage the lead
screw by rotating the vise handwheel
counter-clockwise about 1/2 turn. See
Figure 12.
Figure 11
Figure 12


