17
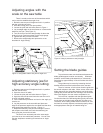
Adjusting blade vertical:
The blade guide bearing seat can rotate as needed to
make the blade vertical to the saw table. Follow these
instructions.
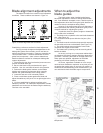
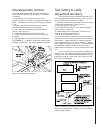
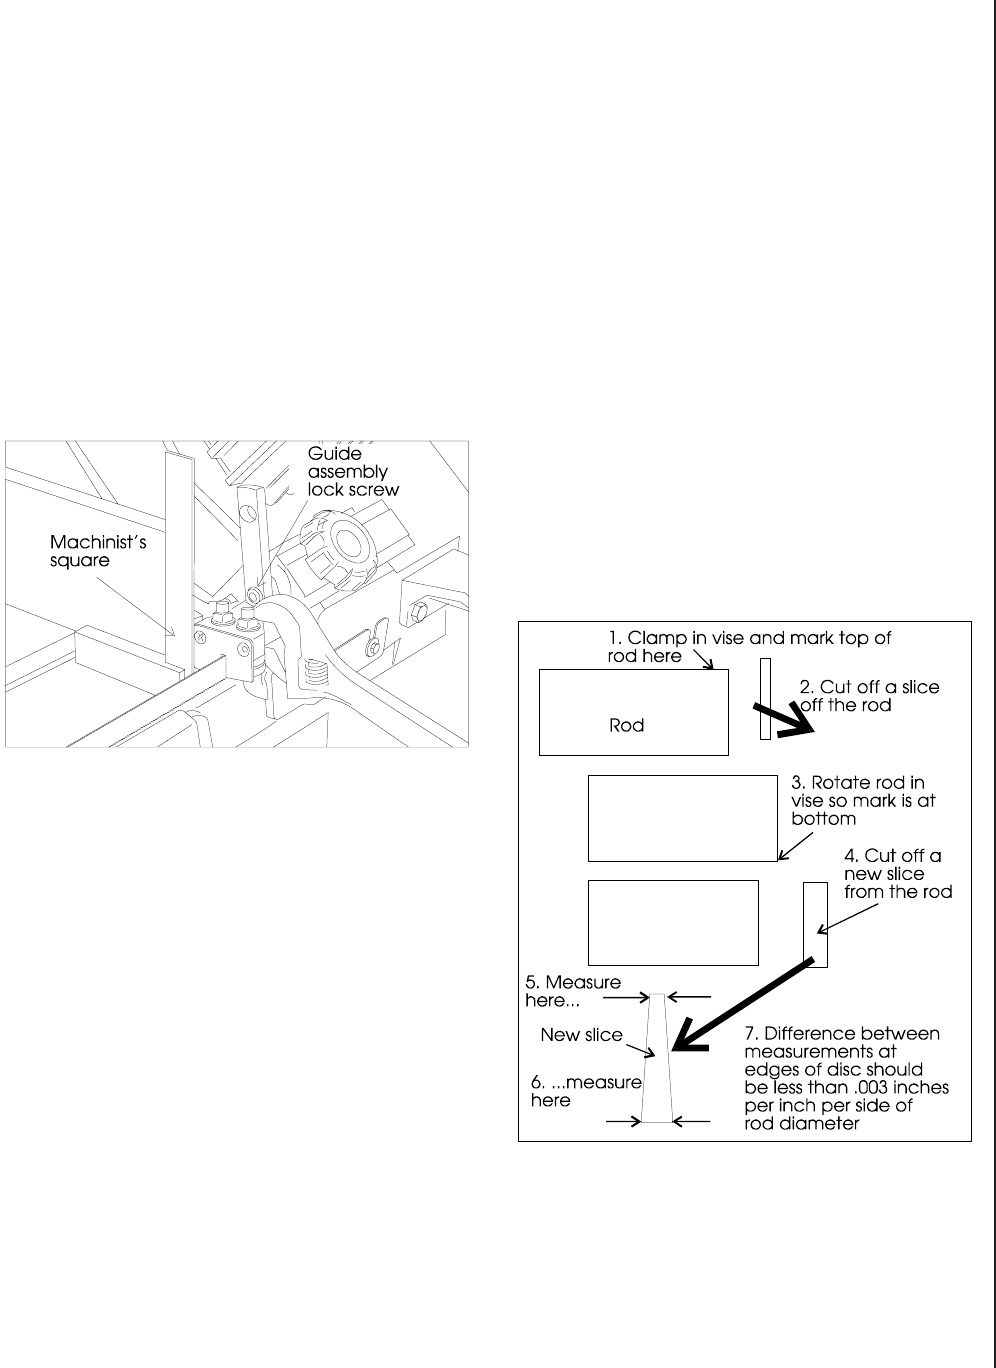
1. With the saw arm in horizontal position, put a
machinists square on the table, and against the blade, as
shown. The blade should be square (vertical) to the table.
If not...
2. Slightly loosen the socket head cap screw which
secures the bearing seat to the bracket bar.
3. Use a wrench to rotate the seat until the blade is
vertical. (See Figure 13.)
4. Tighten the socket head cap screw securely.
5. Check the other blade guide for vertical. Adjust, if
necessary.
6. After adjusting for vertical, RECHECK THE BLADE
FOR PARALLEL. Changes in vertical can easily result in
changes in parallelism. See Adjusting blade parallelism.
Figure 13: Adjusting blade vertical
Test cutting to verify
adjustment accuracy
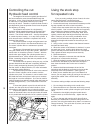
Test cuts can be used to determine whether or not
you have adjusted the blade accurately. Use 2 inch bar
stock to perform these test cuts, as follows:
1. With the bar stock securely clamped in the vise, make
a cut through the bar stock. (See Figure 14.)
2. Mark the top of the bar stock.
3. Move the bar stock about 1/4 inch past the blade so
you can begin a second cut.
4. Rotate the bar stock 180 degrees so the mark you
made is now at the bottom of the cut.
5. Make a cut through the bar stock.
6. Use a micrometer to measure the thickness variation
between the top and bottom of the disc you have cut from
the bar stock. Unless things are truly perfectly aligned,
there is almost certain to be a certain amount of "wedge"
to the shape of the disc you have cut. The saw blade can
be considered correctly adjusted when the variation
measured is no more than .012 inch across the face of the
disc.
If you do not have a 2 inch bar stock available for a
test cut, use a larger diameter test work piece rather than
a smaller one. The maximum thickness variation on any
test piece should be no more than .003 inches, per side,
per inch of stock diameter.
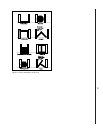
Figure 14: Step-by-step method to produce a test disc
which can be measured for "wedge" - a measurement for
testing cutting accuracy.


