


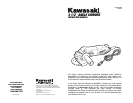
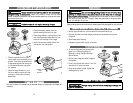

UUSSIINNGG TTHHEE AANNGGLLEE GGRRIINNDDEERR::
FFoorr bbeesstt ttooooll ccoonnttrrooll,, mmaatteerriiaall rreemmoovvaall aanndd mmiinniimmaall
llooaaddiinngg,, kkeeeepp tthhee aannggllee bbeettwweeeenn tthhee ddiisscc aanndd tthhee wwoorrkk ssuurrffaaccee aatt aapppprrooxxii--
mmaatteellyy 3300°° wwhheenn ggrriinnddiinngg aanndd 1100°°--1155°° wwhheenn ssaannddiinngg..
• Do not cover exhaust vents when the Angle Grinder is in use. This may cause
damage to the motor and reduce efficiency.
• Guide back and forth over the work piece in a steady motion.
• When cutting avoid tilting the Angle Grinder in the cutting plane. Ensure the cut-
ting wheel has a clean cutting edge.
• To cut hard stone a diamond cutting wheel is recommended.
• Do nut use cutting wheel for rough grinding.
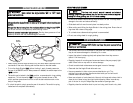
MMAAIINNTTEENNAANNCCEE AANNDD CCLLEEAANNIINNGG
AAllwwaayyss UUNNPPLLUUGG tthhee ttooooll ffrroomm tthhee ppoowweerr ssoouurrccee bbeeffoorree
cclleeaanniinngg oorr mmaaiinntteennaanncce
e..
• The armature and motor are the heart of the power tool. Exercise care to ensure
they do not become damaged or effected by oil or water.
• Inspect the carbon brushes regularly and replace them when they are worn.
(about 1/3 of the way up)
• Regularly inspect all mountings and screws and ensure they are properly tight-
ened. Failure to do so may result in serious damage.
• Consult an authorized maintenance service agent in event of damage.
• Clean and dust the Angle Grinder after each use.
• Use compressed air to blow out any accumulated dust or grit. Tiny
particles from metal grinding often accumulate inside your tool and could
create an electrical shock hazard.
• Never use solvents or harsh chemicals. Use only mild soap and a damp cloth to
clean the tool. Never let any liquid get inside the casing. Never immerse any
part of the tool in a liquid. Always keep the ventilation openings clear.
• Regularly clean the ventilation slots in your tool using a soft brush or dry cloth.
14
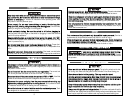
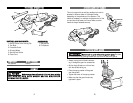
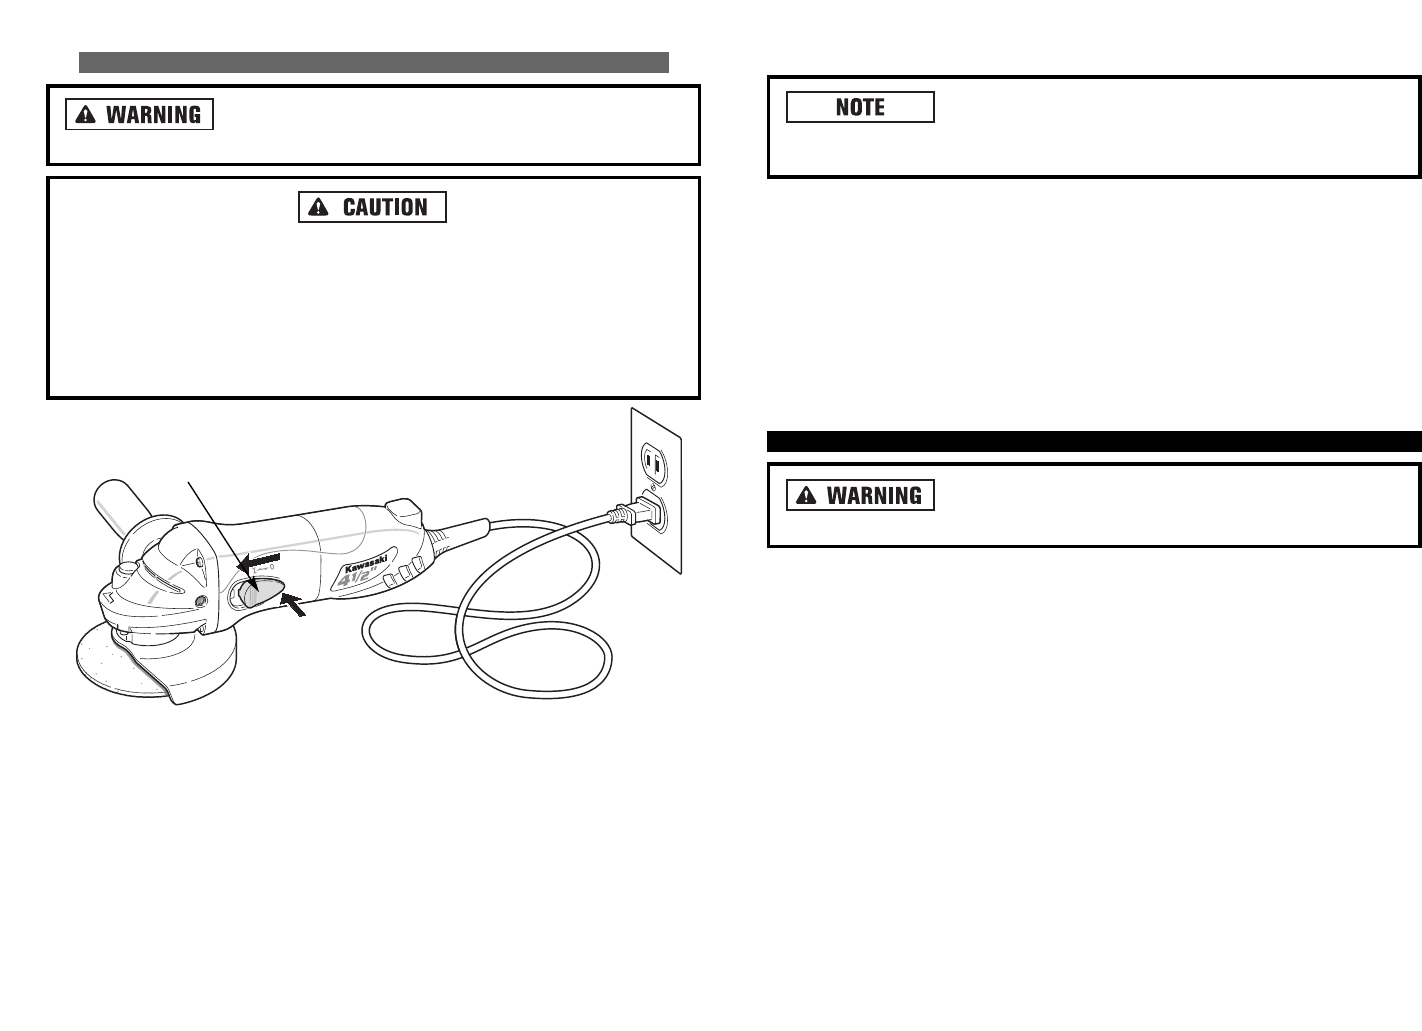
OOPPEERRAATTIINNGG TTHHEE OONN//OOFFFF SSWWIITTCCHH
NNeevveerr sswwiittcchh tthhee AAnnggllee GGrriinnddeerr ““OONN”” oorr ““OOFFFF”” wwhhiillee
uunnddeerr llooaadd ccoonnddiittiioon
nss..
AAllwwaayyss aallllooww tthhee AAnnggllee GGrriinnddeerr ttoo ccoommee uupp ttoo ffuullll ssppeeeedd bbeeffoorree ttoouucchhiinngg aannyy
ssuurrffaaccee..
AAllwwaayyss ttaakke
e tthhee ttooooll aawwaayy ffrroomm tthhee wwoorrkkppiieeccee bbeeffoorree ttuurrnniinngg tthhee ttooooll ““OOFFFF””..
Let the tool come to a complete stop before setting it down.
TThhiiss ttooooll ooppeerraatteess bbeesstt uunnddeerr lliiggh
htt pprreessssuurree..
Exerting heavy pressure will not
speed up the work and may cause damage to the motor.
• When starting hold the Angle Grinder firmly with both hands. One hand on the
rear handle or the motor housing and the other hand on the side handle.
• To turn the Angle Grinder
““OONN””
without locking it, apply forward pressure to
the rear of the ON/OFF switch. When pressure is released, the switch snaps to the
““OOFFFF””
position.
• The switch can be locked in the
““OONN””
position, a convenience for long grinding
operations. To lock the switch
““OONN””
, firmly press froward the rear of the
switch and then press down the front to lock the tab inside the notch on the
body of the grinder.
• To unlock the switch, simply press the rear of the switch. The switch is spring
loaded and will snap back automatically.
13
ON/OFF
SWITCH