


3
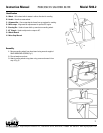
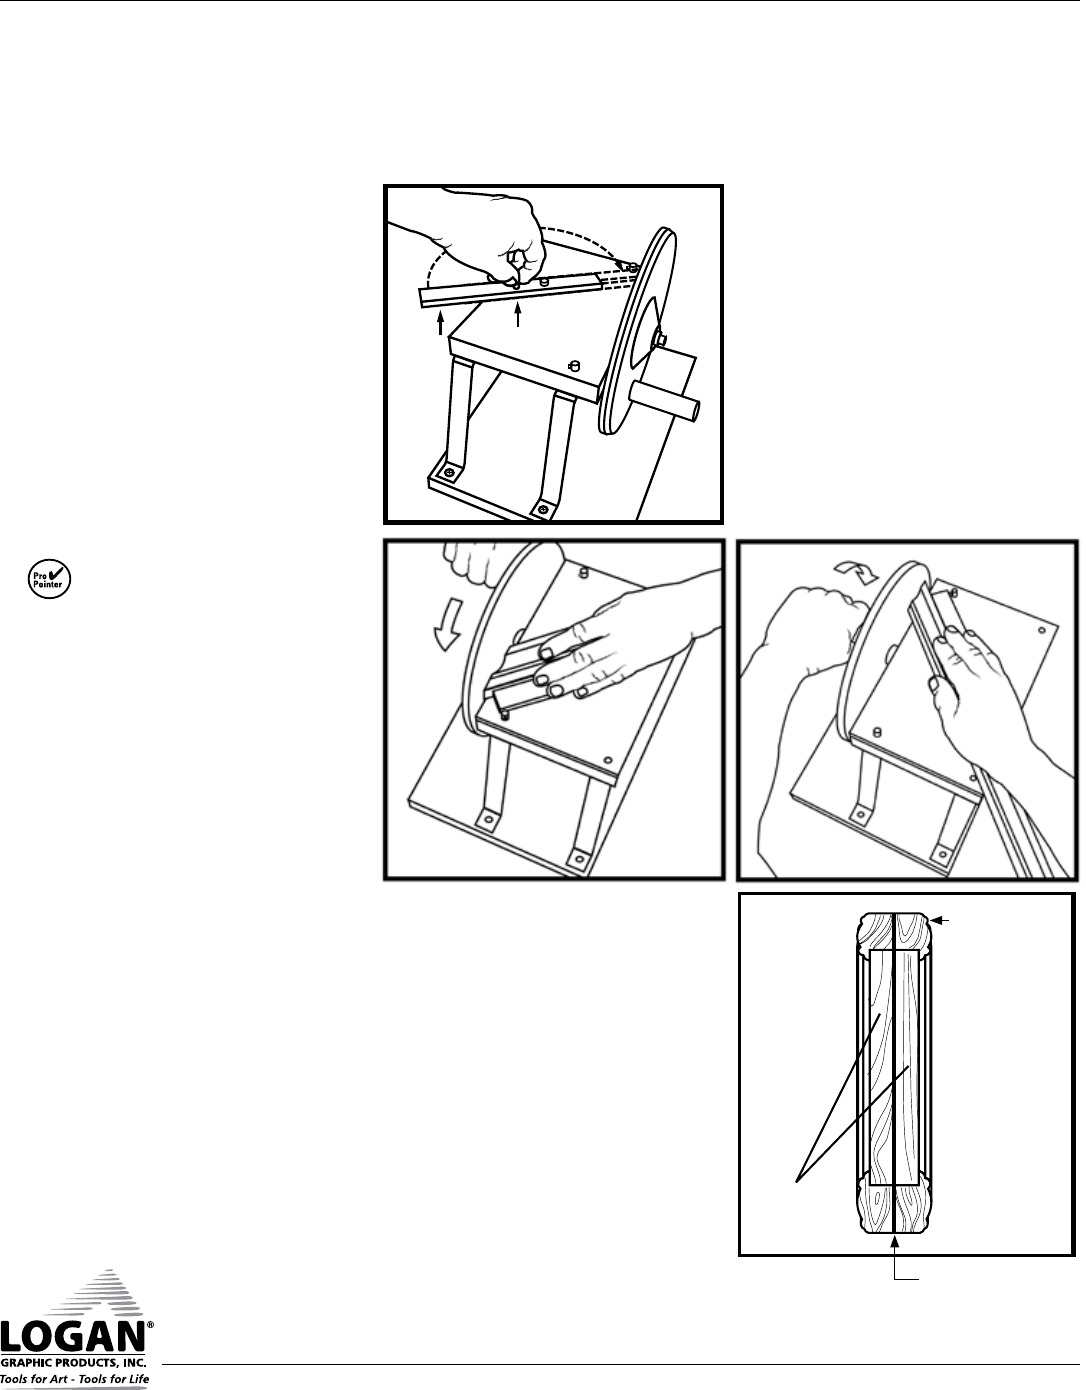
Fig. 3
Moulding
Pieces
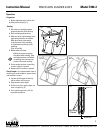
Fig. 4a
Left Side
Check top
Align Bottom
Fig. 4b
Right Side
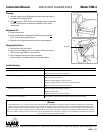
Fig. 5
Instruction Manual
Model F200-2
Precision SANDER ELITE
Operation
Preparation
1. Rotate alignment bar to either side
by lifting and turning (Fig. 3)
Sanding
1. Place back of moulding against
alignment bar with finish side up.
2. Slide moulding against wheel.
3. With one hand, hold moulding firmly
against alignment bar and wheel.
With other hand, rotate wheel
in the direction of the moulding
or downward onto the top of the
moulding.
(Figs. 4a and 4b)
4. Rotate wheel 4-6 times.
• Adjust the pressure against
the wheel while rotating. Start
with light pressure until wheel
is spinning, then increase the
pressure for easier sanding.
5. Check sanded surface of moulding
to see if surface is smooth.
6. Repeat until full surface is smooth.
Check Lengths It is important both sides of
moulding are same length for square frame
and seamless corners.
1. Lay two moulding pieces side-by-
side so miters are facing up.
2. Align the two lower edges.
3. Check to see if the upper edges are
even in length (Fig. 5).
4. If not, sand longer piece until it’s
even with short piece.
Logan Graphic Products Inc., 1100 Brown Street, Wauconda, IL 60084 847-526-5515 www.logangraphic.com