12
CAUTION:
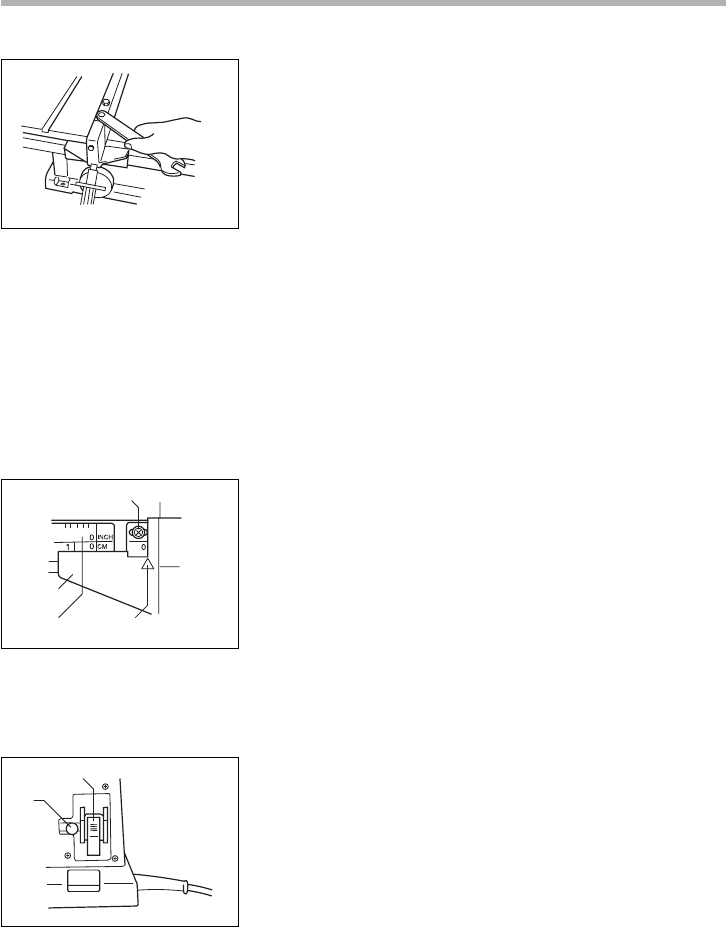
• Always grasp the striped portion of the wrench when
tightening the hex bolts. If you tighten the hex bolts
while grasping the wrench further than the striped por-
tion, the hex bolts may be damaged and/or an injury
to your hand may result.
6. With the grip of the rip fence lowered, turn the adjust-
ing nut clockwise to secure the rear end of the rip
fence. Do not turn the adjusting nut clockwise exces-
sively. You may have some difficulty adjusting the rip
fence parallel with the saw blade when repositioning
the rip fence.
CAUTION:
Be sure to adjust the rip fence so that it is parallel with the
blade, or a dangerous kickback condition may occur.
Bring the rip fence up flush against the side of the
blade. Make sure that the arrow pointer on the fence
holder points to the 0 graduation. If the arrow pointer
does not point to the 0 graduation, loosen the screw on
the scale plate and adjust the scale plate.
Switch action
This tool is equipped with a special type of switch to
prevent unintentional starting. To start the tool, first
depress the switch lever.While keeping it depressed,
pull its lower portion toward you. To stop the tool, press
the lower portion of the switch lever.
1. Switch lever
2. Key
1
2
3
4
1
2
1. Screw
2. Fence holder
3. Scale plate
4. Arrow mark


