


5
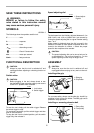
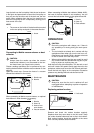
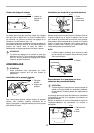
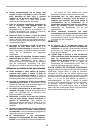
Loop the belt over the front pulley. Hold the tool as shown
in the figure and press down to retract the front pulley so
that you can slip the other end of the belt over the rear
pulley. When pressing down the tool, be careful not to
allow the front pulley to turn unexpectedly, causing you to
lose control of the tool.
NOTE:
• The arrow on the inside of the belt and that marked
on the rear pulley must point in the same direction.
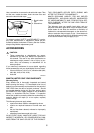
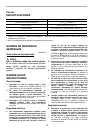
Connecting to Makita vacuum cleaner or dust
collector
CAUTION:
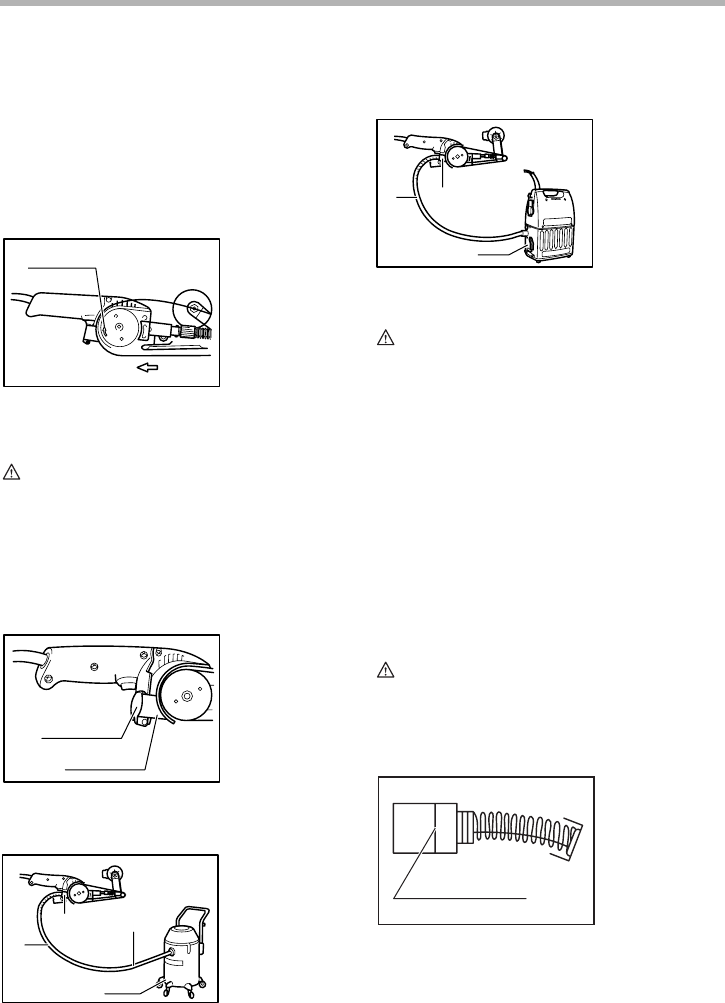
• Always close the nozzle cap when the vacuum
cleaner/dust collector is not connected to the noz-
zle. Never insert your finger into the nozzle.
Cleaner sanding operations can be performed by con-
necting the belt sander to Makita vacuum cleaner or dust
collector.
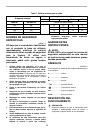
Open the nozzle cap. Connect the hose of a vacuum
cleaner/dust collector to the nozzle.
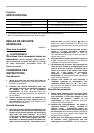
When connecting to Makita vacuum cleaner, an optional
hose 28 mm in inner diameter is necessary.
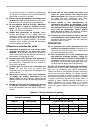
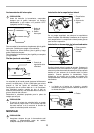
When connecting to Makita dust collector (Model 420S),
the hose of the dust collector is not necessary. You can
connect the belt sander directly to the optional hose 28.
OPERATION
CAUTION:
• Secure the workpiece with clamps, etc. if there is
any possibility of it moving during the work opera-
tions.
• The tool should not already be in contact with the
workpiece surface when you turn the tool on or off.
Otherwise a poor sanding finish, damage to the belt
of loss of control of the tool may result.
• When working with the tool, be very careful to avoid
any contact of the tool and belt with any part of your
body or anyone or anything near you.
Hold the tool firmly with both hands. Turn the tool on and
wait until it attains full speed. Gently apply the tool to the
workpiece surface and move the tool forward and back.
Press the belt only lightly on the workpiece. Excessive
pressure may damage the belt and shorten tool life.
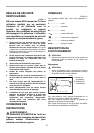
MAINTENANCE
CAUTION:
• Always be sure that the tool is switched off and
unplugged before attempting to perform inspection
or maintenance.
Replacing carbon brushes
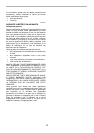
Remove and check the carbon brushes regularly.
Replace when they wear down to the limit mark. Keep
the carbon brushes clean and free to slip in the holders.
Both carbon brushes should be replaced at the same
time. Use only identical carbon brushes.
1. Arrow
1. Nozzle cap
2. Nozzle
1. Nozzle
2. Hose 19
3. Hose of vac-
uum cleaner
4. Vacuum cleaner
1
001286
1
2
001287
1
2
4
3
001288
1. Nozzle
2. Hose 19
3. Dust collector
1. Limit mark
1
2
3
001289
1
001145