FUNCTIONAL DESCRIPTION
Switch
action
CAUTION:
Before plugging in the tool, always check to see that the switch actuates properly and
returns to the
"OFF"
position when the side
of
the switch lever is depressed.
To start the tool, slide the switch lever to
"I"
position.
For continuous operation, depress the front
of the switch lever and then slide to
"I"
position as above. The switch is locked on
the position for continuous operation.
To stop the tool from the locked position,
slide the switch lever to
"0"
position with
depressing its rear part.
Depressing the rear
of
the switch lever.
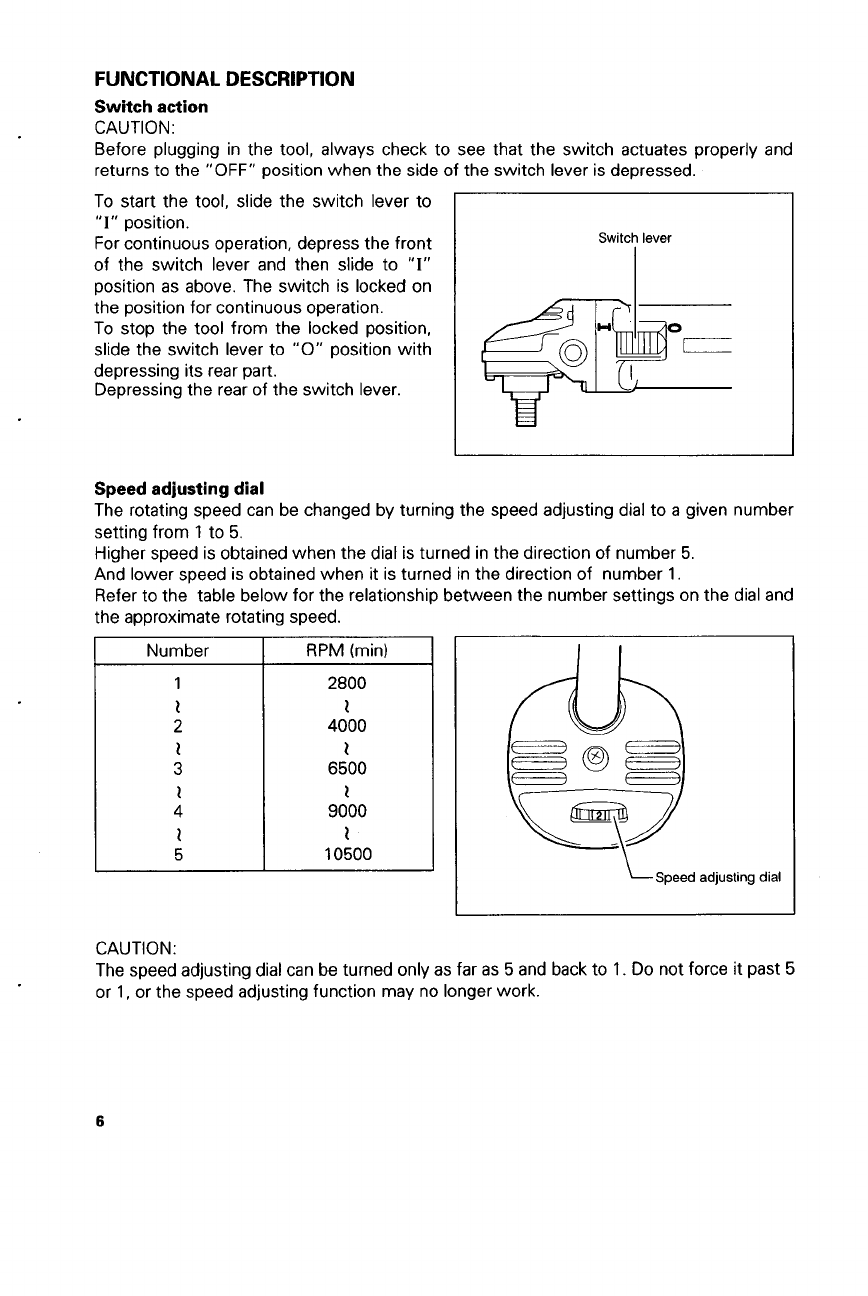
Switch
lever
Speed adjusting dial
The rotating speed can be changed by turning the speed adjusting dial to a given number
setting from
1
to
5.
Higher speed is obtained when the dial is turned in the direction of number
5.
And lower speed is obtained when
it
is turned in the direction of number
1.
Refer to the table below for the relationship between the number settings on the dial and
the approximate rotating speed.
I
Number
I
RPM
(mid
2800
1
4000
1
6500
1
9000
1
10500
k3peed adjusting dial
CAUTION:
The speed adjusting dial can be turned only as far as
5
and back
to
1.
Do
not force
it
past
5
or
1,
or the speed adjusting function may no longer work.
6


