


6
FUNCTIONAL DESCRIPTION
CAUTION:
• Always be sure that the tool is switched off and the
battery cartridge is removed before adjusting or
checking function on the tool.
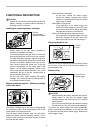
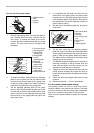
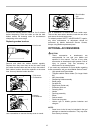
Installing or removing battery cartridge
1
2
3
011755
•
Always switch off the tool before installing or
removing of the battery cartridge.
•
To remove the battery cartridge, slide it from the tool
while sliding the button on the front of the cartridge.
• To install the battery cartridge, align the tongue on
the battery cartridge with the groove in the housing
and slip it into place. Always insert it all the way
until it locks in place with a little click. If you can
see the red indicator on the upper side of the
button, it is not locked completely. Install it fully
until the red indicator cannot be seen. If not, it may
accidentally fall out of the tool, causing injury to
you or someone around you.
• Do not use force when installing the battery
cartridge. If the cartridge does not slide in easily, it
is not being inserted correctly.
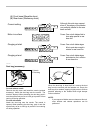
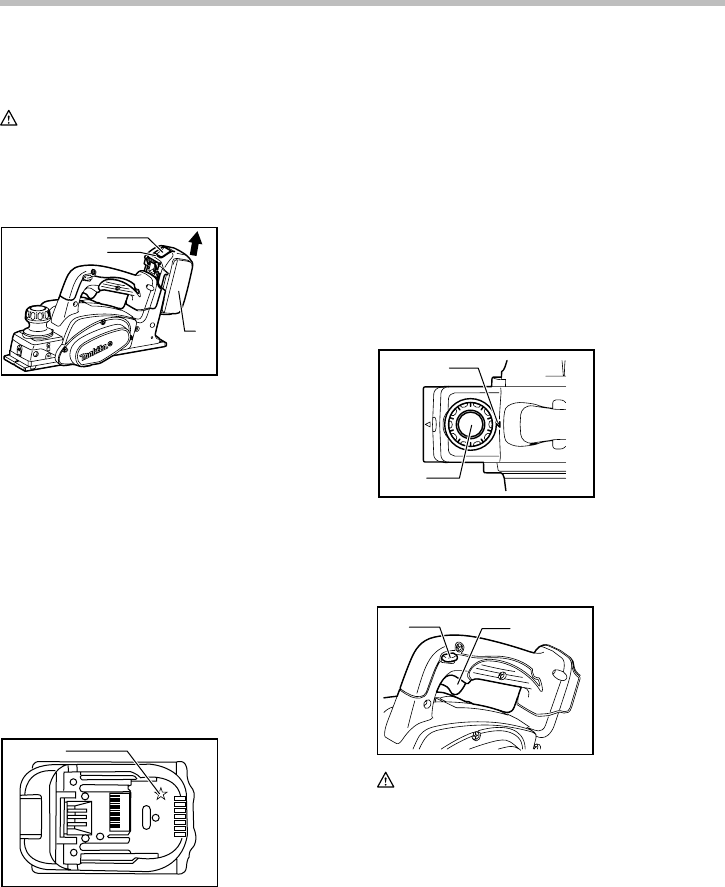
Battery protection system (Battery cartridge
with a star mark)
1
011389
The battery cartridge with a star mark is equipped with
the protection system, which automatically cuts off the
output power for its long service life.
The tool stops during operation when the tool and/or
battery are placed under the following situation. This is
caused by the activation of protection system and does
not show the tool trouble.
• When the tool is overloaded:
At this time, release the switch trigger,
remove the battery cartridge and remove
causes of overload and then pull the switch
trigger again to restart.
• When battery cells get hot:
If any operation of the switch trigger, the
motor will remain stopped. At this time, stop
use of the tool and cool or charge the battery
cartridge after removing it from the tool.
• When the remaining battery capacity gets low:
If any operation of the switch trigger, the motor
will remain stopped. At this time, remove the
battery cartridge from the tool and charge it .
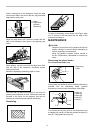
Adjusting depth of cut
1
2
011737
Depth of cut may be adjusted by simply turning the knob
on the front of the tool so that the pointer points the
desired depth of cut.
Switch action
1
2
011738
CAUTION:
• Before installing the battery cartridge into the tool,
always check to see that the switch trigger
actuates properly and returns to the "OFF" position
when released.
• Do not pull the switch trigger hard without pressing
the lock-off lever. This can cause switch breakage.
To prevent the switch trigger from being accidentally
pulled, a lock-off lever is provided. To start the tool, slide
the lock-off lever and pull the switch trigger. Release the
switch trigger to stop.
1. Lock-off lever
2. Switch trigger
1. Pointer
2. Knob
1. Star mark
1. Button
2. Red indicator
3. Battery cartridge