


7
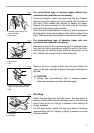
For conventional type of abrasive paper without pre-
punched holes (available on the market):
Press the clamper. Insert the paper end into the clamper,
aligning the paper edges even and parallel with the sides of
the base. Then release the clamper to secure the paper.
Repeat the same process for the other end of the base,
maintaining the proper paper tension.
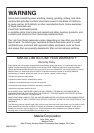
Place the punch plate (optional accessory) over the paper so
that the guide of the punch plate is flush with the sides of the
base. Then press the punch plate to make holes in the paper.
For hook-and-loop type of abrasive paper with pre-
punched holes (optional accessory):
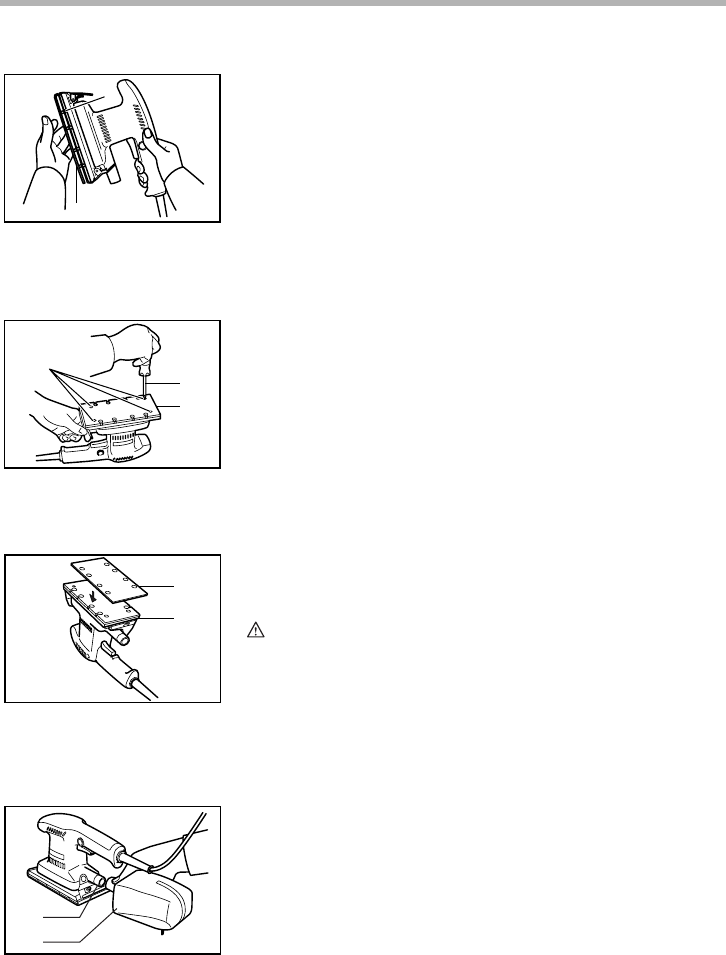
Remove the pad for the conventional type of abrasive paper
from the tool with a screwdriver. Install the pad for the hook-
and-loop type of abrasive paper (optional accessory) on the
tool. Tighten the screws firmly to secure the pad.
Remove all dirt or foreign matter from the pad. Attach the
paper to the pad, aligning the holes in the paper with those in
the pad.
CAUTION:
• Always use hook-and-loop type of abrasive papers.
Never use pressure-sensitive abrasive paper.
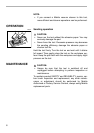
Dust bag
Attach the dust bag onto the dust spout. The dust spout is
tapered. When attaching the dust bag, push it onto the dust
spout firmly as far as it will go to prevent it from coming off
during operation.
For the best results, empty the dust bag when it becomes
approximately half full, tapping it lightly to remove as much
dust as possible.
1. Abrasive paper without pre-
punched holes
2. Punch plate
1
2
003310
1. Screws
2. Screwdriver
3. Pad
1
2
3
003312
1. Hook-and-loop type of abrasive
paper with pre-punched holes
2. Pad
1
2
003313
1. Dust spout
2. Dust bag
1
2
003318