


4
7. Make sure the wheel is not contacting the work-
piece before the switch is turned on.
8. Before using the tool on an actual workpiece, let
it run for a while. Watch for vibration or wobbling
that could indicate poor installation or a poorly
balanced wheel.
9. Watch out for flying sparks. Hold the tool so that
sparks fly away from you and other persons or
flammable materials.
10. Do not leave the tool running. Operate the tool
only when hand-held.
11. Do not touch the workpiece immediately after
operation; it may be extremely hot and could
burn your skin.
12. Always be sure you have a firm footing. Be sure
no one is below when using the tool in high loca-
tions.
13. Do not use water or grinding lubricant.
14. Do not use this tool as cutter.
15. ALWAYS wear proper apparel including long
sleeve shirts, leather gloves and shop aprons to
protect skin from contact with hot grindings.
16. Use of this tool to grind or sand some products,
paints and wood could expose user to dust con-
taining hazardous substances. Use appropriate
respiratory protection.
SAVE THESE INSTRUCTIONS
WARNING:
MISUSE or failure to follow the safety
rules stated in this instruction manual
may cause serious personal injury.
SYMBOLS
USD201-2
The followings show the symbols used for tool.
V............................volts
A ...........................amperes
Hz..........................hertz
....................alternating current
.......................no load speed
.......................Class II Construction
.../min....................revolutions or reciprocation per
minute
FUNCTIONAL DESCRIPTION
CAUTION:
• Always be sure that the tool is switched off and
unplugged before adjusting or checking function on
the tool.
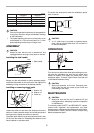
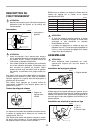
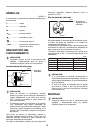
Switch action
CAUTION:
• Before plugging in the tool, always check to see
that the slide switch actuates properly and returns
to the “OFF” position when the rear of the slide
switch is depressed.
• Switch can be locked in “ON” position for ease of
operator comfort during extended use. Apply cau-
tion when locking tool in “ON” position and maintain
firm grasp on tool.
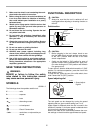
To start the tool, slide the slide switch toward the “I (ON)”
position. For continuous operation, press the front of the
slide switch to lock it.
To stop the tool, press the rear of the slide switch, then
slide it toward the “O (OFF)” position.
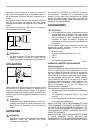
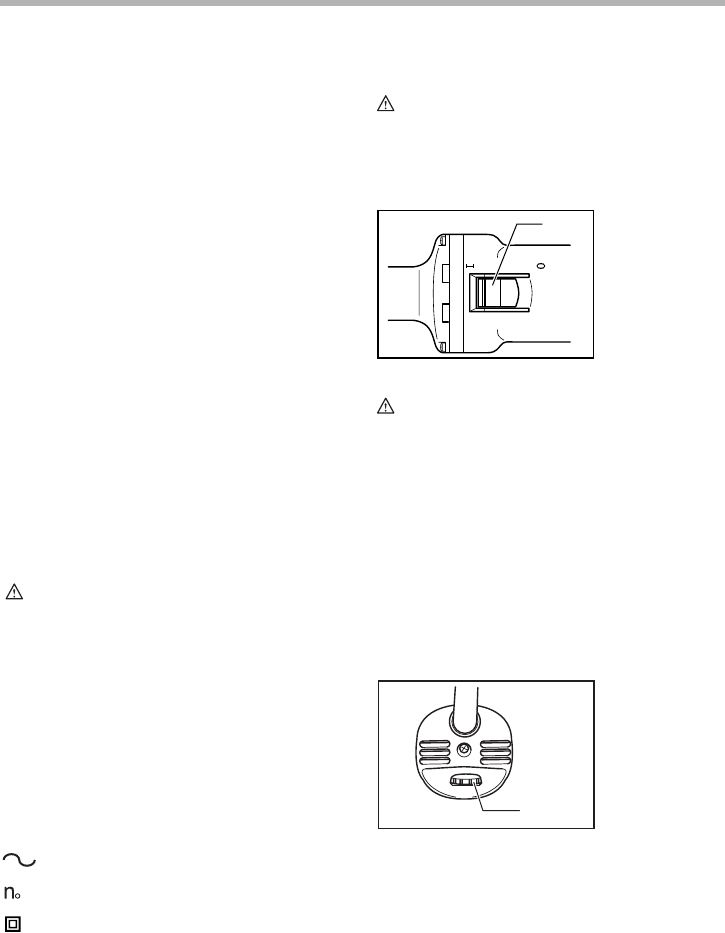
Speed adjusting dial
The tool speed can be changed by turning the speed
adjusting dial to a given number setting from 1 to 5.
Higher speed is obtained when the dial is turned in the
direction of number 5. And lower speed is obtained when
it is turned in the direction of number 1.
Refer to the table for the relationship between the num-
ber settings on the dial and the approximate tool speed.
1. Slide switch
1. Speed adjust-
ing dial
1
003488
2
1
001046