


5
ASSEMBLY
CAUTION:
• Always be sure that the tool is switched off and
unplugged before carrying out any work on the tool.
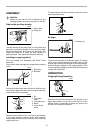
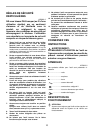
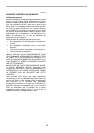
Side handle (auxiliary handle)
The side handle can be swung 360° on the vertical and
secured at any desired position. It also secures at eight
different positions back and forth on the horizontal. Just
loosen the clamp nut to swing the side handle to a
desired position. Then tighten the clamp nut securely.
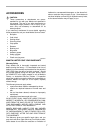
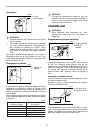
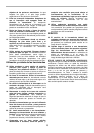
Installing or removing the bit
This tool accepts 3/4” Hexagonal and 21/32” round
shank bits.
Clean the bit shank and apply bit grease before installing
the bit.
Pull the tool holder cover down all the way. With the cut in
the bit shank aligned with the notch in the tool holder cap,
insert the bit into the tool holder.
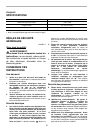
Release the tool holder cover. It will return automatically
to its original position to secure the bit. After installing,
always make sure that the bit is securely held in place by
trying to pull it out.
To remove the bit, pull the tool holder cover down all the
way and pull the bit out.
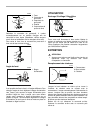
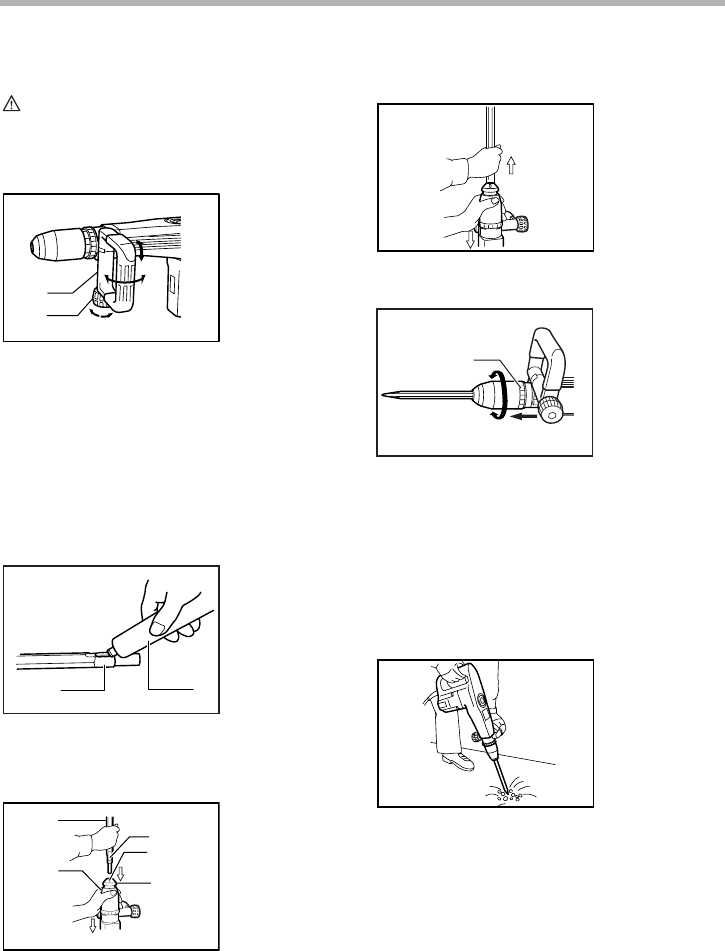
Bit angle
The bit can be secured at 12 different angles. To change
the bit angle, slide the change ring forward, then turn the
change ring to change the bit angle. At the desired angle,
slide the change ring back to the original position. Then
turn the change ring slightly so that the bit will be secured
in place with a little click.
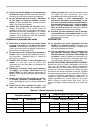
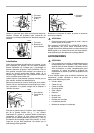
OPERATION
Chipping/Scaling/Demolition
Hold the tool firmly with both hands. Turn the tool on and
apply slight pressure on the tool so that the tool will not
bounce around, uncontrolled. Pressing very hard on the
tool will not increase the efficiency.
1. Side handle
2. Clamp nut
1. Bit grease
2. Bit shank
1. Bit
2. Tool holder
cover
3. Tool holder cap
4. Notch
5. Cut in the bit
shank
1
2
002902
12
002919
1
2
5
4
3
002920
1. Change ring
002921
1
002938
002944