


5
CAUTION:
• Always install the battery cartridge fully until the
red indicator cannot be seen. If not, it may
accidentally fall out of the tool, causing injury to
you or someone around you.
• Do not install the battery cartridge forcibly. If the
cartridge does not slide in easily, it is not being
inserted correctly.
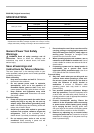
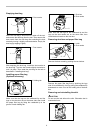
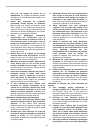
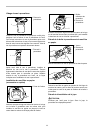
Battery protection system
(Lithium-ion battery with star marking)
1
012128
Lithium-ion batteries with a star marking are equipped
with a protection system. This system automatically cuts
off power to the tool to extend battery life.
The tool will automatically stop during operation if the
tool and/or battery are placed under one of the following
conditions:
• Overloaded:
The tool is operated in a manner that causes
it to draw an abnormally high current.
In this situation, stop the application that
caused the tool to become overloaded. Then
press the start/speed adjusting button again
to restart.
If the tool does not start, the battery is
overheated. In this situation, let the battery
cool before pressing the start/speed
adjusting button.
• Low battery voltage:
The remaining battery capacity is too low and
the tool will not operate. In this situation,
remove and recharge the battery.
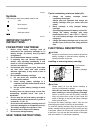
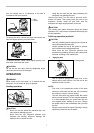
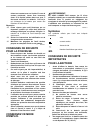
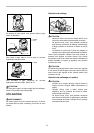
Switch action and speed adjusting button
1
2
012878
To start the tool, press the start/speed adjusting button.
The tool starts with high speed mode. Each time you
press the start/speed adjusting button, the speed mode
changes in an order of hi speed, middle speed, and low
speed.
To stop the tool, press the stop button.
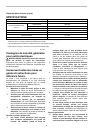
Refer to the table for the relationship between the speed
mode and the kind of work.
Speed mode Number of rotations Usage
High
Middle
Low
Regular
sanding
11,000
9,500
7,000
Finish
sanding
Polishing
012897
NOTE:
• The table shows standard applications. They may
differ under certain conditions.
ASSEMBLY
CAUTION:
• Always be sure that the tool is switched off and the
battery cartridge is removed before carrying out
any work on the tool.
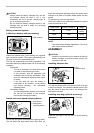
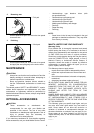
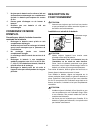
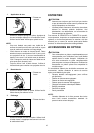
Installing abrasive disc
1
2
012875
To install the abrasive disc, first remove all dirt or foreign
matter from the pad. Then attach the abrasive disc to the
pad. Be careful to align the holes in the abrasive disc
with those in the pad.
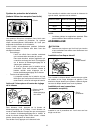
Installing dust bag (optional accessory)
1
012876
Install the dust bag on the tool with its mouth directing
downwards.
1. Dust bag
1. Pad
2. Abrasive disc
1. Stop button
2. Start/speed
adjusting button
1. Star marking