


7
19. Do not stop the blades by lateral pressure on
the saw blade.
20. Always use blades recommended in this
manual. Do not use any abrasive wheels.
21. Wear a dust mask and hearing protection
when use the tool.
SAVE THESE INSTRUCTIONS.
WARNING:
MISUSE or failure to follow the safety rules stated in
this instruction manual may cause serious personal
injury.
FUNCTIONAL DESCRIPTION
CAUTION:
• Always be sure that the tool is switched off and
unplugged before adjusting or checking function on
the tool.
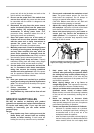
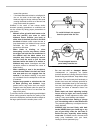
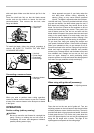
Adjusting depth of cut
2
1
007656
CAUTION:
• After adjusting the depth of cut, always tighten the
clamping screw securely.
Loosen the clamping screw on the depth guide and
move the blade lower limit stopper to the desired depth
on the scale plate. At the desired depth of cut, tighten
the clamping screw firmly.
For cleaner, safer cuts, set cut depth so that no more
than one blade tooth projects below workpiece. Using
proper cut depth helps to reduce potential for dangerous
KICKBACKS which can cause personal injury.
NOTE:
• Setting the blade lower limit stopper to the desired
depth on the scale plate allows rough depth of cut.
For accurate depth of cut, measure the actual
protrusion of saw blade below the tool base.
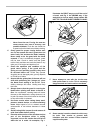
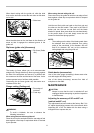
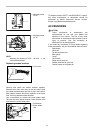
Quick stop button for 2 to 3 mm depth of cut
when using guide rail (accessory)
1
007669
This tool has the quick stop button for 2 to 3 mm depth of
cut on the gear housing aside the rear handle when
using guide rail. This is used when avoiding splinter on
the workpiece in the cut. Make a pass of the 2 to 3 mm
first cut and then make another pass of usual cut.
To obtain the 2 to 3 mm depth of cut, push in the stop
button toward the saw blade. This is convenient for
avoiding splinter on the workpiece.
To release the depth of cut from this position for free
depth of cut, just pull the button back.
1
007670
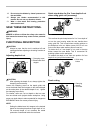
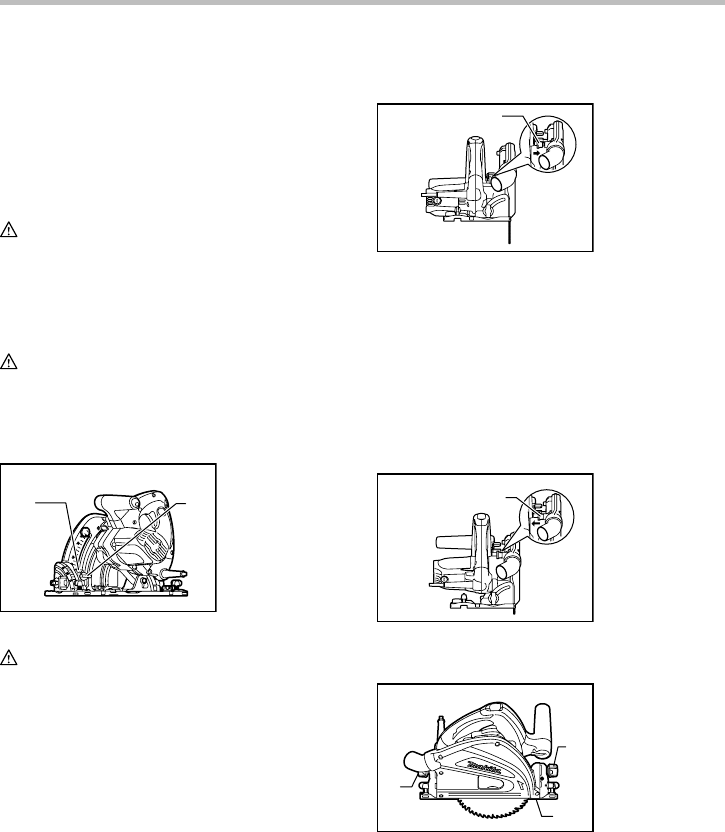
Bevel cutting
1
1
2
007657
1. Clamping
screws
2. Tool base
1. Quick stop
button
1. Quick stop
button
1. Clamping screw
2. Blade lower limit
stopper