6
7
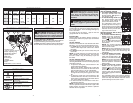
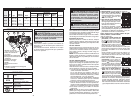
NOTE: Because the settings shown in the table are only
a guide, use a piece of scrap material to test the different
clutch settings before driving screws into the workpiece.
Selecting Speed
The speed selector is on top of the motor housing.
Allow the tool to come to a complete stop before
changing speeds. See “Applications” for recom-
mended speeds under various
conditions.
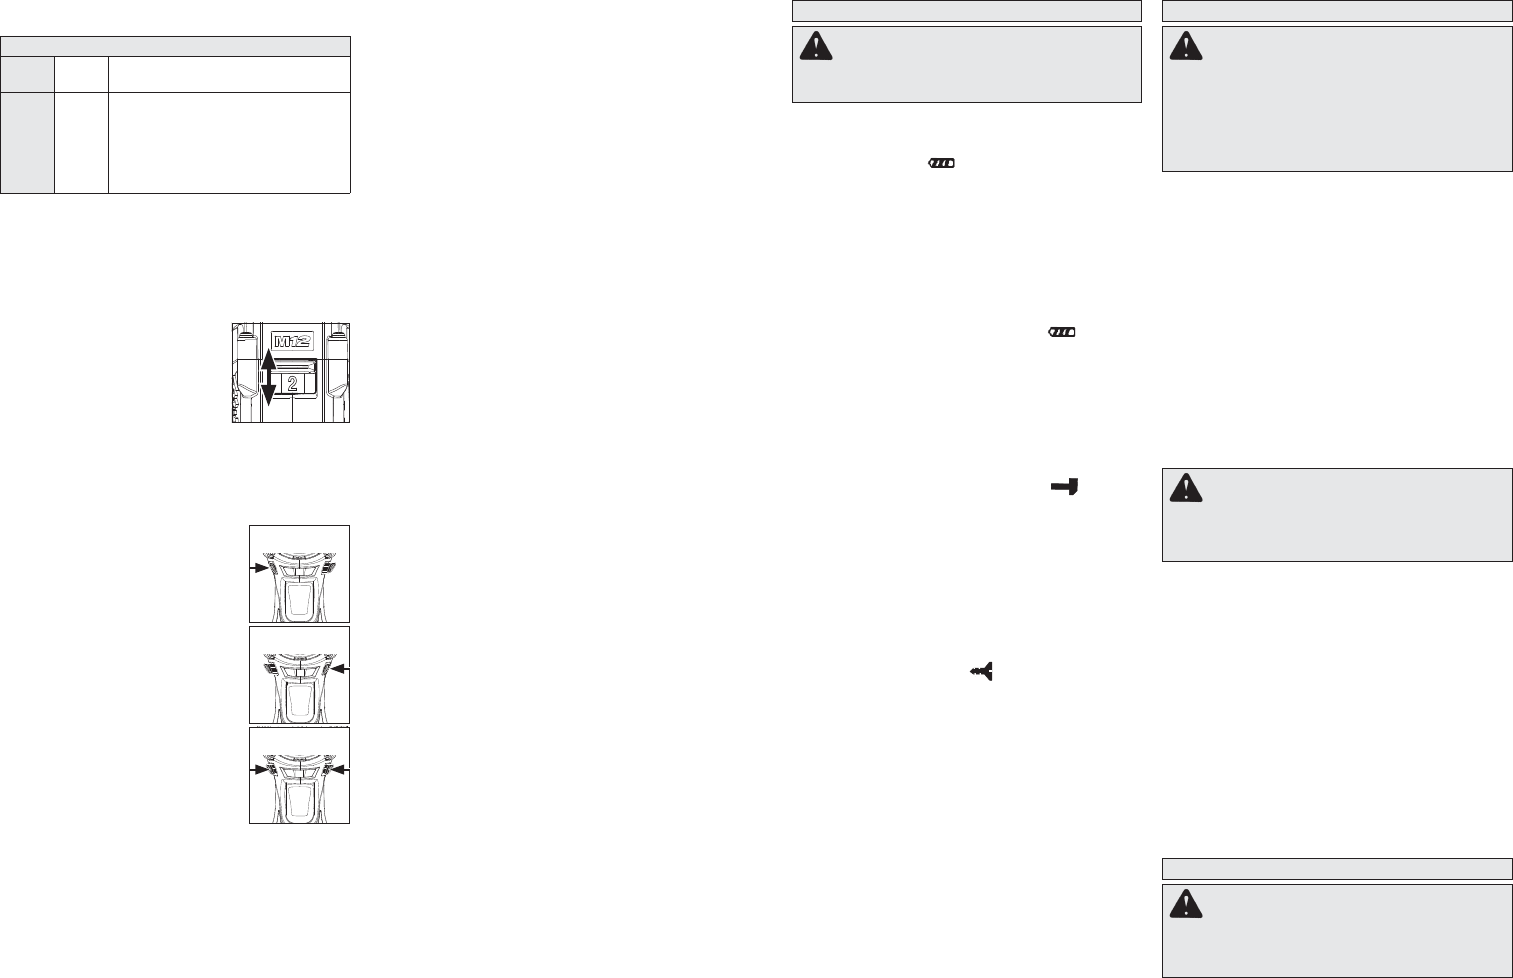
1. For Low speed, push the
speed selector to display “1”.
2. For High speed, push the
speed selector to display “2”.
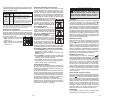
Using the Control Switch
The control switch may be set to three positions:
forward, reverse and lock. Due to a lockout mecha-
nism, the control switch can only be adjusted when
the ON/OFF switch is not pressed. Always allow
the motor to come to a complete stop before using
the control switch.
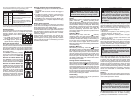
For forward (clockwise) rotation,
push in the control switch from the
right side of the tool. Check the
direction of rotation before use.
For reverse (counterclockwise)
rotation, push in the control switch
from the left side of the tool. Check
direction of rotation before use.
To lock the trigger, push the control
switch to the center position. The
trigger will not work while the con-
trol switch is in the center locked
position. Always lock the trigger
or remove the battery pack before
performing maintenance, changing
accessories, storing the tool and
any time the tool is not in use.
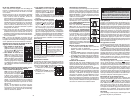
Torque Specifi cations
Clutch
Setting in. lbs
Applications
1-5
6-10
11-15
16-18
5-15
16-22
23-28
29-40
Small screws in softwood.
Medium screws in softwood or small
screws in hardwood.
Large screws in softwoods. Medium
screws in hardwood or large screws in
hardwood with pilot hole.
The torque specifi cations shown here are approximate
values obtained with a fully charged battery pack.
Starting, Stopping and Controlling Speed
1. To start the tool, grasp the handle fi rmly and pull
the trigger.
NOTE: An LED is turned on when the trigger is
pulled.
2. To vary the speed, increase or decrease the
pressure on the trigger. The further the trigger
is pulled, the greater the speed.
3. To stop the tool, release the trigger. Make sure
the bit comes to a complete stop before laying
the tool down.
Battery Pack Protection
To protect the battery from damage and extend
its life, the tool’s intelligent circuit monitors current
draw, temperature, and voltage drops.
In extremely high torque, binding, stalling, and short
circuit situations that cause high current draw, the
tool will vibrate for about 5 seconds, the fuel gauge
will fl ash, and then the tool will turn OFF. To reset,
release the trigger.
Under extreme circumstances, the internal tem-
perature of the battery could become too high.
If this happens, the fuel gauge will fl ash and the
battery pack will shut off. Let the battery pack cool
and then continue work.
Reverse -
Push from
LEFT
Lock -
Push to
CENTER
Forward -
Push from
RIGHT
MAINTENANCE
WARNING To reduce the risk of per-
sonal injury and damage, never immerse your
tool, battery pack or charger in liquid or allow
a liquid to fl ow inside them.
WARNING To reduce the risk of injury,
always unplug the charger and remove the
battery pack from the charger or tool before
performing any maintenance. Never disas-
semble the tool, battery pack or charger.
Contact a MILWAUKEE service facility for
ALL repairs.
ACCESSORIES
For a complete listing of accessories refer to your
MILWAUKEE Electric Tool catalog or go online
to www.milwaukeetool.com. To obtain a catalog,
contact your local distributor or service center.
WARNING Always remove battery pack
before changing or removing accessories.
Only use accessories specifi cally recommend-
ed for this tool. Others may be hazardous.
Maintaining Tool
Keep your tool, battery pack and charger in good
repair by adopting a regular maintenance program.
After six months to one year, depending on use,
return the tool, battery pack and charger to a
MILWAUKEE service facility for:
• Lubrication
• Mechanical inspection and cleaning (gears,
spindles, bearings, housing, etc.)
• Electrical inspection (battery pack, charger,
motor)
• Testing to assure proper mechanical and
electrical operation
If the tool does not start or operate at full power
with a fully charged battery pack, clean the contacts
on the battery pack. If the tool still does not work
properly, return the tool, charger and battery pack,
to a MILWAUKEE service facility for repairs.
Cleaning
Clean dust and debris from charger and tool
vents. Keep tool handles clean, dry and free of oil
or grease. Use only mild soap and a damp cloth
to clean the tool, battery pack and charger since
certain cleaning agents and solvents are harmful to
plastics and other insulated parts. Some of these
include gasoline, turpentine, lacquer thinner, paint
thinner, chlorinated cleaning solvents, ammonia
and household detergents containing ammonia.
Never use flammable or combustible solvents
around tools.
Repairs
For repairs, return the tool, battery pack and char-
ger to the nearest service center listed on the back
cover of this operator's manual.
APPLICATIONS
WARNING To reduce the risk of elec-
tric shock, check work area for hidden pipes
and wires before drilling or driving screws.
Drilling in Wood, Composition Materials and
Plastic
When drilling in wood, composition materials and
plastic, select the
drill-only operating mode.
Start the drill slowly, gradually increasing speed as
you drill. When drilling into wood, use wood augers
or twist drill bits. Always use sharp bits. When using
twist drill bits, pull the bit out of the hole frequently
to clear chips from the bit fl utes. To reduce the
chance of splintering, back work with a piece of
scrap wood. Select low speeds for plastics with a
low melting point.
Drilling in Metal
When drilling in metal, select the
drill-only
operating mode. Use high speed steel twist drills
or hole saws. Use a center punch to start the hole.
Lubricate drill bits with cutting oil when drilling in
iron or steel. Use a coolant when drilling in nonfer-
rous metals such as copper, brass or aluminum.
Back the material to prevent binding and distortion
on breakthrough.
Drilling in Masonry
When drilling in masonry, select the hammer
drill operating mode. Use high speed carbide-tipped
bits. Drilling soft masonry materials such as cinder
block requires little pressure. Hard materials like
concrete require more pressure. A smooth, even
fl ow of dust indicates the proper drilling rate. Do not
let the bit spin in the hole without cutting. Do not
use water to settle dust or to cool bit. Both actions
will damage the carbide.
Driving Screws and Nut Running
Drill a pilot hole when driving screws into thick or
hard materials. Select the
driving screws mode.
Set the torque selector collar to the proper position
and set the speed to low. Use the proper style and
size screwdriver bit for the type of screw you are
using. With the screwdriver bit in the screw, place
the tip of the screw on the workpiece and apply fi rm
pressure before pulling the trigger. Screws can be
removed by reversing the motor.
Overloading
Continuous overloading may cause permanent
damage to tool or battery pack.


