12 13
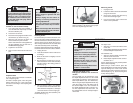
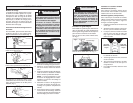
Holding the Tool
These tools should be held using both hands
at all times for maximum control.
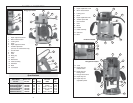
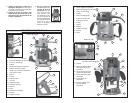
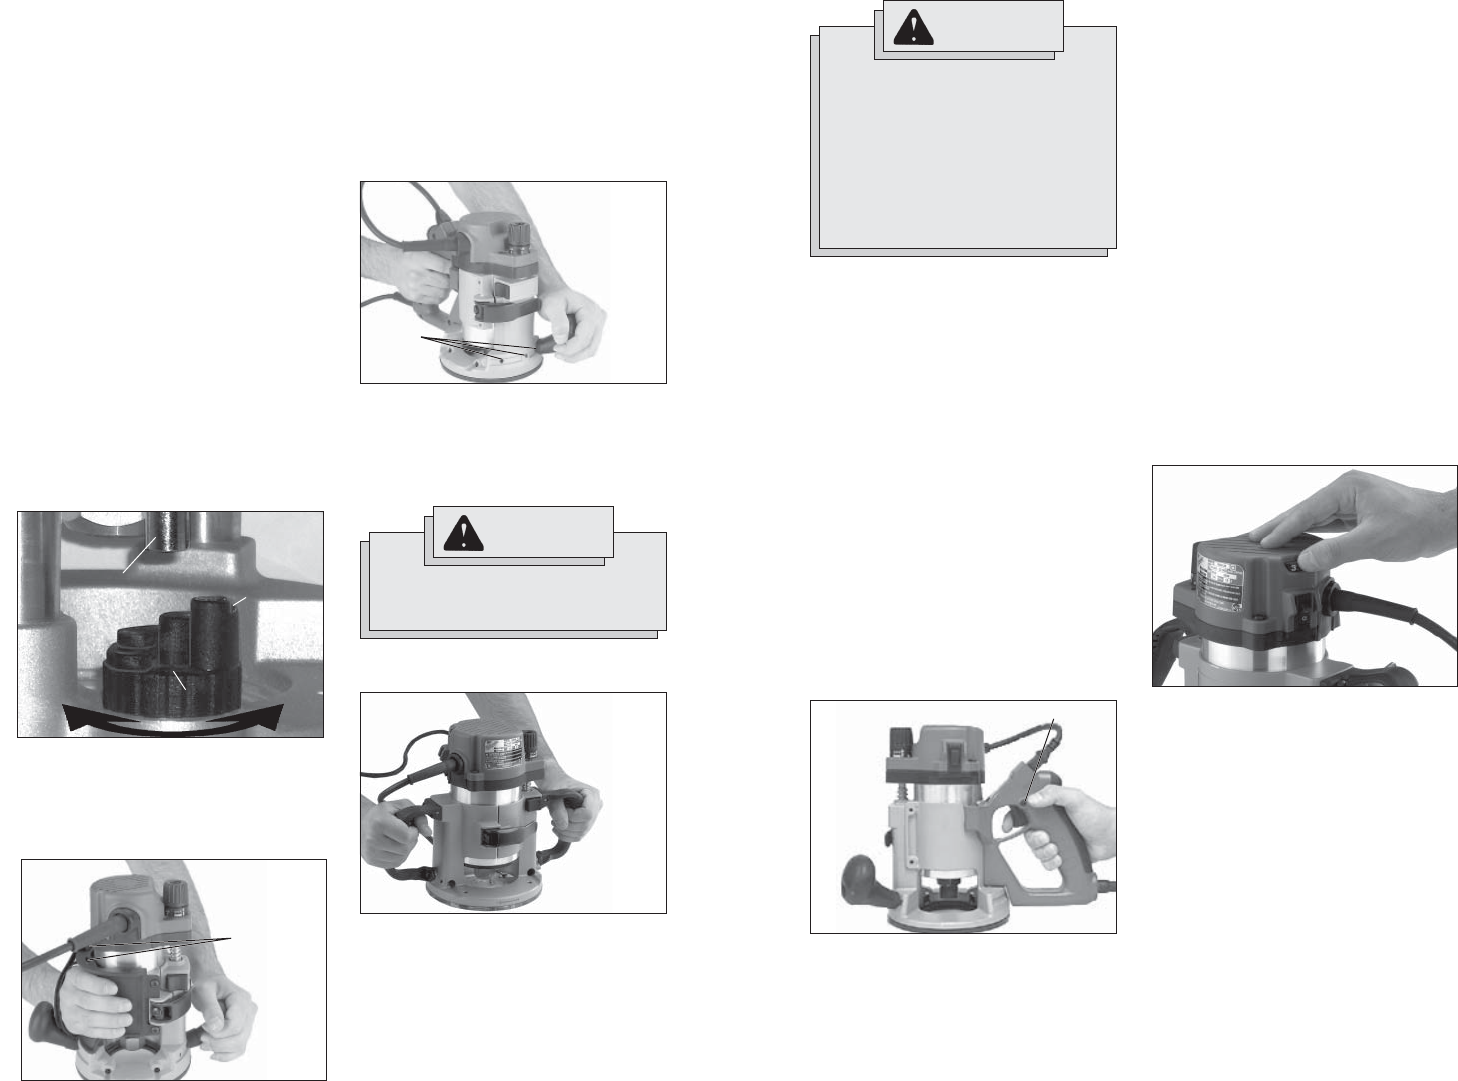
For Bodygrip® models, see Fig. 14:
Grip the D-handle with one hand and place
the other on the ball handle.
One handle on these bases may be adjusted
to three different positions for maximum
control and comfort.
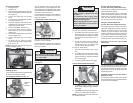
For Plunge Base and Production models,
see Fig. 16:
You can hold this tool using the body grip
and ball handle or both ball handles. The
body grip features an adjustable strap, which
can be attached in two different positions for
maximum control and comfort.
One handle on these bases may be adjusted
to three different positions for maximum
control and comfort.
For D-Handle models, see Fig. 15:
WARNING
To reduce the risk of injury, wear
safety goggles or glasses with side
shields.
To reduce the risk of injury, keep
hands, body and cord away from the
bit and all moving parts.
Before plugging the tool into a power
outlet, make sure the on/off switch is
in the "O" position.
Starting and Stopping Router Motor
For Cat. Nos. 5615, 5616 & 5625 Series:
1. To start the motor, place the router so the
bit is away from you and not in contact
with the workpiece. Grasp the tool fi rmly
and push the On/Off switch to the "I"
position.
2. To stop the motor, place the router so
the bit is away from you and push the
On/Off switch to the "O" position. Hold
the tool until the bit stops turning.
For Cat. No. 5619 Series:
1. Push the On/Off switch to the "I" posi-
tion.
2. To start the motor, place the router so the
bit is away from you and not in contact
with the workpiece. Grasp the tool fi rmly
and pull the trigger.
3. To stop the motor, release the trigger.
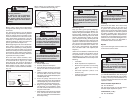
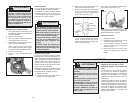
Locking the D-handle Base Trigger
1. To lock the trigger, hold in the lock
button while pulling the trigger. Release
the trigger.
2. To unlock the trigger, pull the trigger and
release. The lock button will pop out.
NOTE: D-handle base does not fi t with Cat.
No. 5625 Series base.
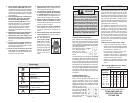
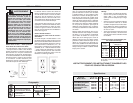
Fig. 17
Lock button
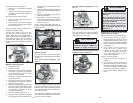
Fig. 18
The Soft-Start feature reduces the amount
of torque reaction to the tool and the user.
This feature gradually increases the motor
speed up from zero to the speed set by the
variable speed dial.
Feedback Control (For Cat. Nos. 5616 &
5625 Series only)
The electronic speed control system allows
the tool to maintain constant speed between
no-load and load conditions.
Electronic Overload Protection
(For Cat. Nos. 5616 & 5625 Series only)
These tools are equipped with an electronic
overload protection feature.
If the motor shuts off during use, remove the
bit from the workpiece and push the On/Off
switch to the "O" position for three (3) sec-
onds. This will reset the electronics in the
tool. The tool can then be restarted.
Using the Variable Speed Dial
(For Cat. Nos. 5616 & 5625 Series only)
The variable speed dial allows the user to
adjust the rotating speed (RPM) of the tool.
Variable speed dial settings range from
numbers (7) seven through (1) one. Higher
numbers correspond to higher speeds and
lower number correspond to lower speeds.
To change the speed, set the variable speed
control dial to the desired number (Fig 18).
Soft Start (For Cat. Nos. 5616 & 5625
Series only)
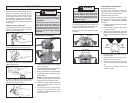
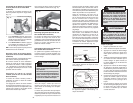
Plunge base models:
1. Unplug the tool.
2. Install the bit.
3. Press the plunge release lever and push
down on the handles until the bit touches
the workpiece.
4. Loosen the depth stop rod locking
screw.
5. Turn the turret so the full depth position
is directly below the rod
6. Press the depth stop rod release button
to lower the rod. It should rest on the full
depth position of the turret.
7. Place the adjustable pointer on "0".
8. Press in the depth stop rod release
button Move the rod up to the desired
depth of cut.
9. Use the depth adjustment knob to fi nely
tune the depth of cut.
10. Tighten the depth stop rod locking
screw.
11. To obtain the cut making multiple
passes, rotate the turret to a higher step.
Each step is 1/8"
NOTE: A fi ne fi nish can be made using the
turret and multiple passes.
full
depth
position
1/8"
1/4"
3/8"
1/2"
5/8"
Depth stop rod
Fig. 13
Fig. 14
Fig. 15
Fig. 16
Alternate
strap
positions
Alternate
handle
positions
Turret
WARNING
To reduce the risk of injury, NEVER
use the Plunge Base Router models
in a router table.


