page 6
Two Speed Switch (Cat. Nos. 6225 & 6236)
MILWAUKEE Two-Speed Band Saws are equipped with a speed change
switch located below the trigger on the handle. To change speeds, stop the
motor and slide the speed change switch to "HI" or "LO" as indicated on
the tool. For cutting problem materials, use "LO" speed. Never change from
one speed to the other while the motor is running.
Starting, Stopping, and Controlling Speed (Cat. No. 6230)
1. To start the tool, grasp the handle fi rmly and pull the trigger.
2. To vary the speed, increase or decrease pressure on the trigger. The
further the trigger is pulled, the greater the speed.
3. To select a maximum preset speed at any point within the speed range,
rotate the red knurled knob located on the trigger to the desired posi-
tion.
4. To stop the tool, release the trigger. Allow the tool to come to a com-
plete stop before removing the blade from a partial cut or laying the
tool down.
OPERATION
WARNING
To reduce the risk of injury, wear safety goggles or
glasses with side shields. Unplug the tool before
changing accessories or making adjustments.
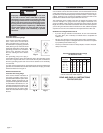
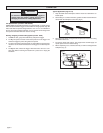
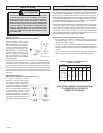
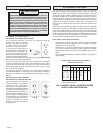
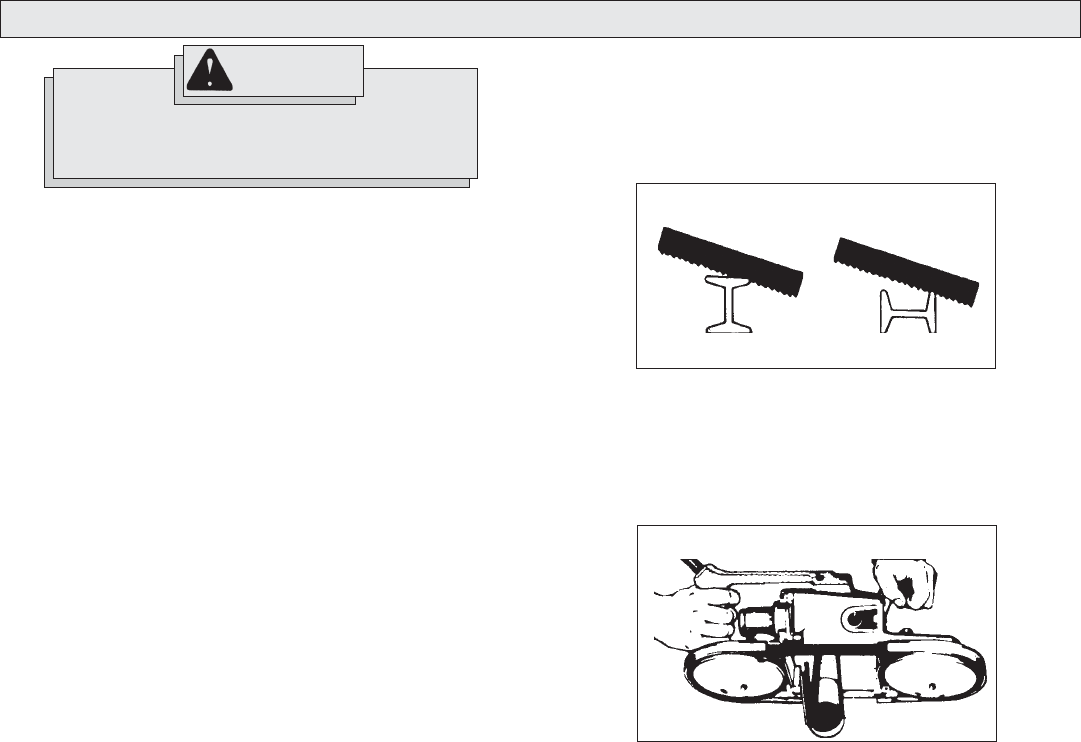
Fig. 2
Correct Incorrect
Fig. 3
3. Place the work steady rest against the workpiece and lower the moving
saw blade into the cut.
4. Do not bear down while cutting. The weight of the tool will supply ad-
equate pressure for the fastest cutting.
5. When completing a cut, hold the tool fi rmly so it will not fall against the
workpiece (Fig. 3).
Typical Application (Figs. 2 & 3)
1. Keep the blade off the workpiece until the motor has reached the se-
lected speed.
2. Start cutting on a surface where the greatest number of teeth will be in
contact with the workpiece at one time (Fig 2).


