page 7
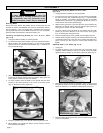
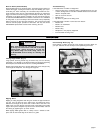
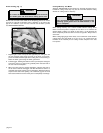
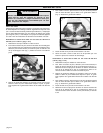
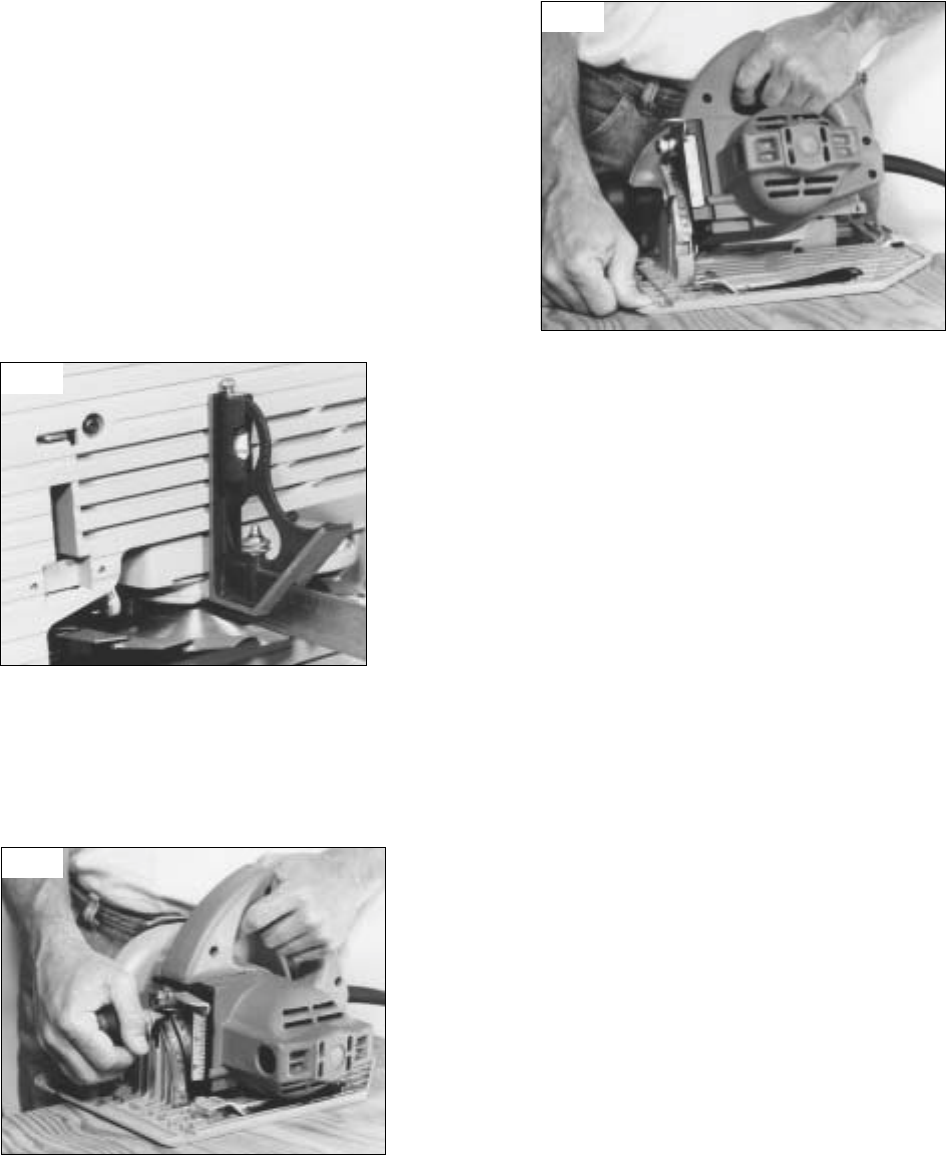
Adjusting Bevel Angle (7-1/4" Saws) (Fig. 6 & 7)
1. Unplug tool.
2. To adjust the angle of the cut, place the saw on the edge of the
workpiece. While holding the saw by the handle, loosen the bevel
adjusting knob (Fig. 6).
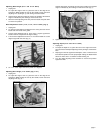
Bevel Adjustment Screw (7-1/4", 8-1/4", 10-1/4" Saws) (Fig. 5)
1. Unplug tool.
2. To make sure the blade is 90 degrees to the shoe, place saw on the
blade side and retract lower guard.
3. Loosen bevel adjusting knob or lever. Place a square against the
blade and shoe to adjust the 90 degree setting.
4. Turn the bevel adjustment screw in or out until the blade is at a 90
degree angle with the shoe (Fig. 5).
5. On 7-1/4" saws, adjust the bevel pointer to 0 degrees.
Adjusting Bevel Angle (8-1/4" and 10-1/4" Saws)
1. Unplug tool.
2. To adjust the angle of the cut, place the saw on the edge of the
workpiece. While holding the saw by the handle, loosen the bevel
adjusting lever by lifting it up and moving toward the blade.
3. Hold the shoe down and rotate the saw by the handle to the desired
angle as indicated by the markings on the bevel scale.
4. Move the bevel adjusting lever away from the blade and push down
to secure the position.
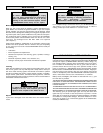
Hold the shoe down and rotate the saw by the handle to the desired
angle as indicated by the markings on the bevel scale (Fig. 7).
3. Tighten the bevel adjusting knob.
Adjusting Depth (8-1/4" and 10-1/4" Saws)
1. Unplug tool.
2. To adjust the depth of cut, place the saw on the edge of the work-
piece and loosen the depth adjusting knob by turning it counterclock-
wise.
3. Keeping the shoe flat against the workpiece, raise or lower the saw
to the desired position. For the proper depth setting, the blade should
extend no more than 1/4" below the material being cut.
4. Turn the depth adjusting knob clockwise to secure the position.
Tighten the knob.
Fig. 5
Fig. 6
Fig. 7


