


7
WARNING!
ASSEMBLY
Always lock trigger or remove
battery pack before changing or
removing accessories. Only use
accessories specifically
recommended for this tool.
Others may be hazardous.
WARNING!
To reduce the risk of injury, always
use a side handle when using this
tool. Always brace or hold securely.
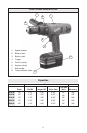
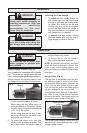
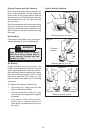
Installing the Side Handle
1. To install the side handle, loosen the
side handle grip until the ring is large
enough to slide over the torque selec-
tor collar. The raised rib on the side
handle ring fits inside the groove
around the tool. Rotate the handle to
the desired position and tighten the
side handle until it is secure.
2. To remove the side handle, loosen
the side handle grip until the ring is
large enough to slide off the tool.
OPERATION
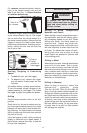
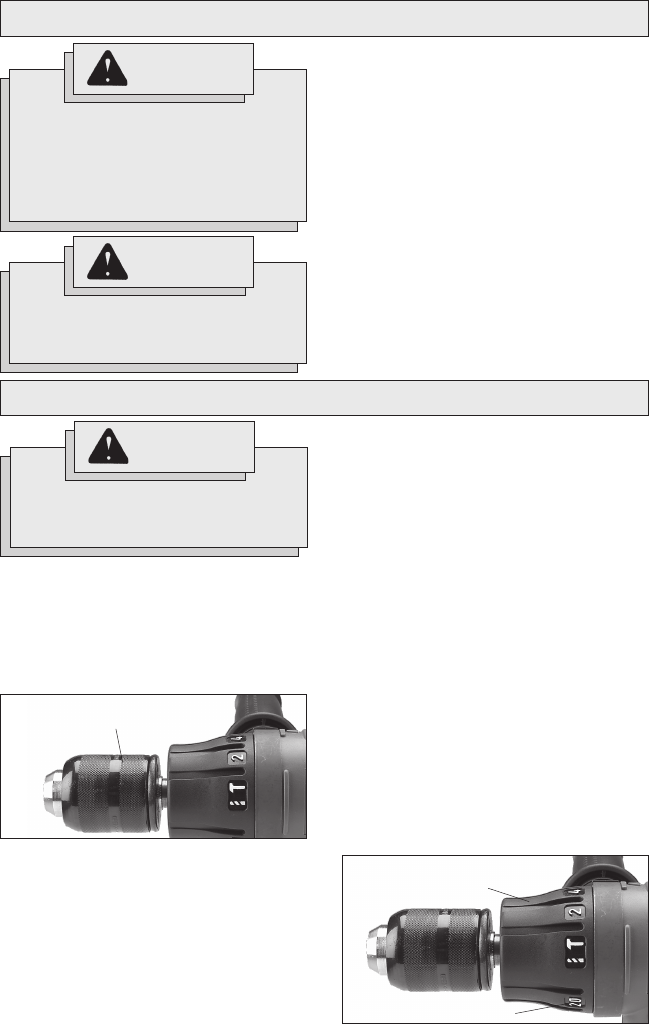
Using Keyless Chucks (Fig. 3)
Your cordless tool is equipped with a spindle
lock. The chuck can be tightened with one
hand, creating higher grip strengths on the bit.
Always remove the battery pack or lock
the trigger before inserting or removing bits.
1. To open the chuck jaws, turn the sleeve
in the counterclockwise direction.
When using drill bits, allow the bit to
strike the bottom of the chuck. Center
the bit in the chuck jaws and lift it about
1/16" off of the bottom.
When using screwdriver bits, insert
the bit far enough for the chuck jaws
to grip the hex of the bit.
2. To close the chuck jaws, turn the
sleeve in the clockwise direction. The
bit is secure when the chuck makes a
WARNING!
To reduce the risk of injury, wear
safety goggles or glasses with
side shields.
ratcheting sound and the sleeve can
not be rotated any further.
3. To remove the bit, turn the sleeve in
the counterclockwise direction.
NOTE: A ratcheting sound may be heard
when the chuck is opened or closed. This
noise is part of the locking feature, and
does not indicate a problem with the chuck's
operation.
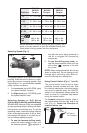
The torque specifications shown here are
approximate values obtained with a fully
charged battery pack.
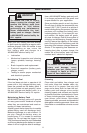
Using Clutch (Fig. 4)
This tool has an adjustable clutch for driv-
ing different types of screws into differ-
ent materials. When properly adjusted, the
clutch will slip at a preset torque to pre-
vent driving the screw too deep and to
prevent damage to the screw or tool.
To adjust the clutch, turn the torque selec-
tor collar to one of the twenty positions
shown on the collar. The number must line
up with the arrow on top of the tool.
Fig. 3
Sleeve
Fig. 4
Torque selector
collar
Position numbers