English
6 ©1996 MHT Products, Inc. All rights reserved.
USING THE HEAT GUN
Always read the safety information included in this manual before using the heat gun.
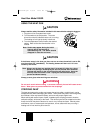
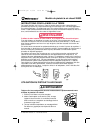
1. Plug the unit into a standard wall outlet.
2. Turn the switch to the ON position. The motor
driven fan noise will indicate that the unit is running.
The heating coil will light up slowly in dark red.
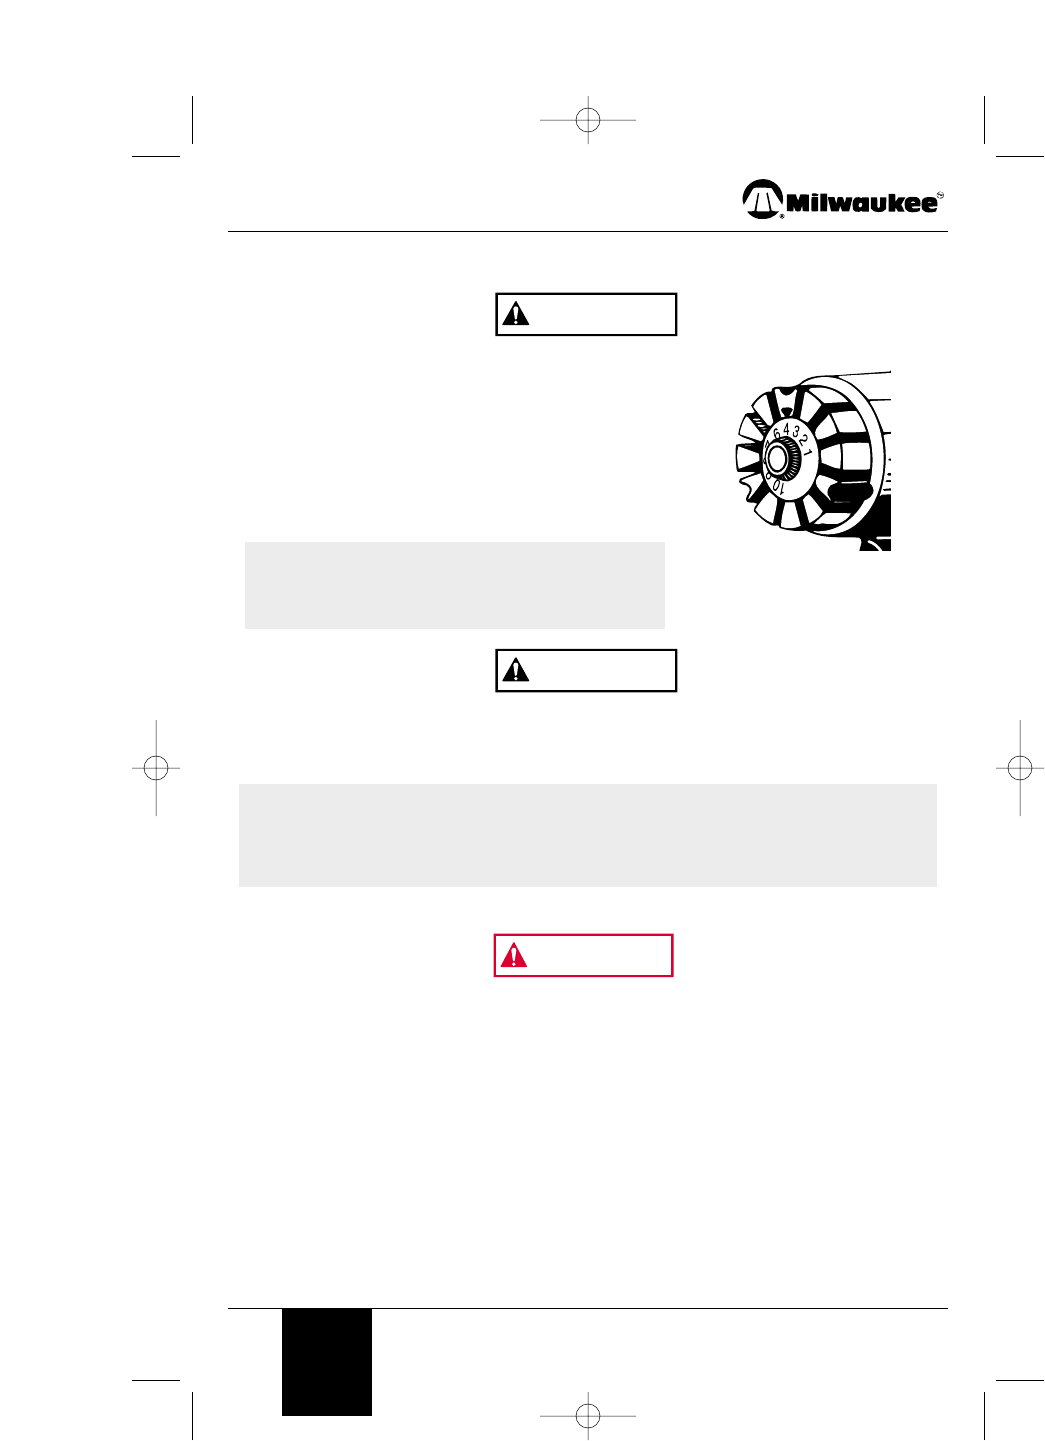
3. Turn the temperature control knob to the desired
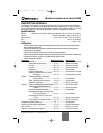
setting. Refer to the chart found earlier in this
manual.
If the blower motor in the heat gun does not turn on when the switch is set to ON,
turn the switch OFF immediately. The heating element will burn out if it is not
cooled by the blower.
Always protect glass when working near windows.
Do not touch nozzle when working. It becomes extremely hot and will cause severe
burns. Wear gloves to protect hands from hot scrapings.
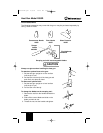
STRIPPING PAINT
The heat gun heats up the surface and causes the paint to soften, at which time it can be
scraped off easily without damaging the surface. Some paints may soften even though they
do not blister; some may become rubbery, and some may require higher heat.
When working with several layers of paint, it speeds up the scraping process to heat the
surface thoroughly, all the way to the wood. Then all the layers can be scraped at one time.
A soft wire brush may be the best tool to use for very intricate surfaces. Mineral paints
and finishes, such as cement paint and porcelain, do not soften with heat, so using a
heating tool will not work for paint removal.
WARNING
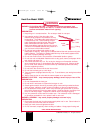
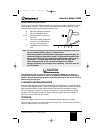
Note: Always set the heat gun upright after it is turned off, either for a short
break or for storage. Avoid laying the unit on the side after shutdown.
The heat will remain in the unit and cooling will take longer. Store the
unit only after the nozzle is cool. Unplug the unit before storing to
prevent accidental startup.
CAUTION
Note: Smoke may appear during the initial
start up due to the burning of
manufacturing oils. The smoke should
disappear in less than a minute.
CAUTION
Heat Gun Model 2000D
0283752E.qxd 4/9/03 11:26 AM Page 6


