page 5
TOOL ASSEMBLY
WARNING!
Use only sockets and other accessories specifically
designed for use on impact wrenches and drivers.
Other sockets and accessories might shatter or
break causing injury.
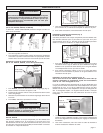
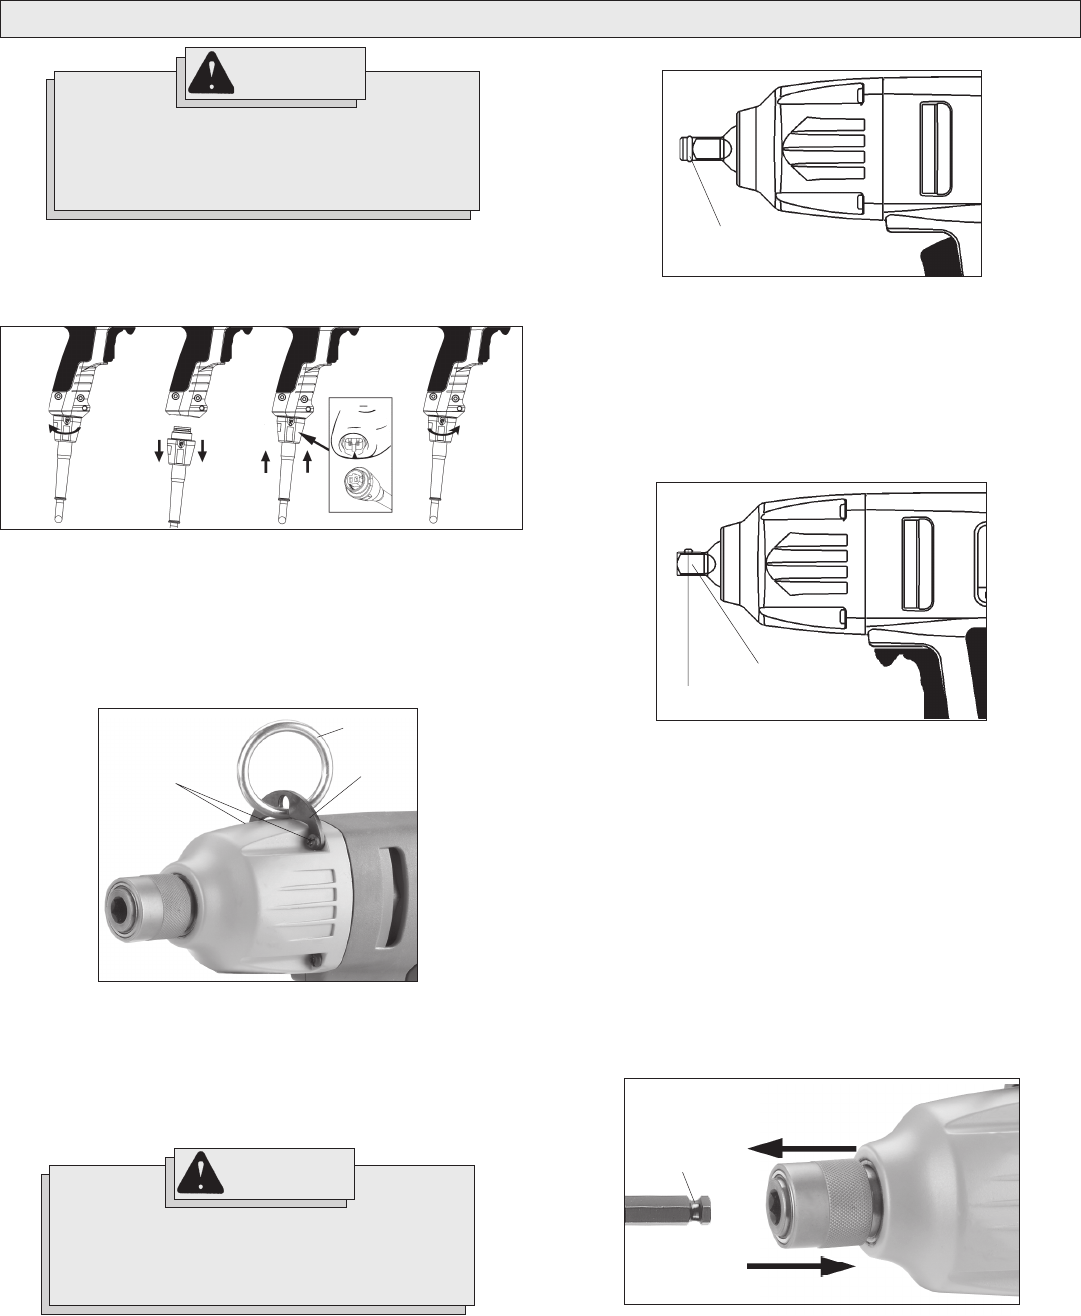
Attaching and Removing the Tool Hanger (Fig. 2)
(Cat. No. 9092-20, 9096-20, or as an accessory)
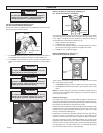
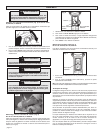
Attaching and Removing Accessories (Fig. 3)
Cat. No. 9071-20, 9075-20
This impact wrench is intended only for use with sockets designed for
impact wrenches and that have a 1/2" square drive (3/4" square drive
for Cat. No. 9075-20). Other sockets could shatter or break, causing injury.
1. To attach a socket or other accessory, push the accessory onto the
drive shank until it snaps into place.
2. To remove the accessory, pull it off the drive shank.
Attaching and Removing Accessories (Fig. 4)
Cat. No. 9070-20, 9072-20
These impact wrenches are intended only for use with sockets designed
for impact wrenches and that have a 1/2" square drive. Other sockets
could shatter or break, causing injury.
1. To attach a socket or other accessory, align the hole in the acces-
sory with the detent pin on the drive shank. Hold the detent pin in
while pushing the socket onto the drive shank. The detent pin will
snap into place in the hole to secure the socket.
2. To remove the accessory, insert a nail or other thin object into the
hole in the accessory and press the detent pin in. Pull the accessory
off the drive shank.
Fig. 3
Drive shank
Fig. 4
Drive shank
Detent pin
Attaching and Removing Accessories (Fig. 5)
Cat. No. 9092-20, 9096-20, or other Impact Wrenches using the
Quick Change 1/2" Square Drive to 7/16" Hex Adapter
Cat. No. 9092-20 and accessory Cat. No. 48-66-0061 are intended for
use with drill bits and adapters with a 7/16" Hex Quick Change shank.
Cat. No. 9096-20 is intended for use with drill bits and adapters with a
5/8" Hex Quick Change shank. Both Hex Quick Change shanks have a
ball-retainer groove. They are not intended for use with Hex Shank Bit
Extensions.
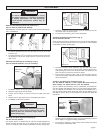
1. To attach, remove the two top gear case screws (Fig. 2).
2. Place the ring through the tool hanger.
3. Position the tool hanger on the tool over the two gear case screw
holes.
4. Replace the two gear case screws. Hand tighten the screws.
5. To remove, reverse the procedure.
Fig. 2
Gear case
screws
Tool
hanger
Ring
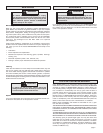
WARNING!
To reduce the risk of injury, always unplug
tool before attaching or removing accessories
or making adjustments. Use only specifically
recommended accessories. Others may be
hazardous.
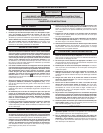
Removing and Replacing Quik-Lok
®
Cords (Fig. 1)
(Cat. No. 9072-20, 9092-20 and 9096-20)
MILWAUKEE
's exclusive Quik-Lok
®
Cords provide instant field replace-
ment or substitution.
1. To remove the Quik-Lok
®
Cord, turn the cord nut 1/4 turn to the left
and pull it out.
2. To replace the Quik-Lok
®
Cord, align the connector keyways and push
the connector in as far as it will go. Turn the cord nut 1/4 turn to the
right to lock.
1. To attach an accessory, pull the chuck collar forward and insert the
accessory shank. Release the collar. It may be necessary to pull the
bit out slightly to engage the holding mechanism.
2. To remove the accessory, pull the chuck collar forward and remove
the accessory. Release the collar.
Fig. 5
Open (Release)
Closed (Locked)
Ball-retainer
groove
Fig. 1


