


HS62 CUT-OFF SAW — OPERATION & PARTS MANUAL — REV. #5 (09/12/05) — PAGE 17
HS62 CUT-OFF SAW — SAW ASSEMBLY INSTRUCTIONS
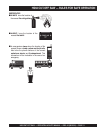
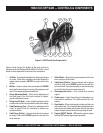
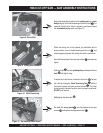
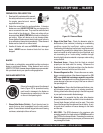
Figure 8. Drive V-Belt
During the assembly procedure of the
cutting arm
to the
main
body
; and prior to the final tensioning of the drive V-belt
P
, it is
essential that the drive V-belt is properly positioned around
the
crankshaft pulley
(also see Figure 7).
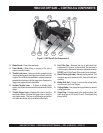
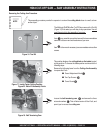
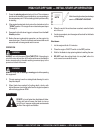
Figure 9. Cutting Arm Hardware
Walk the V-belt
P
onto the
spindle pulley
, and adjust the three
nuts
N
until slightly snug.
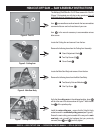
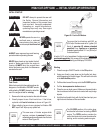
To adjust the V-belt tension, loosen the three nuts
N
. Tension
the V-belt by turning the V-belt Tensioning Cam
O
until the
Cam locks in place, using the provided wrench
G
. The V-belt
should remain in tension once the cam is properly positioned.
DO NOT over tension.
Fully
tighten the three nuts
N
When the cutting arm is fully seated, you should be able to
observe about 4 mm of thread showing past the nut
L
, and
minimal gapping between the cutting arm and the crankcase.
Re-install the caphead hex screw and washer
M
, and securely
tighten.
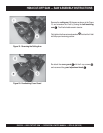
Figure 10. V-Belt Tensioning
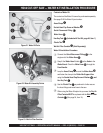
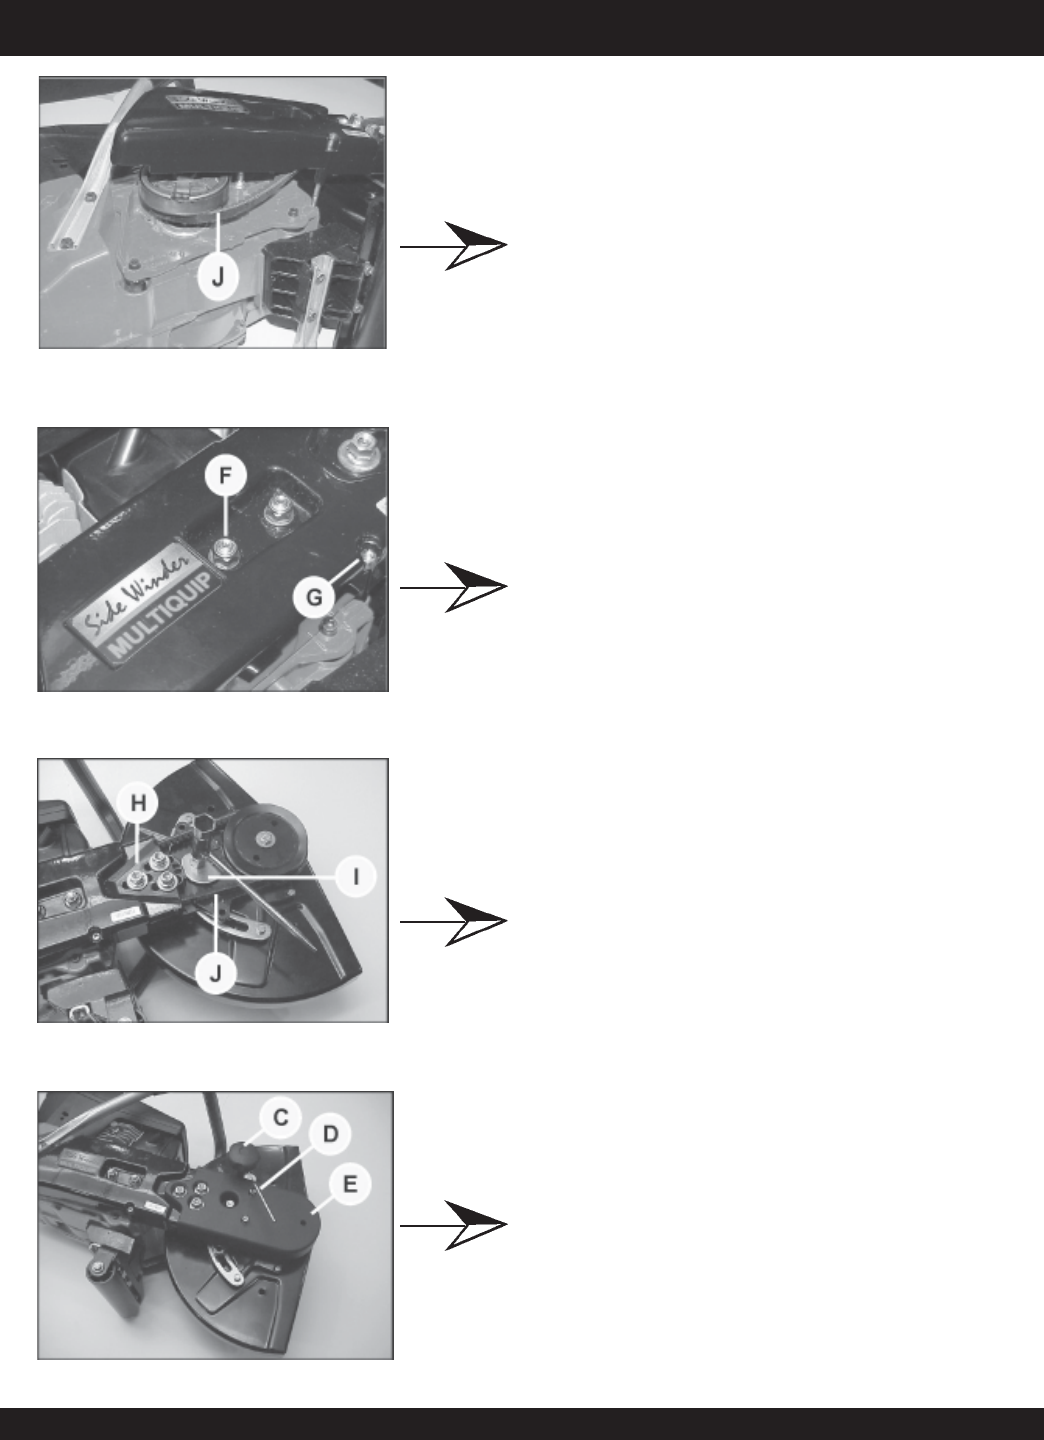
Figure 11. Re-Installing Cover Guard
Re-install the
cover guard
K
, and fully tighten the two cap
screws
J
and replace the adjustment knob
I
.