


PAGE 16 — SHS81A CUT-OFF SAW — OPERATION AND PARTS MANUAL — REV. #0 (01/30/08)
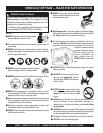
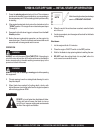
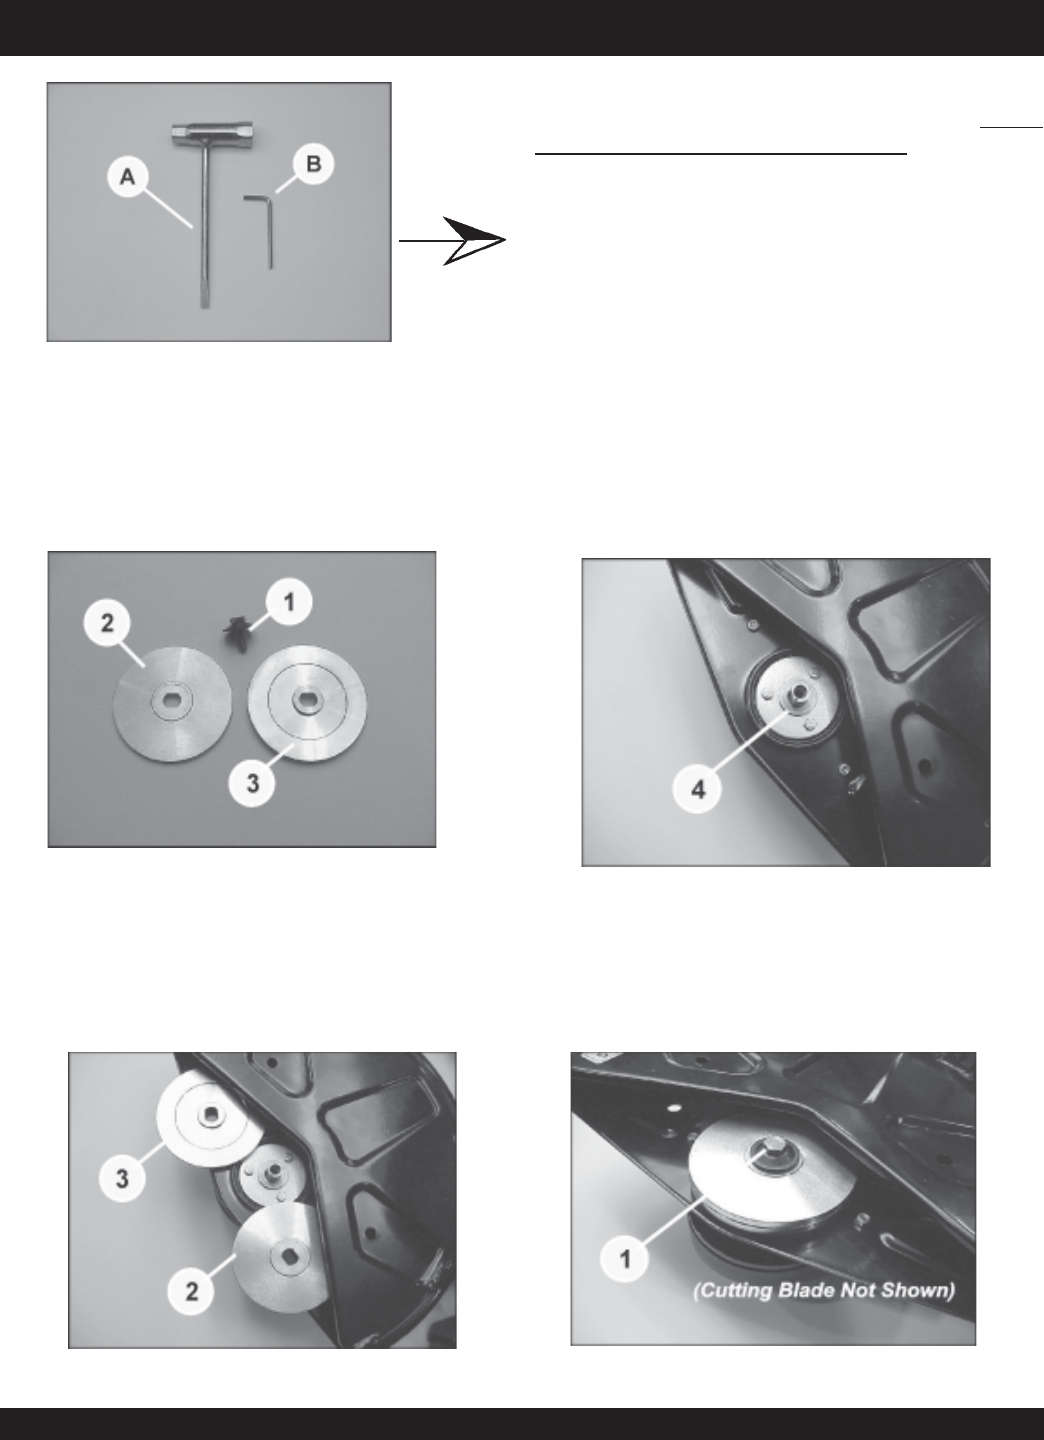
The Multiquip
Side Winder
Cut-Off Saw comes with a Tool Kit
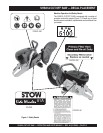
(Figure 4) that assists you with day to day operations.
You will
need these tools for the assembly of your saw.
Item
G
is a versatile screwdriver/wrench that accommodates
common bolt/screw and nut head sizes of your saw.
Item
H
is the wrench necessary to accommodate various
allen screws.
Figure 4. Tool Kit
SHS81A CUT-OFF SAW — BLADE INSTALLATION INSTRUCTIONS
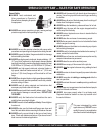
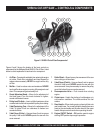
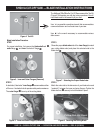
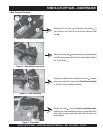
Blade Installation Procedure
STEP 1
For proper installation, first remove the
blade shaft nut
X
,
outer
flange
Y
, and
inner
“dual-arbor” flange
Z
.
Figure 5. Inner and Outer Flanges (Removal)
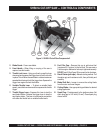
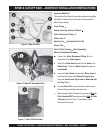
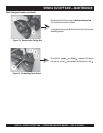
Figure 6. Inner and Outer Flanges (Placement)
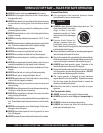
STEP 2
A dual sided, “dual-arbor”
inner flange
Z
accommodates either
a 20 mm or 1-inch arbor hole for operator safety and convenience.
The
outer flange
Y
fits on top of the cutting blade.
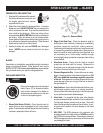
STEP 3
Chose the proper
blade arbor
side of the
inner flange
(to match
your cutting blade arbor) and place this selected side to the
blade shaft
[
.
Figure 7. Selecting the Proper Blade Arbor
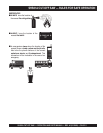
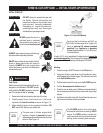
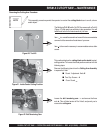
STEP 4
Match the arbor side to the dimension of your blade arbor and
“sandwich” between the inner and outer flanges. Tighten the
blade shaft nut
X
securely to hold the blade in place.
Figure 8. Securing the Cutting Blade