


3
Initial Setup & Operation.
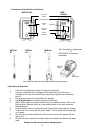
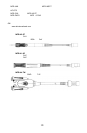
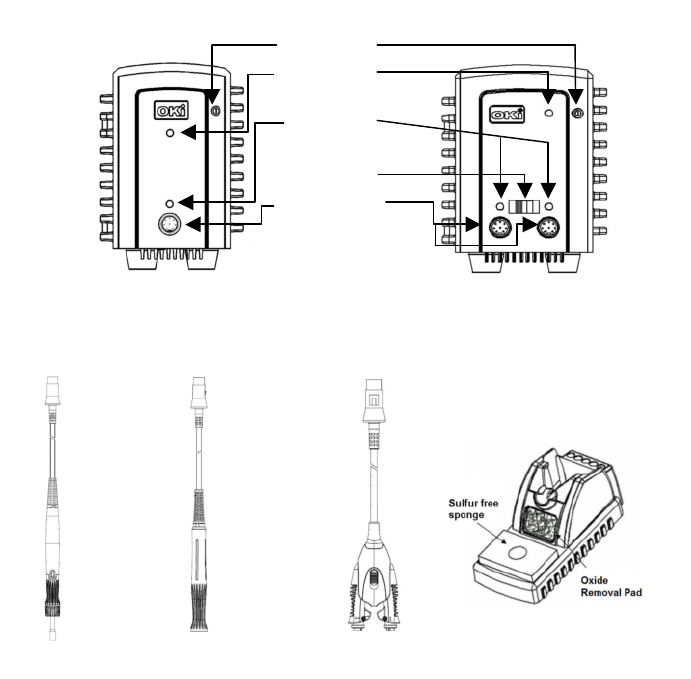
1. Connect hand-piece(s) to power unit output connector(s).
2. Insert your selected tip or cartridge into the hand-piece. Push the tip or
cartridge all the way until it seats (See instructions supplied with each hand-
piece).
3. Place hand-piece(s) into associated work stand(s).
4. Add distilled water to work stand sponge (sulfur free).
5. (MFR-2200) Select the desired channel using the selector switch. Either Left,
Right or Both (Selector switch is in the center position to run both channels
simultaneously)
6. Plug the power cord into a grounded wall socket of the rated input line voltage.
7. To turn the unit on, push the AC power switch. The AC power LED should light
up in green.
8. Unit must be grounded, otherwise it will not work, and the AC power LED will
light in red.
9. Unit will not work in electrical network where an isolation transformer has been
used.
Always use tip removal pad for changing tips.
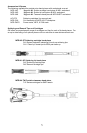
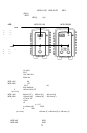
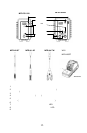
AC Power LED
AC Power
Switch
Output
Connector
Channel
Switch
Channel
LED
MFR-
PS2200
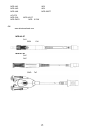
WS1 for soldering handpieces
or
MFR-WSPT for tweezers
handpiece
MFR-H2-
ST
MFR-H1-
SC
MFR-H4-
TW
See inserts for relevant hand-piece operating instructions
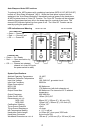
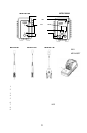
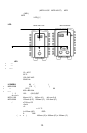
Contents and Identification of Features
MFR-PS1100