17
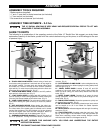
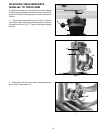
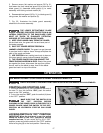
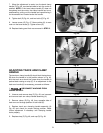
Fig. 31
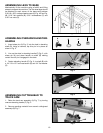
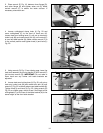
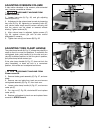
Fig. 32
5. Remove screw, flat washer and spacer (G) Fig. 31,
that fasten the front inside leaf guard (H) to front end of
blade guard (J). Assemble blade guard (J) to motor
assembly with locking rod and washer (K).
6. Reassemble leaf guard (H) Fig. 31, to blade guard (J)
using screw, flat washer and spacer (G).
7. Fig. 32, illustrates the blade guard assembly
attached to the motor assembly.
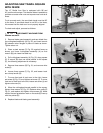
THE LOWER RETRACTABLE BLADE
GUARD PROVIDES OPERATOR PROTECTION IN AN
LATERAL DIRECTION TO THE SAW BLADE. CARE
MUST BE TAKEN TO ELIMINATE POTENTIAL
HAZARDS OF THE LOWER BLADE GUARD.
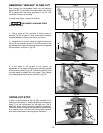
A) KEEP YOUR HANDS AWAY FROM THE GUARD.
As the blade cuts, the guard will rise and leave part of
the blade exposed.
B) SHUT OFF POWER BEFORE FREEING A
JAMMED LOWER GUARD. The guard can get jammed
in previous kerfs in table or fence. Always anticipate the
path of the guard and blade.
C) USE CAUTION when making bevel cuts to be sure
the lower guard is never pinched towards the blade.
D) THE LOWER GUARD CAN JAM AGAINST THE
FENCE DURING NARROW IN-RIPS. Should the guard
jam against the fence, disconnect the saw from power
source, wait for the blade to stop, then lift the blade
guard and rest it on top of the fence.
K
J
H
G
ALWAYS DISCONNECT MACHINE FROM POWER SOURCE BEFORE MAKING ANY ADJUSTMENTS.
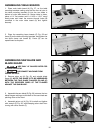
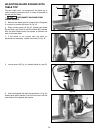
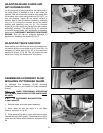
Fig. 35
B
A
OPERATION
STARTING AND STOPPING SAW
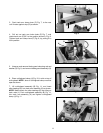
1. The on/off switch (A) Fig. 35 is located on the front of
the saw. To turn the machine “ON”, push the switch
down to the “ON” position.
2. To turn the machine “OFF”, push the switch (A) down
to the “OFF” position.
MAKE SURE THAT THE SWITCH IS IN
THE “OFF” POSITION BEFORE
PLUGGING IN THE POWER CORD. IN THE EVENT OF A
POWER FAILURE, MOVE THE SWITCH TO THE “OFF”
POSITION. AN ACCIDENTAL START-UP CAN CAUSE
INJURY.
LOCKING SWITCH IN “OFF” POSITION
IMPORTANT: When the tool is not in use, the switch
should be locked in the “OFF” position to prevent
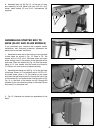
unauthorized use. To lock switch (A) Fig. 35 in “OFF”
position, press and hold the switch in the “OFF” position
while turning key (B) to the lock position. Remove key.
OPERATIONAL CONTROLS AND ADJUSTMENTS


