


9
CAUTION: DO NOT EXERT PRESSURE ON SCREW WHILE DOING THIS.
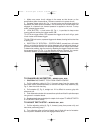
4. Place end of screw in desired location and remove fingers.
5. Apply forward pressure to drive screw until depth stop rests on the
surface of the work. The depth stop should be adjusted so the fastener head
seats firmly on the work. Avoid seating the fastener too deep to prevent
shearing off the head.
TO REMOVE SCREWS – ALL MODELS
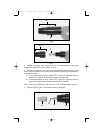
1. Install proper bit that fits screw.
2. Set screwdriver for reverse rotation.
3. Start screwdriver and place bit in screw.
4. Exert forward pressure to remove screw.
MAINTENANCE
KEEP TOOL CLEAN
Periodically blow out all air passages with dry, compressed air. All plastic parts
should be cleaned with soft damp cloth. NEVER use solvents, to clean plastic
parts. They could possibly dissolve or otherwise damage the material.
CAUTION: Wear safety glasses while performing this operation.
FAILURE TO START
Should your tool fail to start, check to make sure the prongs on the cord plug
are making good contact in the outlet. Also, check for blown fuses or open
circuit breakers in the line.
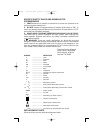
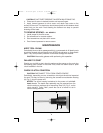
CHECK CLUTCH CONDITION
CAUTION: DISCONNECT TOOL FROM POWER SOURCE
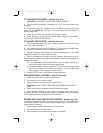
Periodically, depending on use, screwdriver clutch jaws should be inspected
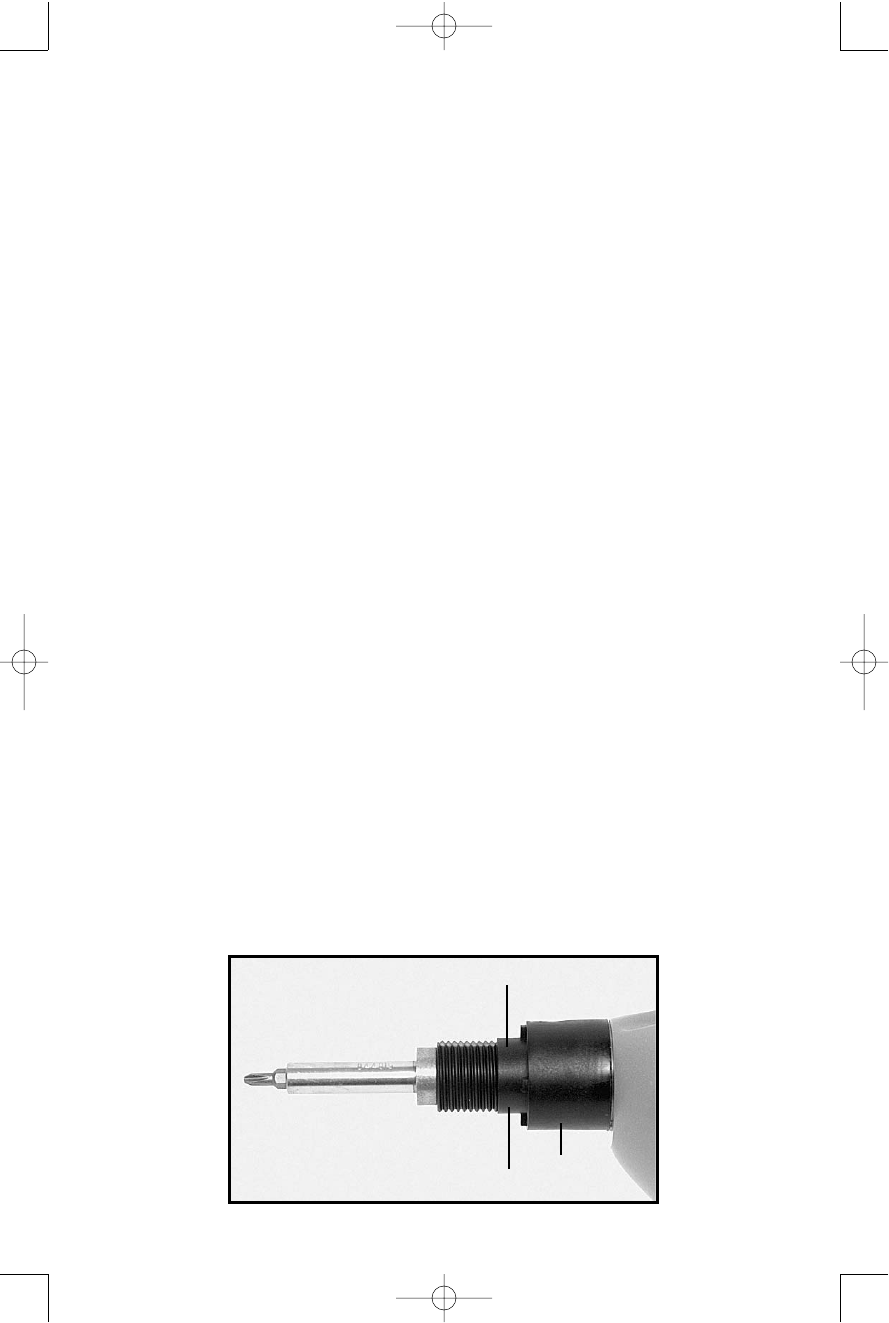
for wear. This may be done by removing the screwdriver mechanism housing
(A), Fig. 5, from the power unit.
NOTES: The clutch housing is attached to the power unit with left-
hand threads. The depth stop assembly may be removed from the
clutch housing to expose a set of wrenching “flats” (B), Fig. 5, on the
clutch housing. These “flats” permit the use of a wrench to aid in
clutch housing removal.
Fig. 5
B
B
A
902387 - 10-31-01.qxd 2/12/02 3:30 PM Page 9