


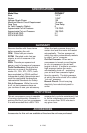

12 - ENGA11894
2.
Plug the power cord into the
correct branch circuit receptacle.
(Refer to "Voltage and Circuit
Protection" paragraph in the
"Installation" section of this
manual.)
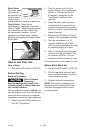
3. Open the drain valve (counter-
clockwise) fully to permit air to
escape and prevent air pressure
build up in the air tank during the
break-in period.
4. Move the On/Off switch to ON (I)
position. The compressor will start.
5. Run the compressor for 15
minutes. Make sure the drain
valve is open and there is minimal
air pressure build-up in tank.
6. After 15 minutes, close the drain
valve by turning clockwise. The
air receiver will fill to "cut-out"
pressure and the motor will stop.
The compressor is now ready for use.
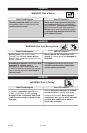
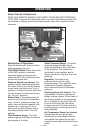
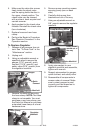
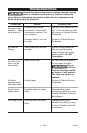
Drain Valve:
The drain valve
is located at
the base of the
air tank and is
used to drain
condensation at the end of each use.
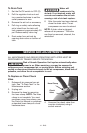
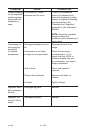
Check Valve: When the air
compressor is operating, the check
valve is "open", allowing compressed
air to enter the air tank. When the
air compressor reaches "cut-out"
pressure, the check valve "closes",
allowing air pressure to remain inside
the air tank.
Check Valve
How to Use Your Unit
How to Stop
:
1. Set the On/Off switch to OFF (O).
Before Each Start-Up:
1. Set the On/Off switch to OFF (O).
2. Pull the regulator knob out and
turn counterclockwise to set the
outlet pressure to zero.
3. Attach hose and accessories.
NOTE: The hose or accessory will
require a quick connect plug if the
air outlet is equipped with a quick
connect socket.
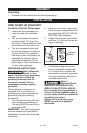
Before Starting
Break-in Procedure
Risk of Unsafe
Operation.
Serious damage may result if the
following break-in instructions are
not closely followed.
This procedure is required
before the
air compressor is put into service and
when the check valve or a complete
compressor pump has been replaced.
1. Make sure the On/Off switch is in
the OFF (O) position.
Drain
Valve