


14 - ENG
D26130
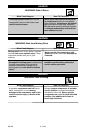
To Drain Tank
1. Set the On/Auto/Off lever to
"OFF".
2. Turn the regulator knob counter-
clockwise to set the outlet
pressure to zero.
3. Remove the air tool or accessory.
4. Pull ring on safety valve allowing
air to bleed from the tank until
tank pressure is approximately
20 psi. Release safety valve ring.
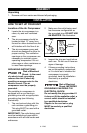
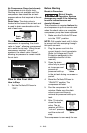
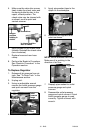
5. Drain water from
air tank by opening
drain valve on
bottom of tank.
Water will condense
in the air tank. If not
drained, water will corrode and
weaken the air tank causing a risk
of air tank rupture.
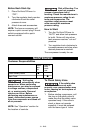
6. After the water has
been drained, close
the drain valve. The
air compressor can
now be stored.
NOTE: If drain valve is
plugged, release all air pressure. The
valve can then be removed, cleaned,
the reinstalled.
Open Drain
Valve
Closed Drain
Valve
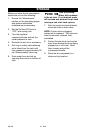
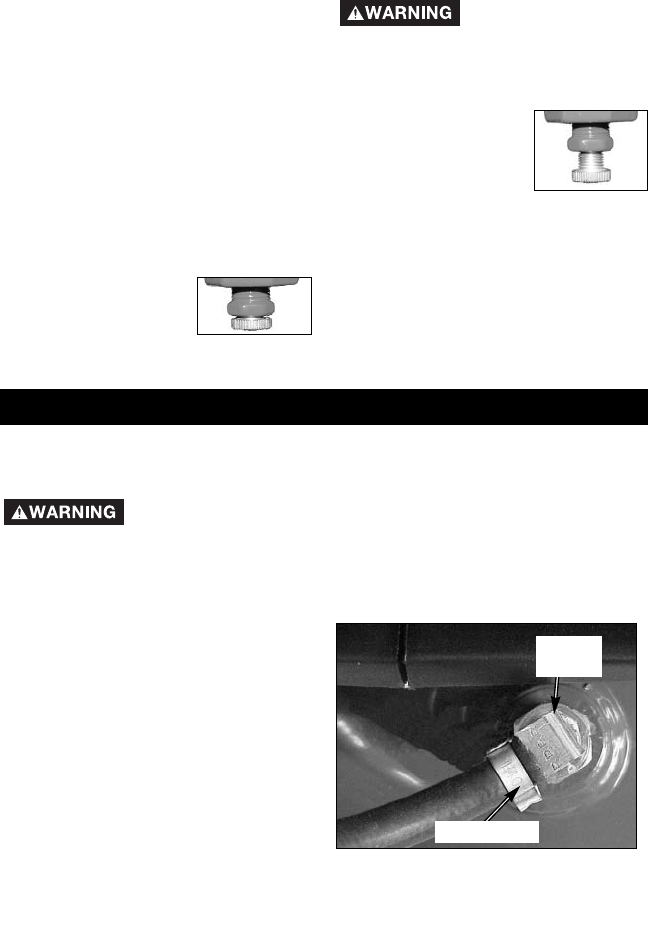
To Replace or Clean Check
Valve
1. Release all air pressure from air
tank. See "To Drain Tank" in the
Maintenance section.
2. Unplug unit.
3. Remove the hose by removing
the hose clamp. NOTE: The hose
clamp is not reusable. You must
purchase a new hose clamp, see
the Parts List Manual or purchase
a standard hose clamp at a local
hardware store.
SERVICE AND ADJUSTMENTS
Risk of Unsafe Operation. Unit cycles automatically when
power is on. When servicing, you may be exposed to
voltage sources, compressed air, or moving parts. Before servicing unit
unplug or disconnect electrical supply to the air compressor, bleed tank of
pressure, and allow the air compressor to cool.
ALL MAINTENANCE AND REPAIR OPERATIONS NOT LISTED MUST BE
PERFORMED BY TRAINED SERVICE TECHNICIAN.
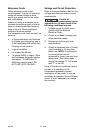
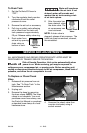
4. Unscrew the check valve (turn
counter-clockwise) using a
socket wrench.
Check
Valve
Hose Clamp