


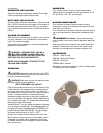
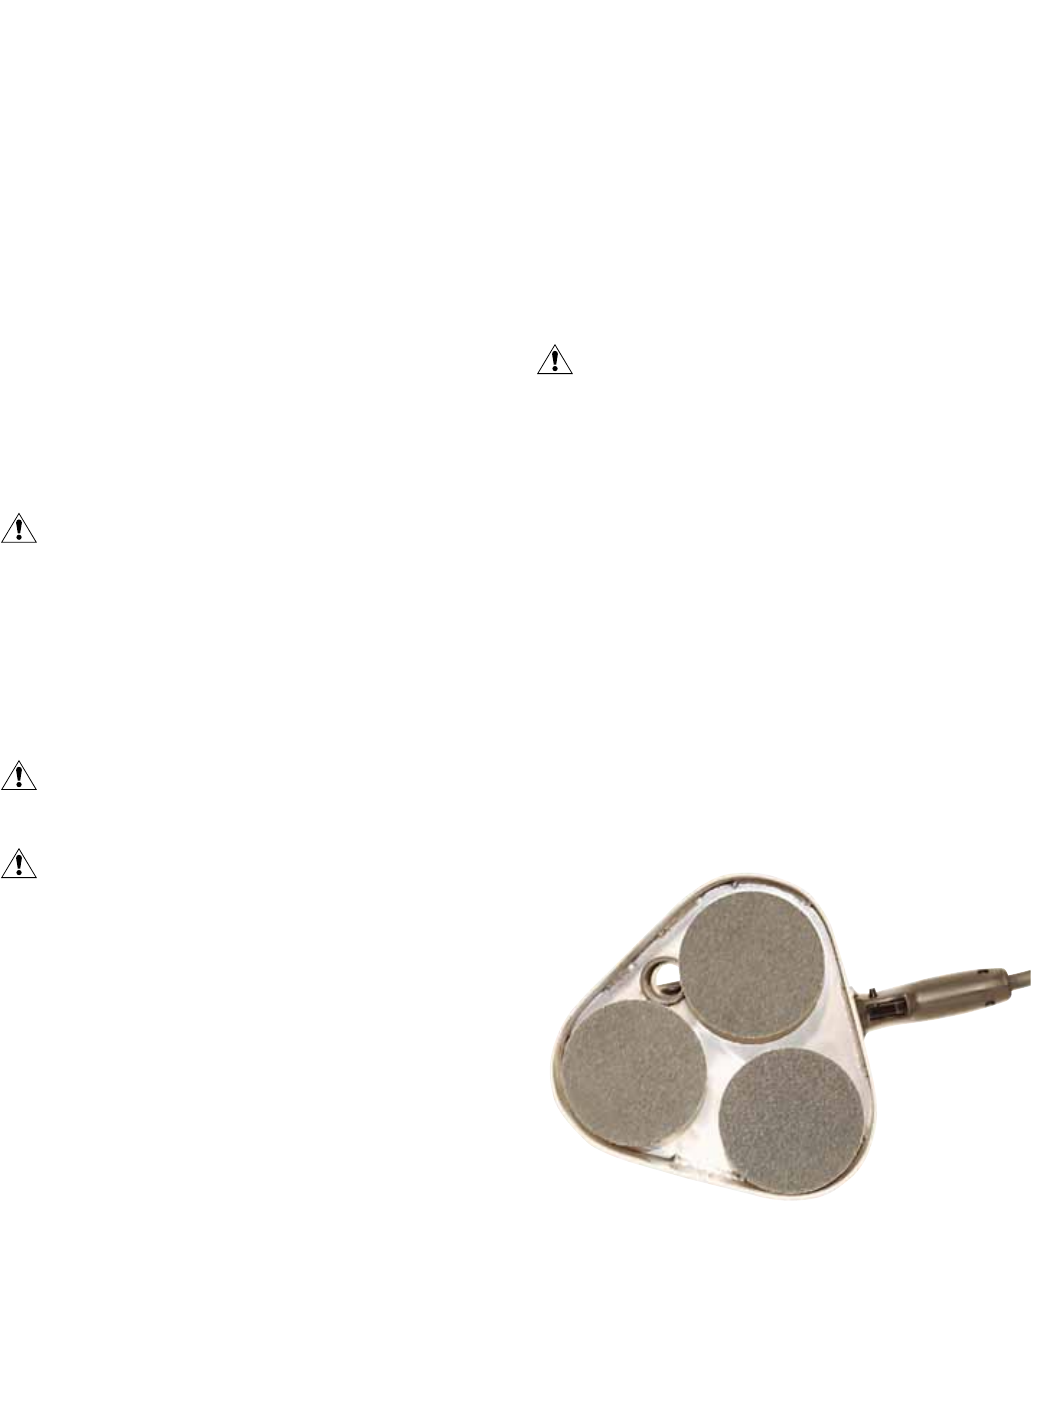
SANDPAPER
This machine uses 5" hook and loop sanding discs.
Various grits are available from the manufacturer in 24,
36, 40, 60, 80, 100, 120, and 180 grits.
MACHINE MAINTENANCE
Turn machine off when finished using and unplug.
Disconnect vacuum from machine and vacuum all dust
from bottom of machine.
Turn off vacuum and unplug. Empty the vacuum accord-
ing to the manufacturer’s instructions immediately after
use.
WARNING Fire Hazard - Never allow standing
dust to remain in the dust collection apparatus when not
in use.
Empty the vacuum and remove from sander each time
operator is leaving the work area of the sander. Dust
particles can spontaneously combust causing a fire!
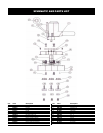
ACCESSORIES
PSD101 - Backer Pads
PSD102 - Backer Pad Savers
PSD103 - Dust Skirt
PSDMNI-MAN - Manual
Sandpaper from the manufacturer- sold in 20 disc packs
in various grits. Call for details.
and pressing.
SANDPAPER INSTALLATION
Attach the necessary sandpaper needed for the appli-
cation by aligning the paper onto the disc.
DUST SKIRT INSTALLATION
Once the above items are assembled, remove the Dust
Skirt, PSD103 from the box and attach to the bottom of
the deck plate ensuring the Dust Skirt you are attach-
ing is level with the work surface for maximum vacuum
suction.
VACUUM ATTACHMENT
Slide end of the vacuum hose you plan to use onto the
vac port. Should be 1.25” in diameter for the vacuum
hose. This should fit snuggly.
Ensure the vacuum remains on and connected during
operation of the machine.
WARNING - AIRBORNE DUST CAN BE A
SERIOUS FIRE HAZARD. ALWAYS FOLLOW
THE MANUFACTURER’S INSTRUCTIONS FOR
EMPTYING THE VACUUM CONTENTS.
NEVER LEAVE MACHINE ATTACHED TO THE
VACUUM UNATTENDED.
OPERATION
CAUTION Make certain the switch is in the “OFF”
position before connecting the tool to the power source
to avoid unintentional starting.
WARNING Make sure to wear eye and ear protec-
tion when operat-ing this equipment.
USE A STANDARD 100v OUTLET.
Plug in the vacuum and then turn on the vacuum. Plug
in the machine, hold machine with two hands and turn
the power switch to the “ON” position. The switch on
the sander may be locked in the on position for extend-
ed use. To keep the sander running continuously,
depress the trigger and push in the switch locking but-
ton on the left side of the handle. While holding the but-
ton in release the trigger. To release the locking button,
depress the trigger and release.
Variable Speed - You can adjust the speed of the sand-
er by turning the thumbwheel. Thumbwheel position #1
provides the slowest operating speed (3300RPM) and
position #6 the fastest (4500 RPM). You can change
the speed while the motor is “ON” or “OFF”.
Always turn machine off and unplug when not in use.
Move machine slowly over area to be sanded, replace
sandpaper as needed. When switching from one grit
to another vacuum area thoroughly to avoid scratches
from previous grit.