17
To check and adjust the 45-degree stop:
1. Loosen lock handle (D, Figure 22) and tilt
fence until it contacts the 45-degree stop (C,
Figure 22).
2. Place a machinist’s protractor or similar
device set at 45 degrees on the table and
against the fence.
3. If adjustment is necessary, loosen the hex
nut on the stop screw (C, Figure 22) and
turn the stop screw until the fence is flush
with the protractor.
4. Retighten the hex nut.
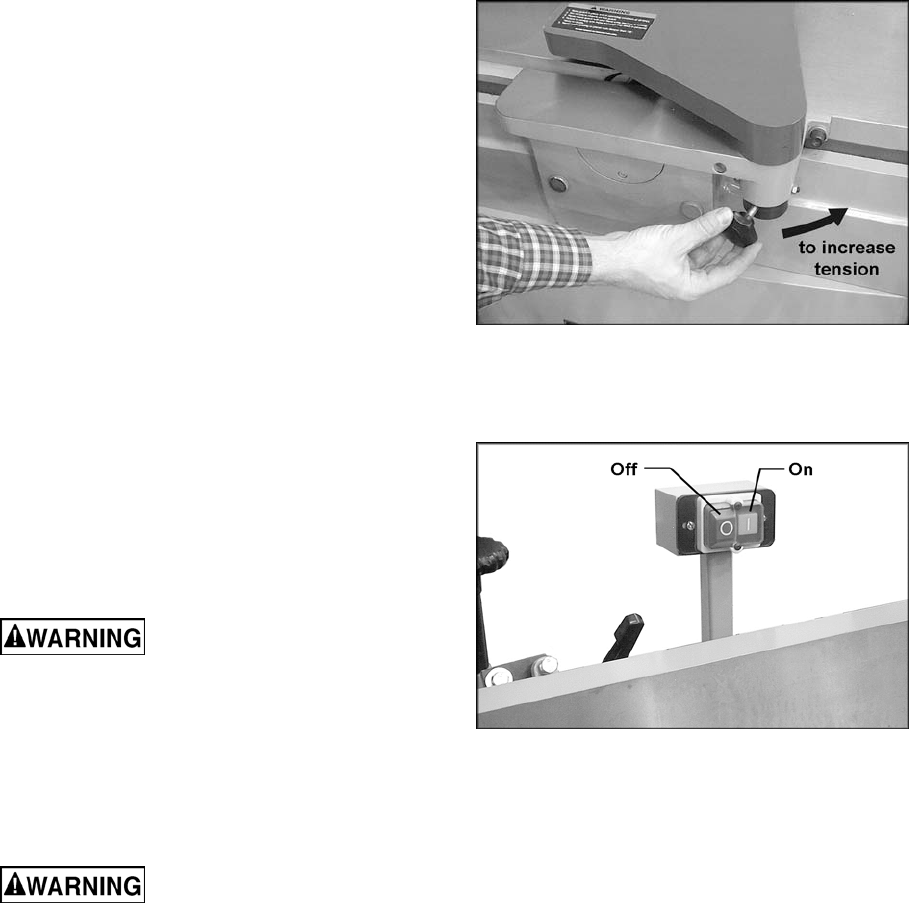
9.7 Cutter Guard Tension
The tension of the guard (Figure 24) must
always be sufficient during jointer operations to
cause the guard to conceal the unused part of
the cutterhead, and to swing back to contact the
fence after the workpiece has cleared the
cutterhead. To adjust the guard tension:
1. Loosen the knob shown in Figure 24 and
push the knob to the right to increase guard
tension; or to the left to decrease guard
tension.
2. Tighten the knob in that position.
10.0 Operating Controls
The push button on/off switch is conveniently
positioned above the table (Figure 25). Do not
remove the clear plastic cover, as this keeps
wood dust out of the switch.
11.0 Operation
Before operating the 1285
Jointer, make sure knives are properly
tightened. On helical head models, verify
that each of the inserts is properly torqued
down.
NOTE: If you are inexperienced at jointing, use
scrap pieces of lumber to check settings and get
the feel of operations before attempting regular
work.
Always use the guard
whenever possible and keep hands away
from cutterhead. Failure to comply may
cause serious injury.
Ideally, the fence should be moved forward
(toward the front of the machine) to expose only
the amount of cutterhead needed for the
workpiece.
Figure 24
Figure 25
