


11
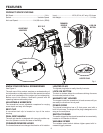
OPERATION
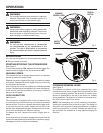
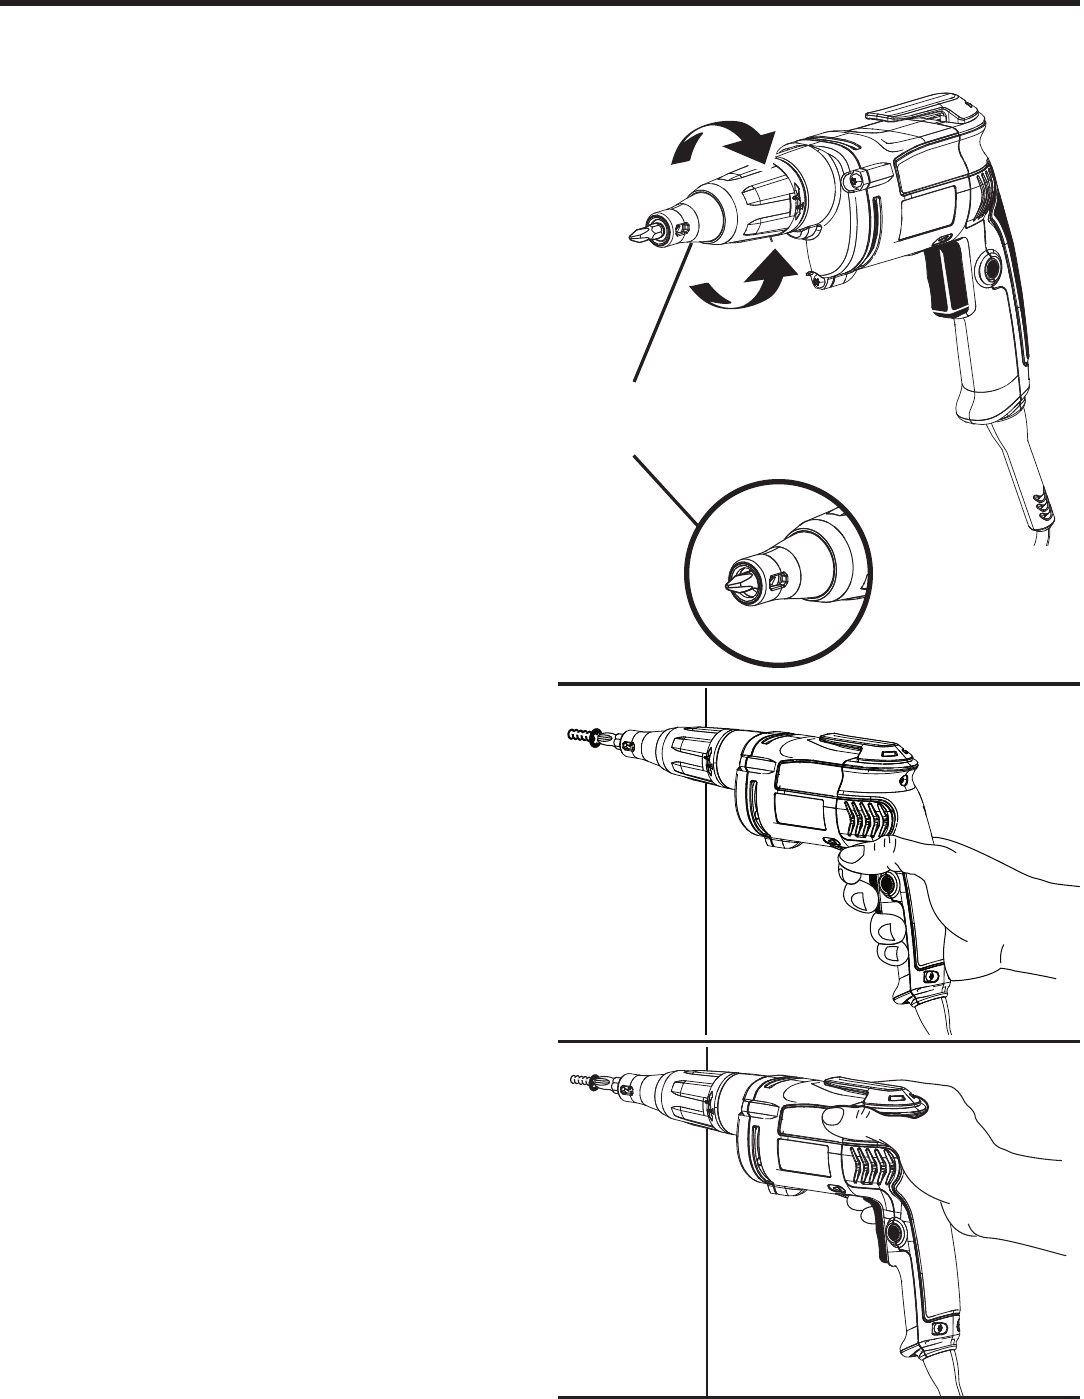
SETTING DEPTH
See Figure 5.
The adjustable nosepiece of the tool will automatically drive
screws to preset depths. It may be helpful to begin each new
job by driving several test screws in scrap material to check
and adjust the depth setting.
To make preset depth adjustments:
Rotate the adjusting sleeve until you obtain the desired
depth for the bit holder or screwdriver bit.
Test drive a screw in scrap material to determine if it is
correct.
Adjust as necessary to increase or decrease the desired
depth.
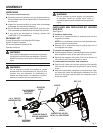
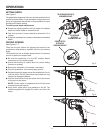
DRIVING SCREWS
See Figures 6 - 7.
There are two two options for gripping the handle of the
screwdriver, determined by operator comfort and working
angle.
The screwdriver has a variable speed switch for operator
control of speed and torque limits.
Be sure the screwdriver is in the OFF position before
connecting it to the power supply.
Check the direction of rotation lever for correct setting
(forward or reverse).
Secure the workpiece. Use clamps if necessary.
Plug the screwdriver into power supply source.
Depress the switch trigger to start the screwdriver. Do not
lock the switch ON for jobs where the screwdriver may
need to be stopped suddenly.
Hold the screwdriver firmly and place the bit and screw
at the point to be driven.
NOTE: The bit holder is magnetized and will hold most
commercial drywall screws.
Apply quick, snap action type pressure to the bit. The
pressure applied will engage the clutch and drive the
screw.
Fig. 5
Fig. 7
TO DECREASE DEPTH OF
SCREWDRIVER BIT
TO INCREASE
DEPTH OF
SCREWDRIVER BIT
PRESET DEPTH
SETTING OF
SCREWDRIVER BIT
Fig. 6