


18
22
18
16
20
R
2
2
18
16
20
R
22
18
16
20
R
Fig. 18
Fig. 19
Fig. 17
MAINTENANCE
WARNING:
When servicing use only identical RIDGID
®
replace-
ment parts. Use of any other parts may create a
hazard or cause product damage.
Do not abuse power tools. Abusive practices can damage
tool as well as workpiece.
GENERAL
Avoid using solvents when cleaning plastic parts. Most plas-
tics are susceptible to damage from various types of com-
mercial solvents and may be damaged by their use. Use clean
cloths to remove dirt, carbon dust, etc. that can damage,
weaken, or destroy plastic.
WARNING:
Do not at any time let brake fluids, gasoline, petro-
leum-based products, penetrating oils, etc. come in
contact with plastic parts. They contain chemicals
that can damage, weaken or destroy plastic.
WARNING:
Do not attempt to modify this tool or create acces-
sories not recommended for use with this tool. Any
such alteration or modification is misuse and could
result in a hazardous condition leading to possible
serious personal injury.
WARNING:
Always wear eye protection marked to comply with
ANSI Z87.1. Failure to do so could result in dust,
shavings, or loose particles being thrown into your
eyes, resulting in possible serious injury.
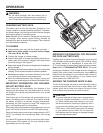
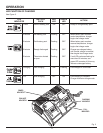
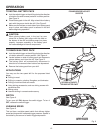
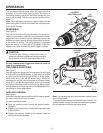
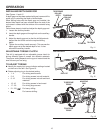
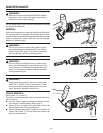
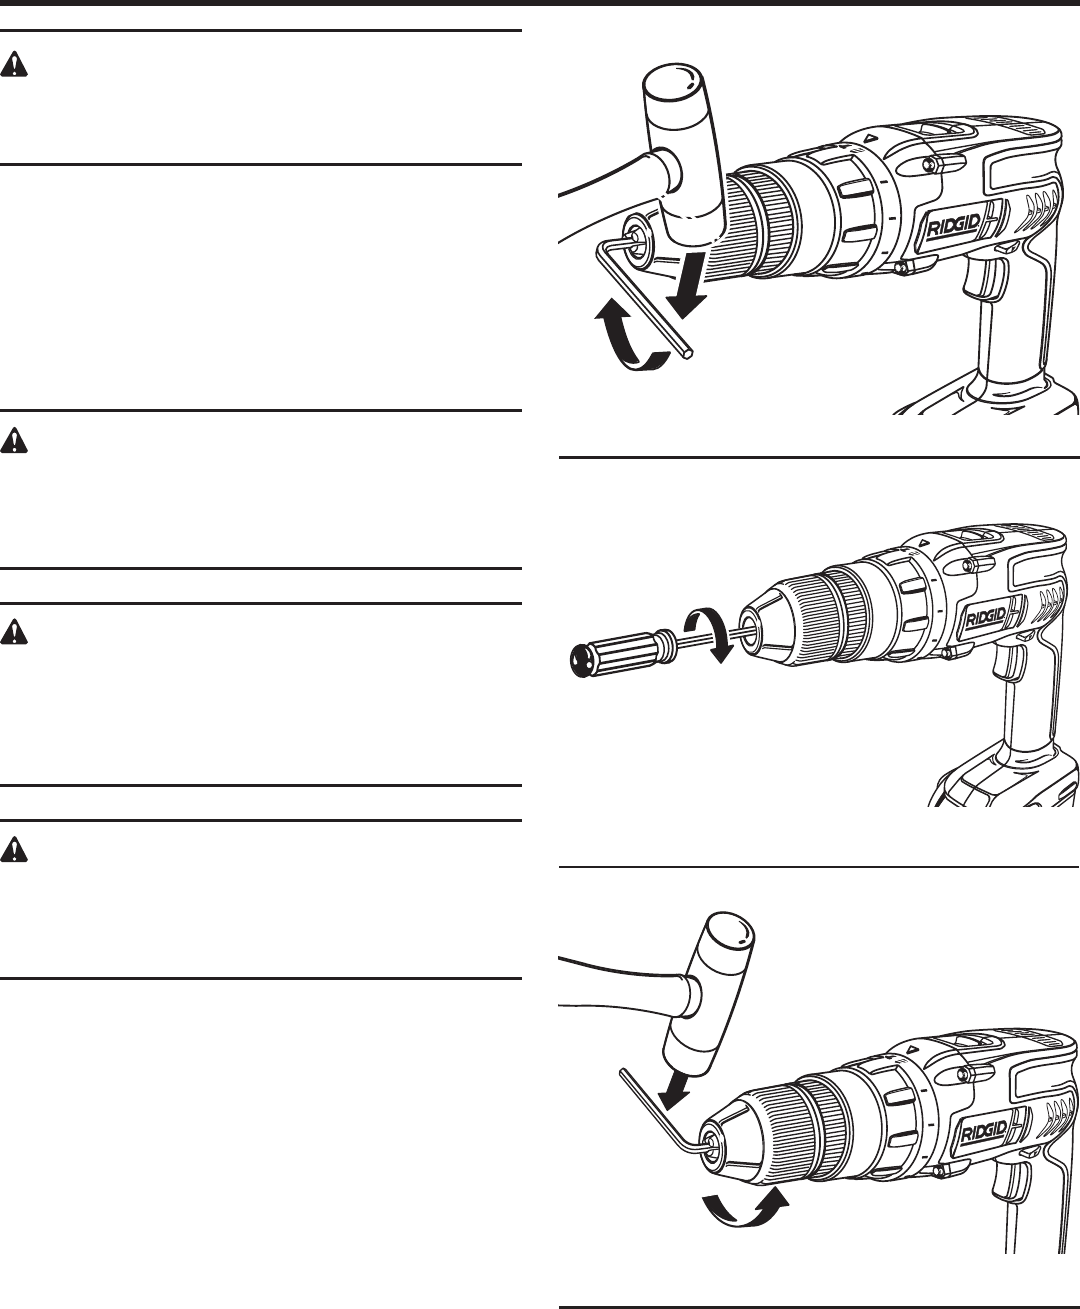
CHUCK REMOVAL
See Figures 17, 18, and 19.
The chuck must be removed in order to use some accesso-
ries. To remove:
Lock the switch trigger by placing the direction of rota-
tion selector in center position. See
Figure 4.
Insert a 5/16 in. or larger hex key into the chuck of the
drill and tighten the chuck jaws securely.
Tap the hex key sharply with a mallet in a clockwise di-
rection. See
Figure 17.
This will loosen the screw in the
chuck for easy removal.