11
WARNING:
Always unplug the tool when installing or removing bits,
adjusting settings, or when the tool is not in use. Failure
to unplug the tool may result in accidental starting and
serious personal injury.
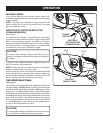
INSTALLING BITS
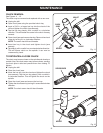
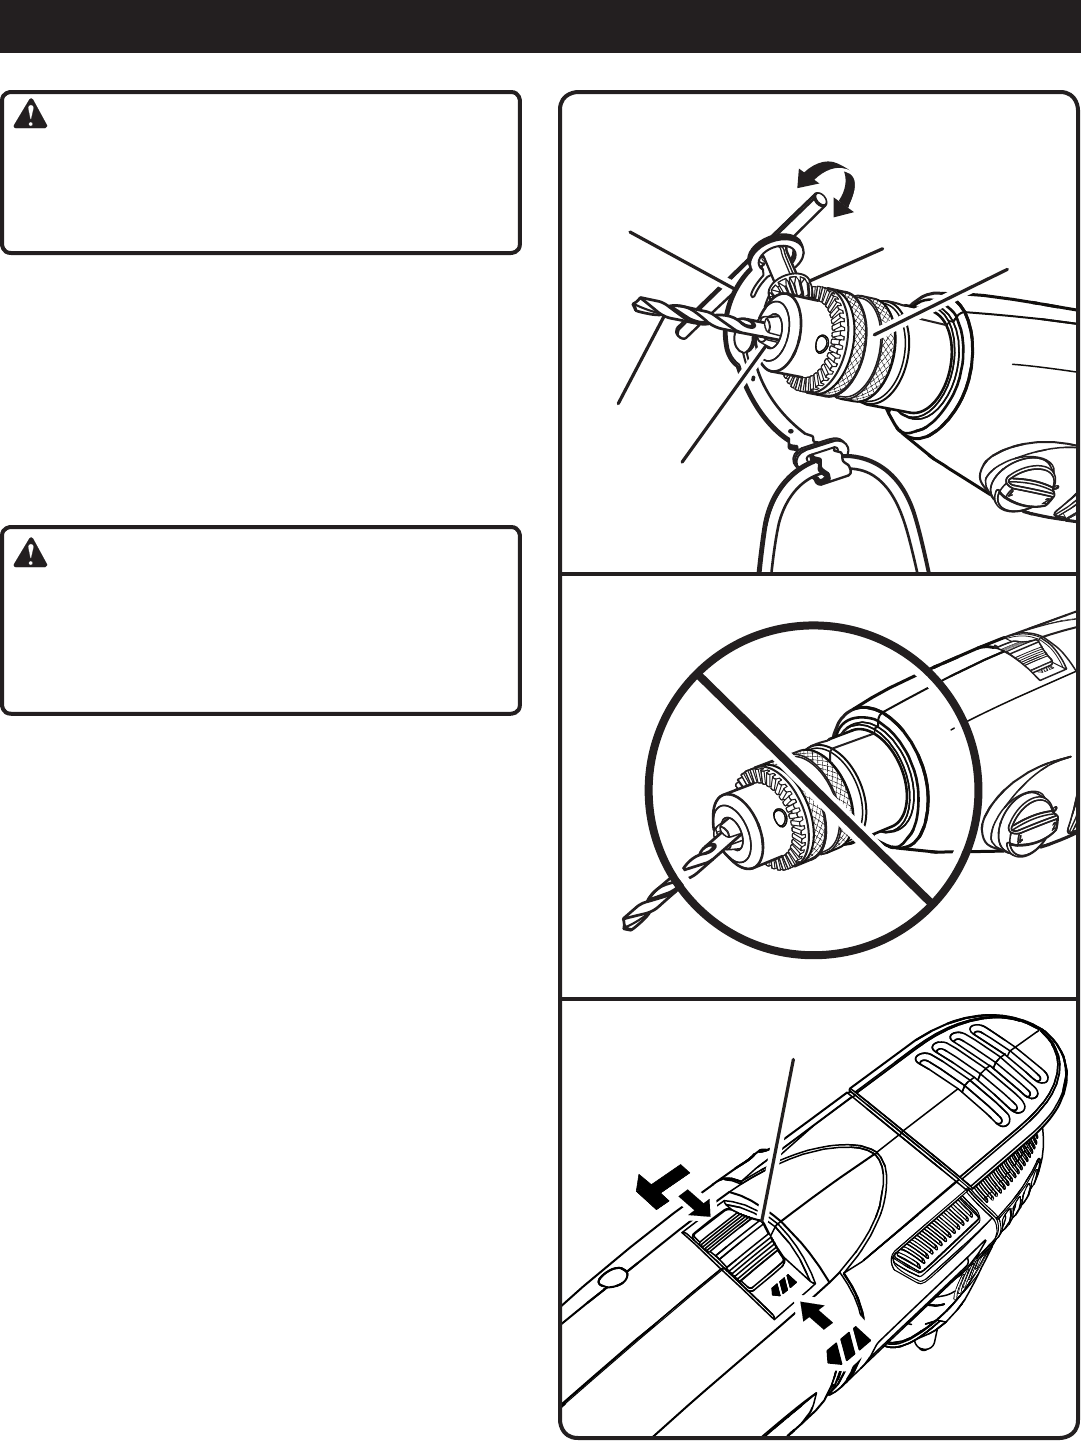
See Figures 5 - 6.
Unplug the drill.
Insert the chuck key and twist counterclockwise.
Open or close the chuck jaws to a point where the opening
is slightly larger than the bit size you intend to use. Also,
raise the front of the drill slightly to keep the bit from falling
out of the chuck jaws.
Insert the drill bit.
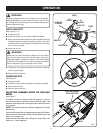
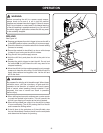
WARNING:
Make sure to insert the drill bit straight into the chuck
jaws. Do not insert the drill bit into the chuck jaws at an
angle then tighten, as shown in figure 6. This could cause
the drill bit to be thrown from the drill, resulting in possible
serious personal injury or damage to the chuck.
Tighten the chuck jaws securely on the drill bit, using the
chuck key provided.
Remove the chuck key.
REMOVING BITS
See Figure 5.
Unplug the drill.
Loosen the chuck jaws using the chuck key provided.
Remove the drill bit.
Remove the chuck key.
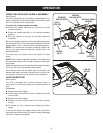
SELECTING HAMMER MODE OR DRILLING
MODE
See Figure 7.
To adjust for type of drilling, slide the selector on top of
the motor housing to hammer mode or drilling mode. The
hammer mode symbol is on the right and the drill bit symbol
is on the left.
NOTE: The hammer drill has not been designed for reverse
hammering.
Use carbide-tipped bits or designated hammer drill bits and
select hammer mode when drilling in hard materials such as
brick, tile, concrete, etc.
Select normal drill mode when drilling with twist drills, hole
saws, etc., in soft materials.
CHUCK KEY
STORAGE
OPERATION
Fig. 6
Fig. 5
RIGHT
WRONG
Fig. 7
DRILL BIT
TO
TIGHTEN
CHUCK JAWS
TO
LOOSEN
CHUCK KEY
CHUCK
HAMMER
DRILL
DRILLING/HAMMER
MODE SELECTOR


