4
FOR: PS-2100MA 2/15/100A 6/12V
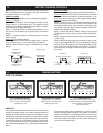
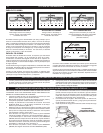
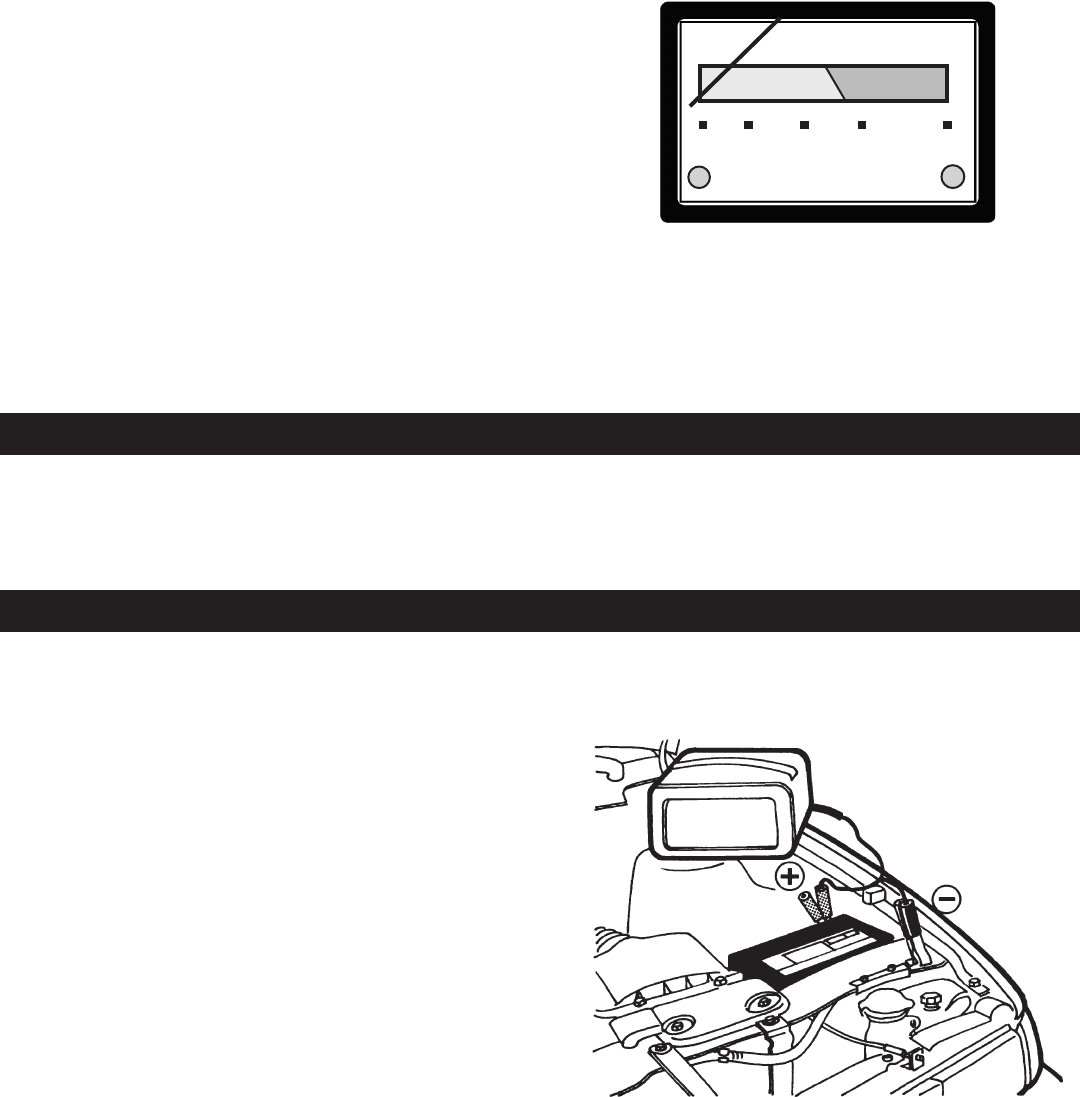
The meter indicates the amount of current measured in amperes
that is being drawn from the charger by a battery. In the 15 Amp
charge rate, a typical discharged battery may initially draw more
than 15 Amp during the first few minutes of charge. As the bat-
tery continues to charge, the current should gradually taper to
within 6 to 8 Amp at full charge.
When the battery has reached ‘Full Charge’, the LED indicator
will glow green. The red LED indicator will glow red if the clamps
are incorrectly connected to the battery terminals.
When charging a 6 volt battery, the LED will light before the bat-
tery is fully charged. Monitor the meter and stop charging when
the meter indicates around 7–8 amps.
The START area of the meter is reserved to indicate when a high
rate of current is being drawn from the charger. It is normal for
the meter pointer to be in this area while cranking a vehicle.
START
DC AMPS
FULL
CHARGE
CHECK
BATTERY
CHARGING
0
510
15
100
CHARGING
A SPARK NEAR BATTERY MAY CAUSE BATTERY EXPLO-
SION. FOLLOW THESE STEPS TO REDUCE RISK OF SPARK
NEAR BATTERY:
1. Position AC and DC cords in such a way as to reduce risk of
damage by hood, door, or moving engine part.
2. Stay clear of fan blades, belts, pulleys, and other parts that
can cause injury to persons.
3. Check polarity of battery posts. POSITIVE (POS, P,+) bat-
tery post usually has larger diameter than NEGATIVE (NEG,
N, -) post.
4. Determine which post of battery is grounded (connected to
the chassis). If negative post is grounded to chassis (as in
most vehicles), see No. 5. If positive post is grounded to the
chassis, see No. 6.
5. For a negative-grounded vehicle, connect POSITIVE (RED)
clamp from battery charger to POSITIVE (POS, P,+) un-
grounded post of battery. Connect NEGATIVE (BLACK)
clamp to vehicle chassis or engine block away from battery.
Do not connect clamp to carburetor, fuel lines, or sheet-metal
body parts. Connect to a heavy-gauge, unpainted metal part
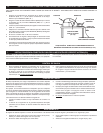
of the frame or engine block (see Figure 7).
6. For a positive-grounded vehicle, connect NEGATIVE
(BLACK) clamp from battery charger to NEGATIVE (NEG,
N, -) ungrounded post of battery. Connect POSITIVE (RED)
clip to vehicle chassis or engine block away from battery.
Do not connect clamp to carburetor, fuel lines, or sheet-metal
body parts. Connect to a heavy-gauge metal part of the frame
or engine block.
7. When disconnecting charger, disconnect AC cord, remove
clamp from vehicle chassis, and then remove clamp from
battery terminal, in that order.
8. See charge period for length of charge information.
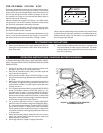
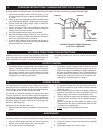
FIGURE 7: CONNECTION TO NEGATIVE –
GROUNDED BATTERY
G. OPERATING INSTRUCTIONS: CHARGING BATTERY IN VEHICLE
F. DC CONNECTION PRECAUTIONS
1. Connect and disconnect DC output clamps only after re-
moving AC cord from electric outlet. Never allow clamps to
touch each other.
2. Attach clamps to battery posts and twist or rock back and
forth several times to make a good connections. This tends
to keep clamps from slipping off terminals and helps to re-
duce risk of sparking.
When using the 2 Amp charge rate, the meter may indicate some
activity but doesn’t have the resolution to accurately display the
battery’s state of charge. For this reason, you should depend on
the full charge light indicator.


