


4
G. CIRCUIT BREAKER
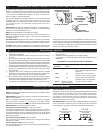
This battery charger is equipped with a self-resetting circuit
breaker. This device protects the charger from temporary over-
loads. In the event of an overload, the circuit breaker will trip
open. After a short cooling off period, it will reset automatically.
This process is known as cycling and can be recognized by an
audible
clicking sound.
NOTE:
Clicking sound is normal. Wait until charger automati-
cally resets itself.
CAUTION: Persistent clicking (more than 30 minutes) may indi-
cate reverse connection or shorted battery cells. (See TROUBLE
SHOOTING.)
I. OPERATING INSTRUCTIONS: CHARGING BATTERY IN VEHICLE
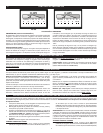
Three basic types of lead-acid batteries can be given a charge with this charger: (1) Conventional and Low Maintenance, (2) Mainte-
nance-Free, (3) Deep-Cycle.
Conventional and Low Maintenance Batteries. These are the
antimony/lead batteries. Conventional/low maintenance batter-
ies require periodic addition of water to the acid solution (elec-
trolyte). Additional water may be added by removing the filler
caps located on the top of the battery.
When antimony is known to be one of the materials used in the
battery's construction, that battery is a low maintenance/conven-
tional type.
CAUTION: Some low maintenance batteries have a relatively
smooth top without any apparent battery filler caps. If, however,
the battery manufacturer/distributor recommends periodic check-
ing of electrolyte level and provides access to the battery for
water additions, the battery is probably a low maintenance/con-
ventional type.
Maintenance-free Batteries. These are calcium/lead batteries
and normally do not require water additions. Therefore, filler caps
have been removed from the battery surface. These batteries
will have a smooth or sealed appearance.
Deep-cycle Batteries. These heavy-duty batteries are used in
boats, construction equipment, sump pumps, etc. They are nor-
mally marked Deep-cycle on the outside of the case.
With the PS-620 charger in the OFF position or the PS-1025
charger in 2 Amp position:
1. Position AC power cord and DC charging cords to reduce
risk of damage by hood, door, or moving engine parts.
2. Stay clear of fan blades, belts, pulleys, and other parts that
can cause injury.
3. Check polarity of battery posts. Battery case will be marked
by each post: POSITIVE (POS, P, +) and NEGATIVE (NEG,
N, -). NOTE: The positive battery post usually has a larger
diameter than the negative post.
4. Determine which post of battery is ground (connected to
chassis).
NOTE: The negative post is normally grounded.
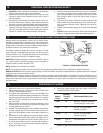
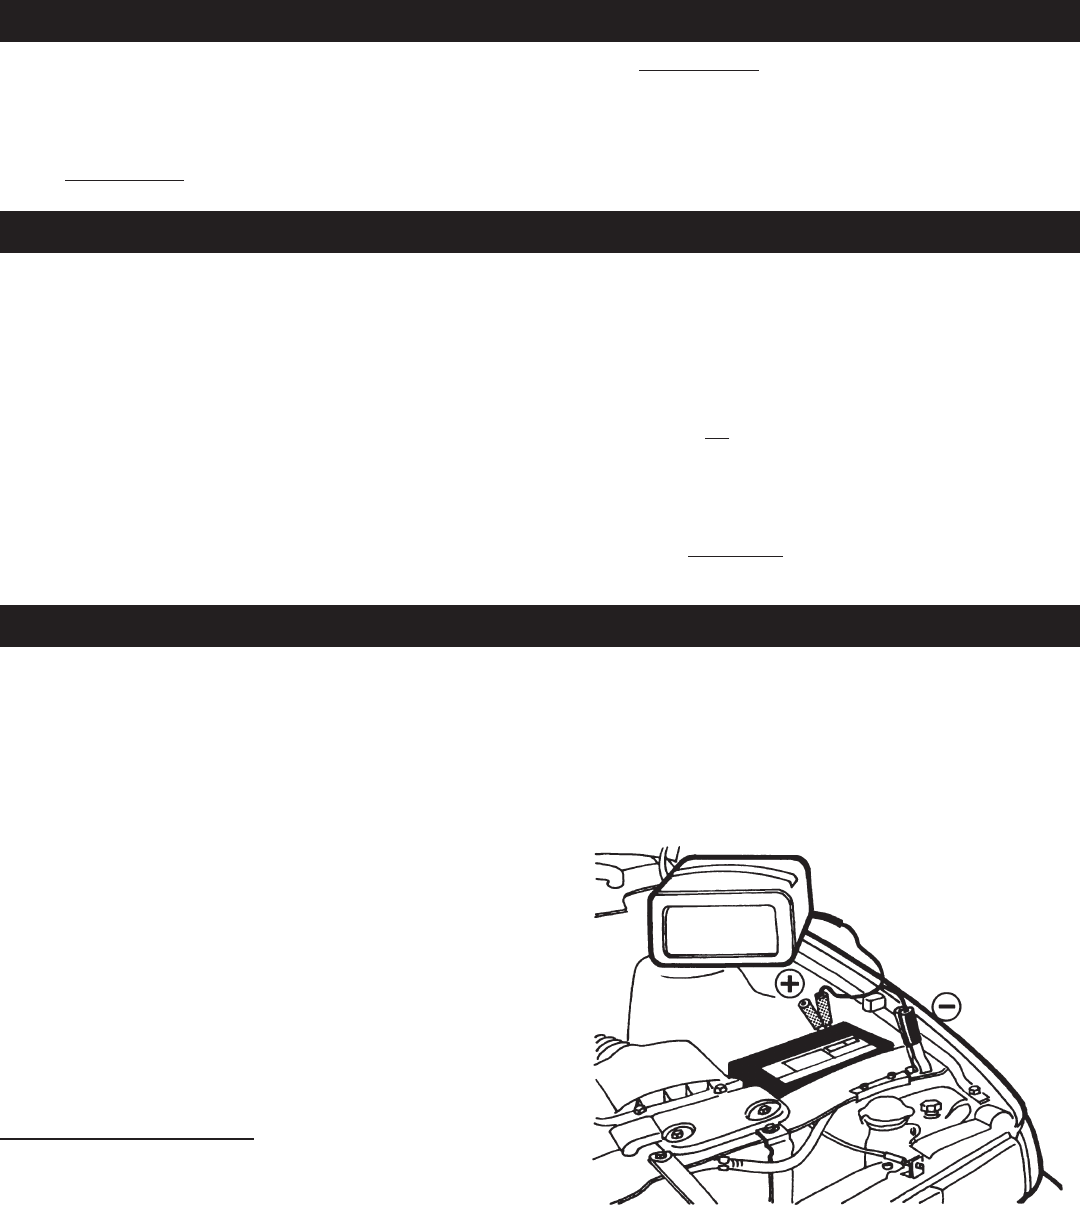
NEGATIVE GROUNDED POST
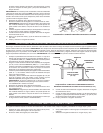
5A. For negative-grounded vehicle, connect POSITIVE (RED)
clamp from battery charger to POSITIVE (POS, P, +) un-
grounded post of battery. Connect NEGATIVE (BLACK)
clamp to vehicle chassis or engine block, away from bat-
tery. Connect to a heavy gauge unpainted metal part of the
frame or engine block.
WARNING: Do not connect clamp to carburetor, fuel lines, or
sheet-metal body parts. NOTE: Attach clamps to battery post
and twist or rock back and forth several times to make a good
connection. This tends to keep clamps from slipping off termi-
nals and helps to reduce risk of sparking. FIGURE 6 shows con-
nections for a negative-grounded battery.
H. BATTERY TYPES
When charging battery in the vehicle, take care to determine the battery type and which post is grounded. To reduce risk of a spark near
battery, follow these steps when battery is installed in vehicle. WARNING: A spark near battery may cause battery explosion.
FIGURE 6: CONNECTION TO NEGATIVE
GROUNDED BATTERY