


• 5 •
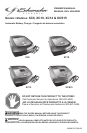
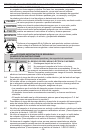
Digital Display (models XC12 and XCS15)
The display will show the battery VOLTAGE when the charger is not charging a battery.
When it goes into charging mode, the display will automatically change to ON (to show
charging has started) and then show the percent-of-charge of the battery being charged
and either 6 or 12 (the voltage the charger determined the battery is). If you manually
stop the charging process (by pressing the CHARGE RATE button) before the battery is
fully charged the display will show OFF.
Battery % –• The Digital Display shows an estimated charge percent of the battery
connected to the charger battery clips.
Voltage –• The Digital Display shows the voltage at the charger battery clips in DC
volts, or the voltage the charger determines the battery is depending on what mode
the charger is in.
Charge Rate Button
Use this button to set the maximum charge rate. Press the button until the desired
charge rate is selected.
Maintain • - Used to keep stored, lead-acid batteries charged. Charges and
maintains small batteries. Maintains large batteries.
Slow Charge Rate• – Intended for charging small batteries such as those
commonly used in garden tractors, snowmobiles and motorcycles. Also used to
completely charge deep cycle batteries.
Fast Charge Rate• - Use for charging automotive, marine and light truck batteries.
NOTE: See the CALCULATING CHARGE TIME section for the actual amp ratings.
NOTE: Once the charger has started charging the battery; if you press the Charge
Rate button once, the output current is shut off. If you press the Charge Rate button
again, the current will go back on at the same setting it was when it was turned off. For
example: The charger is charging a battery at the fast charge rate setting. If you press
the Charge Rate button, the output is turned off. If you press the Charge Rate button
again, the output will turn back on at the fast charge rate setting.
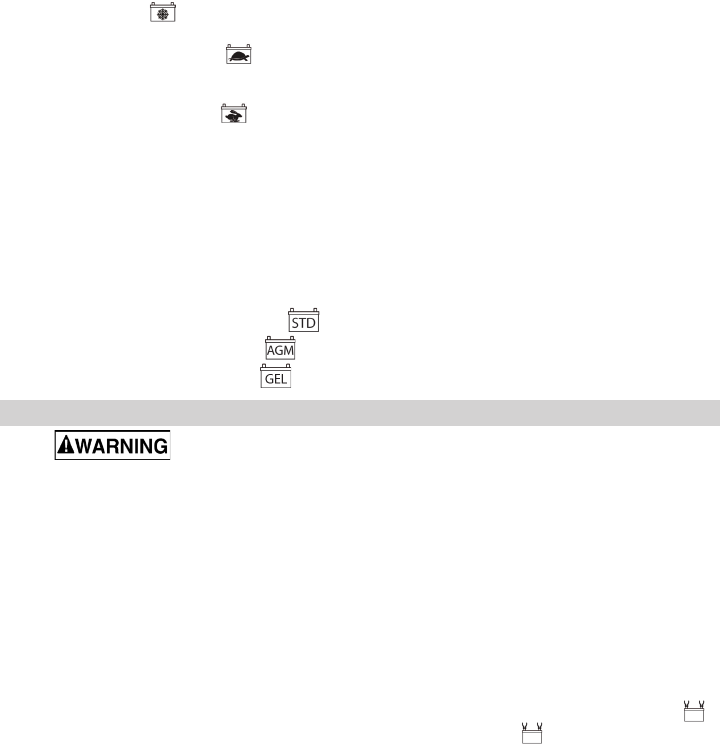
Battery Type Button (models XC10, XC12 and XCS15)
Use this button to set the type of battery to be charged.
Regular• – Set the button to .
AGM• – Set the button to .
GEL• – Set the button to .
OPERATING INSTRUCTIONS11.
This battery charger must be properly assembled in accordance with the
assembly instructions before it is used.
Charging
Ensure that all of the charger components are in place and in good working 1.
condition, for example, the plastic boots on the battery clips.
Connect the battery following the precautions listed in sections 6 and 7.2.
Connect the AC power following the precautions listed in section 8.3.
Select the appropriate settings for your battery.4.
NOTE: This charger is equipped with an auto-start feature. It will not supply current to
the battery clips until a battery is properly connected. Meaning, the clips will not spark if
touched together.
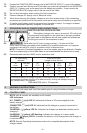
Battery Connection Indicator
If the charger does not detect a properly connected battery, the CONNECTED LED
will not light. Charging will not begin if the CONNECTED LED is not on.
Automatic Charging Mode
When a charge rate is selected, the charger is set to perform an automatic charge.
When an automatic charge is performed, the charger switches to the maintain mode
(see below) automatically after the battery is charged.