POWER CORD OR SWITCH REPLACEMENT
• Unplug your saw.
,_ WARNING: Failure to unplug your saw could
result in accidental starting causing possible
serious personal injury.
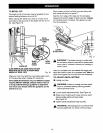
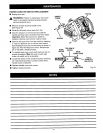
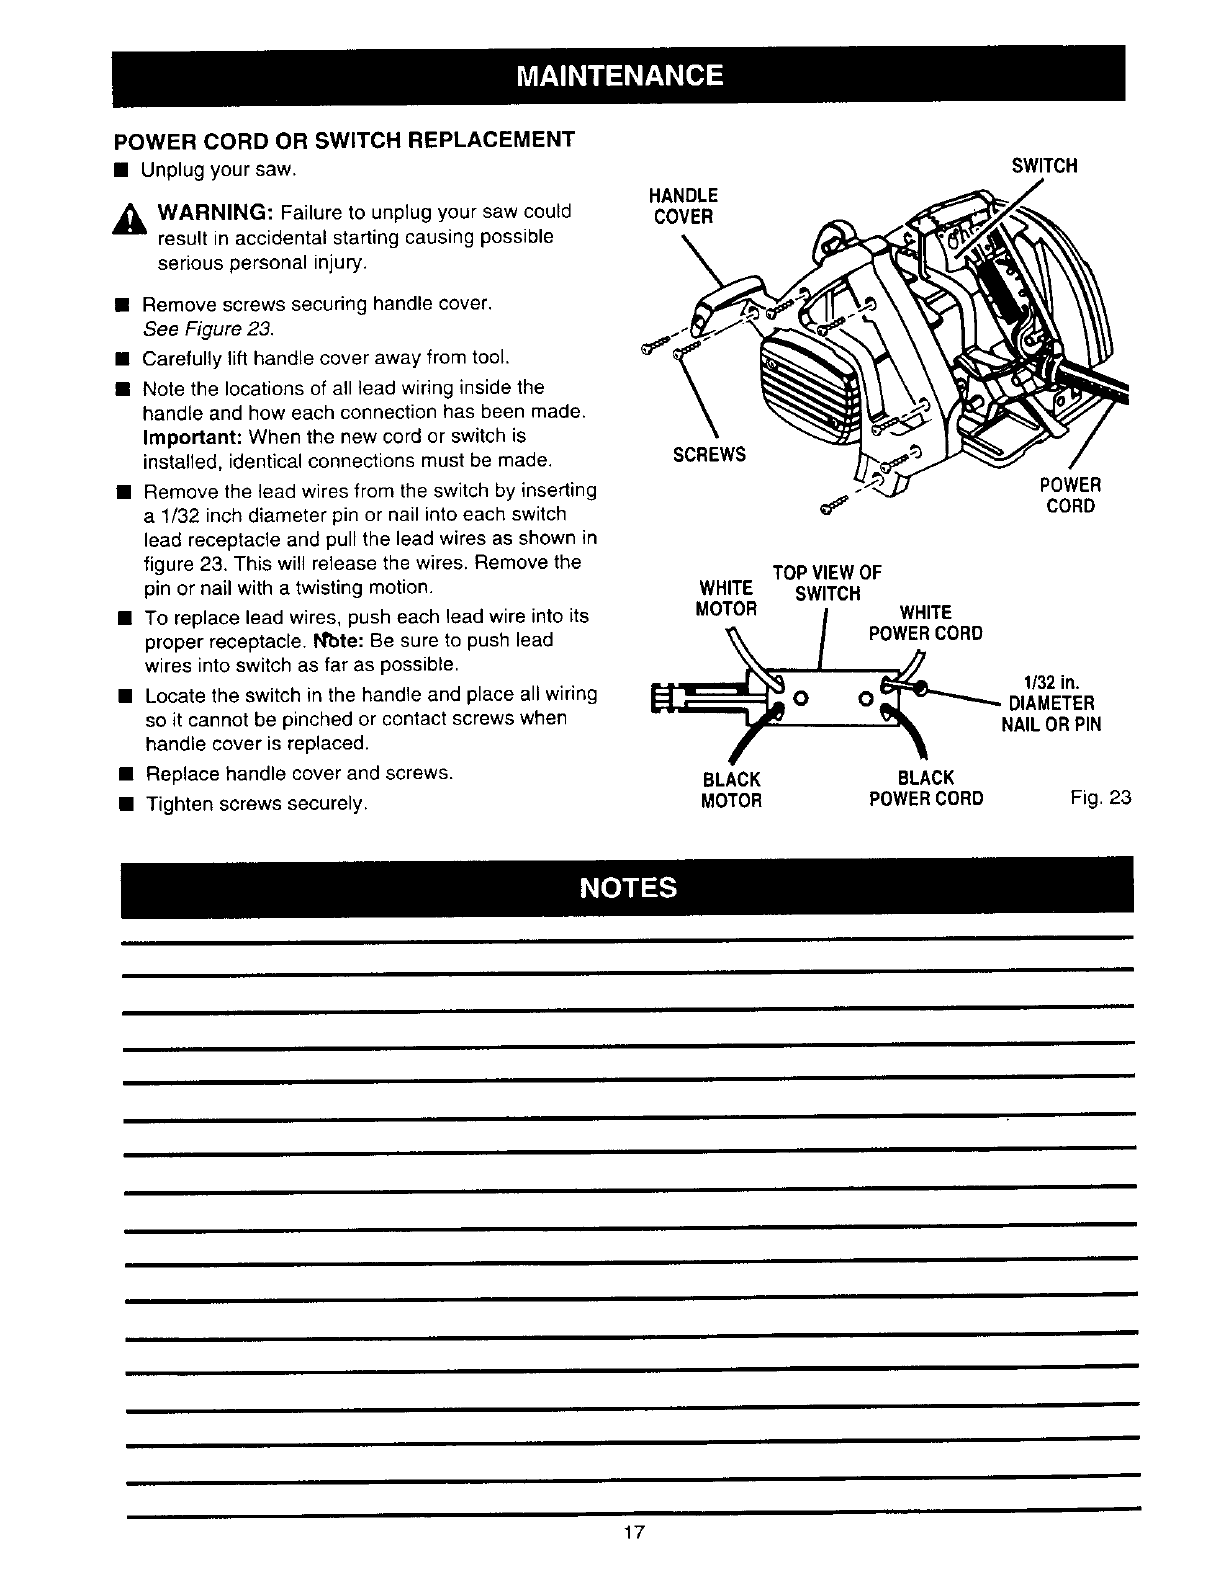
• Remove screws securing handle cover.
See Figure 23.
• Carefully lift handle cover away from tool.
• Note the locations of all lead wiring inside the
handle and how each connection has been made.
Important: When the new cord or switch is
installed, identical connections must be made.
• Remove the lead wires from the switch by inserting
a 1/32 inch diameter pin or nail into each switch
lead receptacle and pull the lead wires as shown in
figure 23. This will release the wires. Remove the
pin or nail with a twisting motion.
• To replace lead wires, push each lead wire into its
proper receptacle. NOte: Be sure to push lead
wires into switch as far as possible.
• Locate the switch in the handle and place all wiring
so it cannot be pinched or contact screws when
handle cover is replaced.
• Replace handle cover and screws.
• Tighten screws securely.
HANDLE
COVER
SWITCH
SCREWS
POWER
_" CORD
TOP VIEWOF
WHITE SWITCH
MOTOR / WHITE
POWERCORD
1/32in.
O O DIAMETER
NAILOR PIN
BLACK BLACK
MOTOR POWERCORD Fig, 23
17


