


Step 5
Locate the seam of the pre-filter and carefully
separate the pre-fiiterfrom the strap fastener =
and remove from the HEPA filter.
Step G
Remove any plastic protective wrapping
from the new pre-fiiterprior to insertion into
the HEEPA Air Cleaner.
Secure approximately ½ inch of the strap
fastener to one edge of the carbon side of the
pre-filter. Carefully wrap the new pre-filter
around the HEPA filter and secure it to the
strap fastener. Once fastened the white side
of the pre-filter should be exposed to view. If
the HEPA filter does not need replacing,
proceed to step 9.
Step 7,8 &8*Changing the HEPAfilter(ltem
#.8:3164)
Step 7
The pre-filter must be replaced when the HEPA
filter is replaced. Remove and discard pre-
filter (follow instruction Steps 1 - 5). Next '.
remove and-discard the used HEPA filter
assembly.
NOTE= These specially designed, maximum
performance filters are made for easy
replacement. THEY ARE NOT WASHABLE.
Step 8
Remove ,..a0y:protect.ive plastic wrapping from
the new HEPA filter. Follow the Instructions in
Step 6 to secure the new pre-filter around the
HEPA filter.
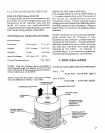
Step 9
Place the Filter Assembly (pre-filter plus HEPA
filter) into the POWER HEAD and install the
Base.
NOTE: The HEPA filter has no special top-to-
bottom orientation. It ,,-411fit easily from either
end into the Power Head.
Step 10
Once the filter assembly is correctly inserted,
lock the Base into place by replacing and
tightening the Locking Handle securely.
Step 1 1
Turn the HEPA AIR CLEANER upright and it is
ready for operation.
..
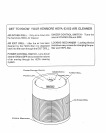
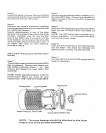
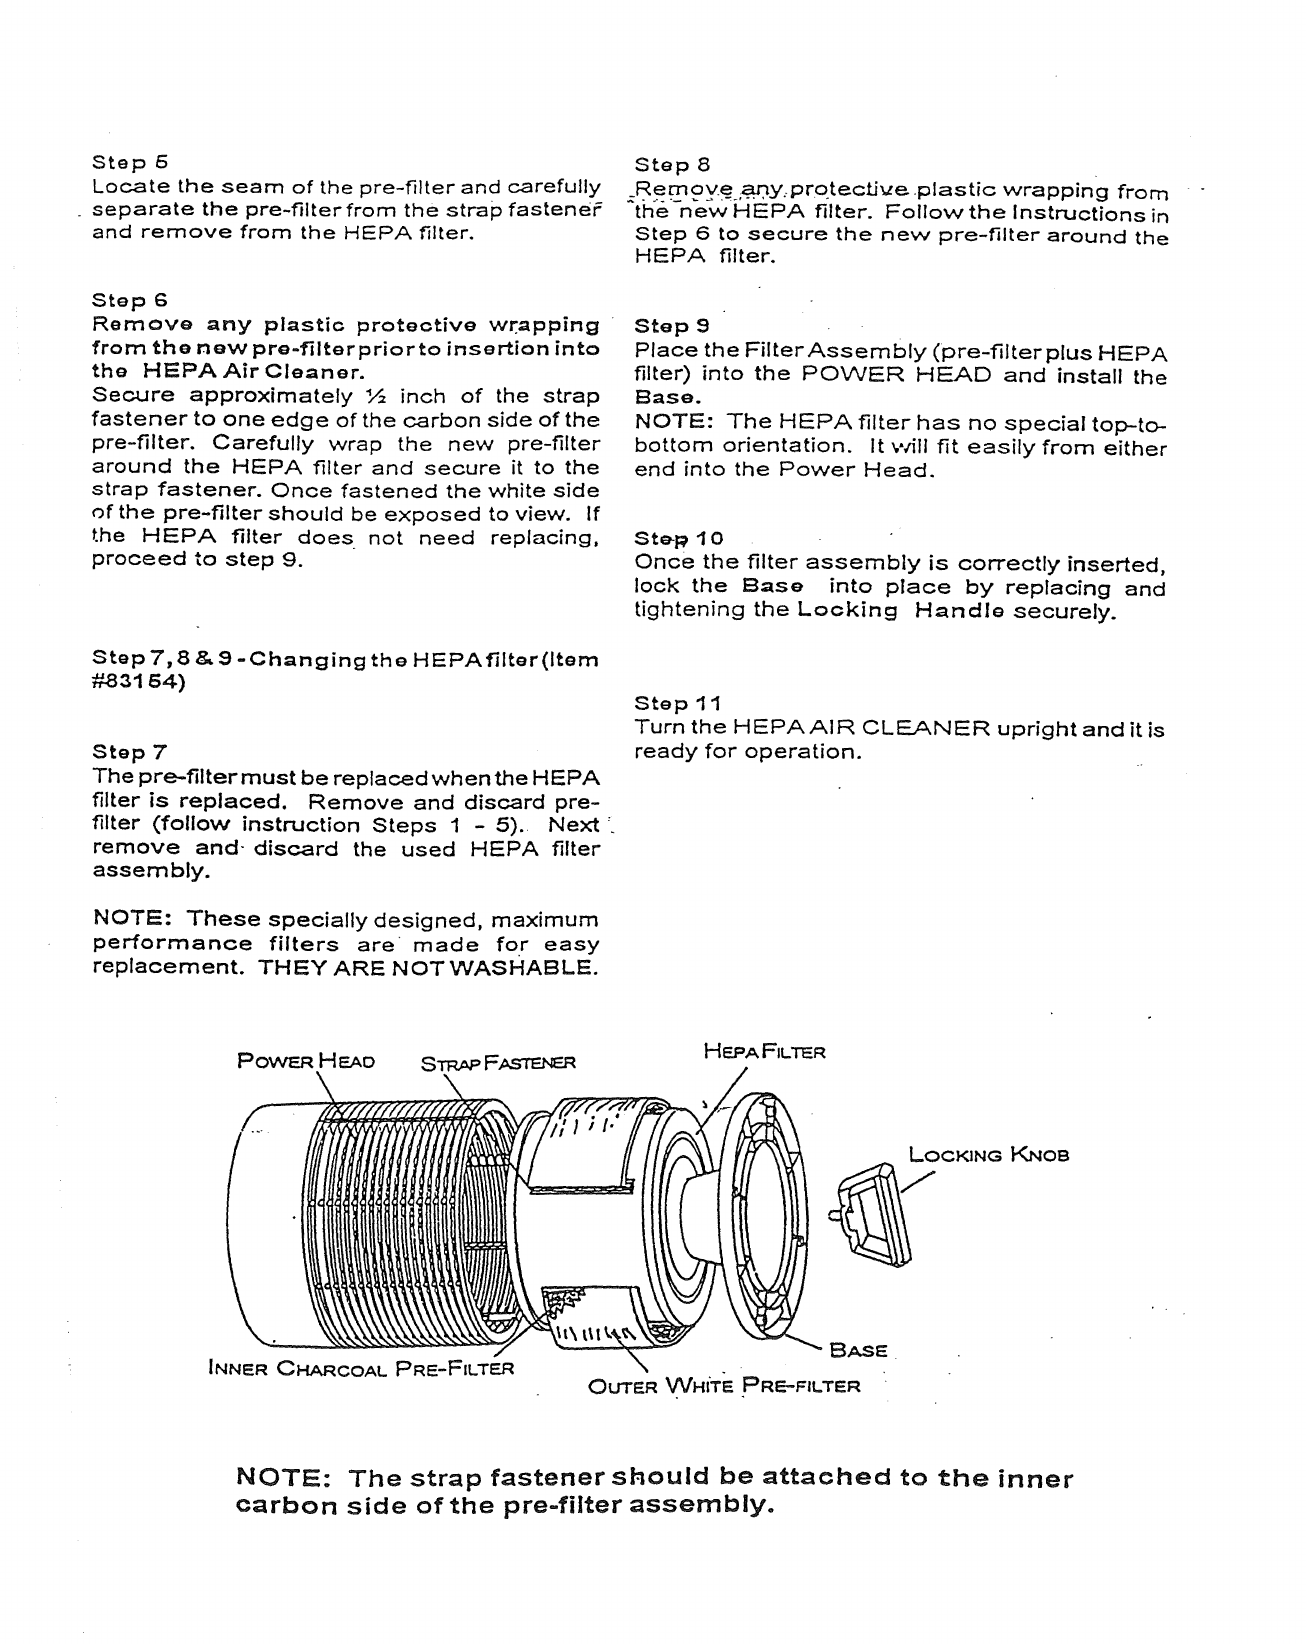
POWER HEAD
LOCKING KNOB
INNER CHARCOAL PRE-FILTER
BASE
OUTER WHITE PRE-FILTER
NOTE- The strap fastener should be attached to the inner
carbon side of the pre-filter assembly.