


Model W1785 Palm Nailer
-8-
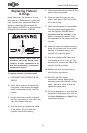
Replacing Pistons/
O-Rings
Under heavy use, the piston or O-rings
may wear out. Replacement is quick and
easy. Contact your authorized Shop Fox
dealer to obtain the Piston Repair Kit
(Part Number X1785127), or the Complete
O-Ring Kit (Part Number X1785128).
5. Take hold of the ram pin and pull the
piston from the cylinder.
6. Place the new O-ring on the new
piston, and apply a thin film of tool
oil on the O-ring.
7. Insert the new piston in the cylinder.
The new piston should easily slide
into the cylinder. DO NOT force
the piston into the cylinder! If the
piston is not easily inserted, check
the alignment of the piston inside the
cylinder.
8. After the piston is inserted correctly,
place the cylinder back in the nailer
housing. If seated correctly, the
cylinder will snap into place.
9. Push the cylinder collar down into
the housing as far as it will go. The
horizontal air slots on the side of the
cylinder should be visible.
10. Replace the rear cap and secure it
with the four cap screws.
11. Re-install the flat washer,
compression spring, depth guide,
and nose piece onto the front of the
nailer, and use a 19mm wrench to
tighten the nose piece.
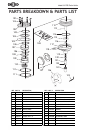
12. For more assistance, or to install the
complete O-Ring Repair Kit, refer to
the Parts Breakdown on Page 10 for
component locations.
To replace a piston, do these steps:
1. DISCONNECT NAILER FROM THE AIR
SUPPLY!
2. Use a 19mm wrench to remove the
nose piece, then remove the depth
guide, compression spring, and flat
washer.
3. Use the 4mm hex wrench to remove
the four cap screws on the nailer rear
cap, then remove the cap.
4. Push the ram pin towards the inside
of the nailer. This will push the
cylinder free of the housing.
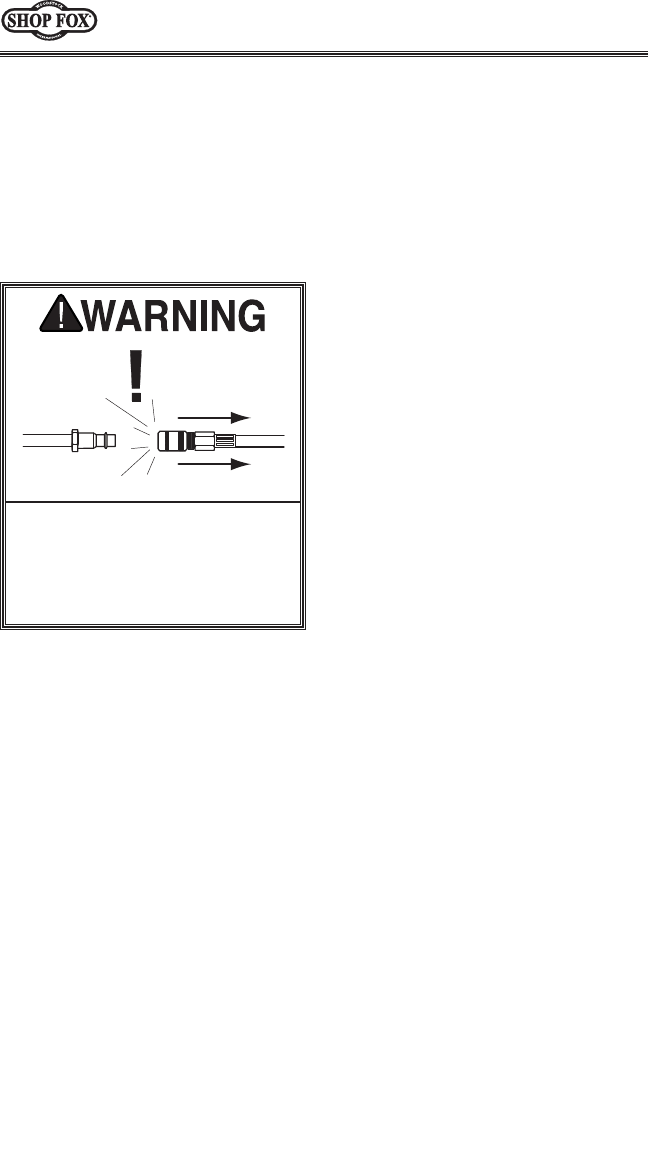
Always disconnect nailer from air
whenever servicing! During main-
tenance, a nailer connected to air
may fire accidentally, causing seri-
ous personal injury!