9
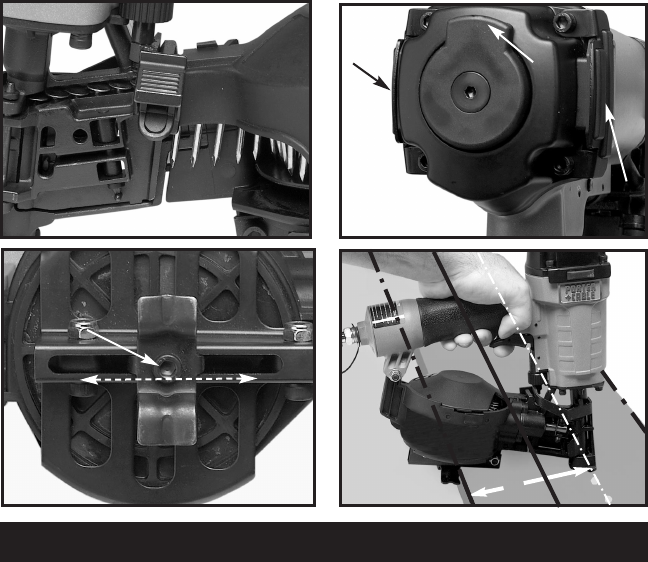
current application. Note: Non-skid pads (B) Fig. 24 help keep the tool from
sliding off the roof.
8. Adjust shingle guide (C) Fig. 25, by loosening the retaining screw (D) and
sliding the shingle guide to desired position. Tighten retaining screw firmly.
The shingle guide can be used as an aid in positioning the shingle to be
nailed a specific distance (D) Fig. 26 from the front edge of the previous row
of shingles (R) as shown.
USING THE TOOL WITH SELECTABLE TRIGGERING OPTIONS
Complete all steps of PREPARING THE TOOL before using the tool.
This tool is shipped from the factory with a selectable trigger set in the
“SINGLE SEQUENTIAL ACTUATION” firing mode as described in number
1. The selectable trigger can be set for the “CONTACT ACTUATION” firing
mode as described in number 2;
OPERATING INSTRUCTIONS
C
D
A
Fig. 24
B
Fig. 23
B
Fig. 25
D
Fig. 26
R


