


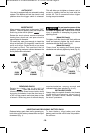
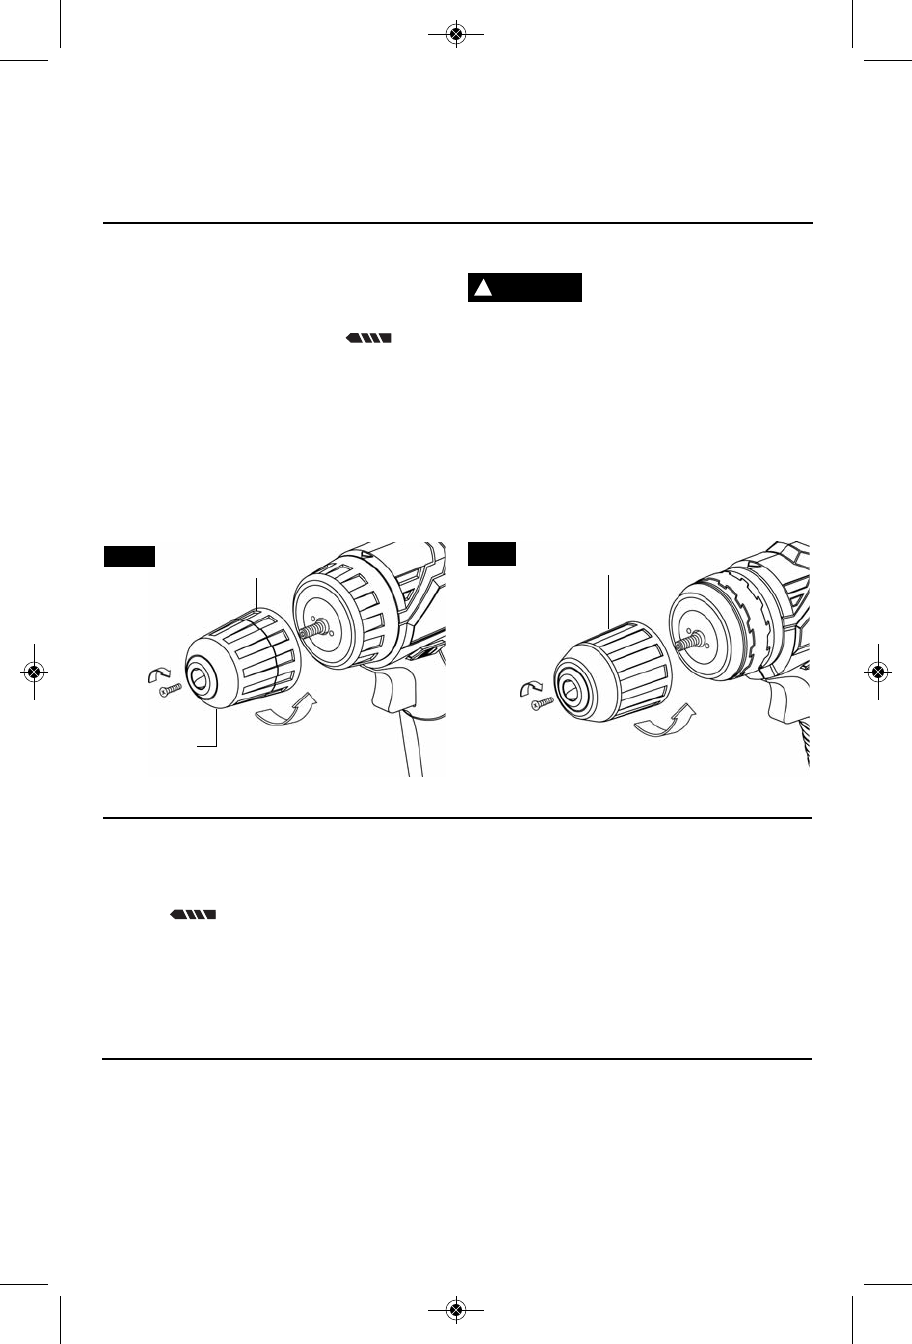
FIG. 5
CLOCKWISE
CHUCK SLEEVE
COUNTER
CLOCKWISE
#"$$
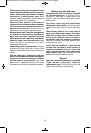
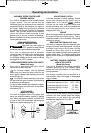
Move reverse switch lever to the center “OFF”
position. Remove battery pack and rotate the
clutch ring to the drill bit symbol “ ”.
Rotate the chuck sleeve counter-clockwise
viewing from chuck end, and open chuck to
approximate bit diameter.
For small bits, open jaws enough to insert the
bit up to the flutes. For large bits, insert the bit
as far as it will go. Center the bit as you close
the jaws by hand. This positions the bit
properly, giving maximum contact between the
chuck jaws and the bit shank.
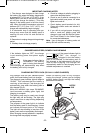
989>?=/>2/:9A/<90>2/
.<366A236/1<+=:381-2?-5
>9699=/89<>312>/8,3> Friction burn or hand
injury is possible if attempting to grasp the
spinning chuck.
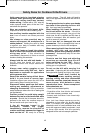
9./6986C
To tighten, hold the chuck collar firmly with one
hand and se curely tighten the chuck sleeve
clockwise with the other hand (Fig. 4).
9./6986C
Close chuck by rotating the chuck sleeve
clockwise and securely tighten by hand (Fig. 5).
Release battery pack from tool by pressing on
both sides of the battery release tabs and pull
downward (Fig. 1).
To insert battery, align battery and slide
battery pack into tool until it locks into position.
Do not force.
#"$"#$$")!
-10-
%$ E
Your tool is equipped with an automatic locking
system. This feature will lock the chuck in one
position when the trigger switch is released.
This will allow you to tighten or loosen a nut or
screw by rotating the tool by hand with the
switch off. This is convenient when higher
turning torque is needed.
" &%
Rotate the clutch ring to the drill bit
symbol “ ”. Open the chuck all the way,
remove left-hand thread screw inside chuck
by turning it clockwise. Insert the short arm of
a 3/8" hex key wrench and close jaws on flats
of wrench. Strike long arm of wrench sharply
counterclockwise, remove wrench and
unthread chuck from spindle (Fig. 4 or 5).
#$%
Always keep the spindle threads, the threads
of the chuck and securing screw free of
debris. To install a chuck, reverse “re moving
the chuck” procedure.
CLOCKWISE
COUNTER
CLOCKWISE
CHUCK
SLEEVE
CHUCK
COLLAR
FIG. 4
!
WARNING
SM 1619X04037 01-10:SM 1619X04037 01-10 1/12/10 3:00 PM Page 10