-30-
For Machines Mfg. Since 8/09
Model SB1021/SB1022
OPERATION
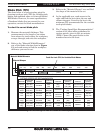
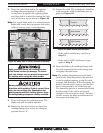
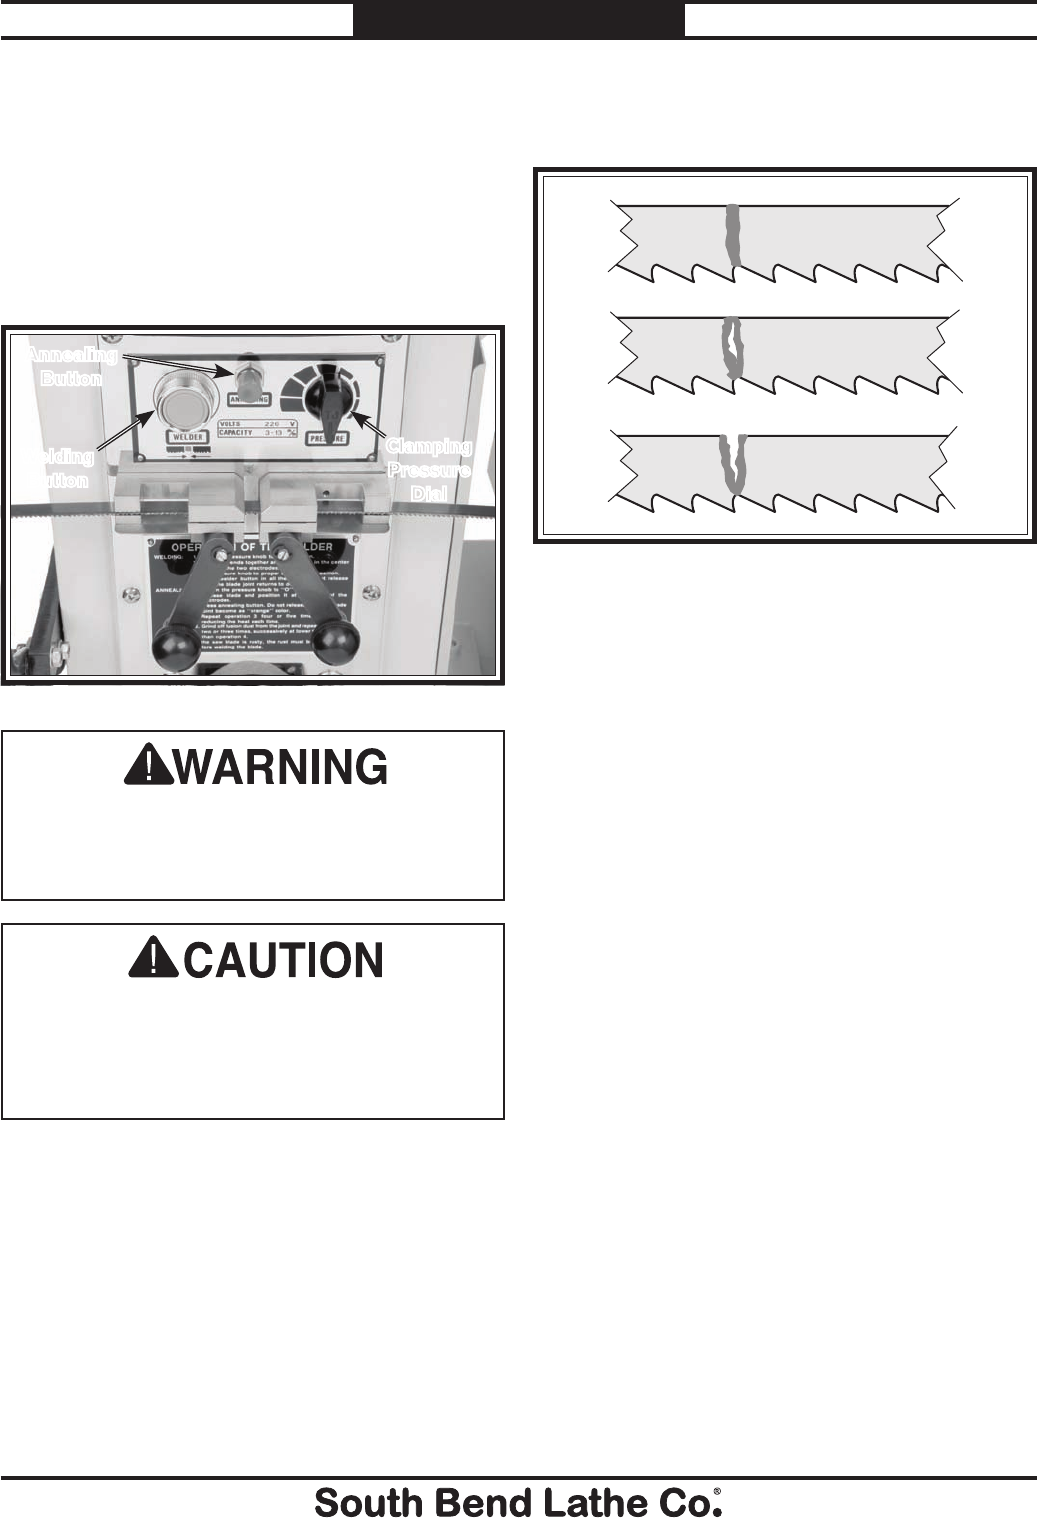
11. Inspect the weld. The welded joint should be
even across the width of the blade with no
gaps (see Figure 30).
Correct
Not Correct
Not Correct
Figure 30. Blade welded joint examples.
— If the weld is satisfactory, continue to
Step 12.
— If the weld is NOT satisfactory, begin
again at Step 2.
12. Place the blade in the welding clamps with
the weld centered between the clamps and
re-tighten the lock levers.
Note: The welding operation leaves the blade
joint brittle. Annealing allows the material
to cool in gradual manner, giving the weld
strength and flexibility. When annealing, the
blade is heated until it turns a specific color
that is determined by the blade material.
The annealing process is unsuccessful (blade
breaks easily) if the weld is not heated
enough or if it is heated too much. For best
results, contact the blade manufacturer for
the proper annealing color.
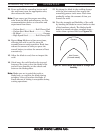
8. Place the other blade end in the opposite
welding clamp and position it so that it
evenly butts up against the opposing blade
end, then lock it in place by rotating the lock
lever all the way up, as shown in Figure 29.
Note: For a good blade weld, it is critical that the
blade ends evenly butt up against each other
without overlap, gaps, or misalignment.
Light generated during the welding process
could cause serious eye damage. To reduce
your risk, always use eye protection approved
for welding when using the blade welder.
Burning sparks may be thrown in all
directions while welding. Protect yourself from
injury by not welding near flammables and
wearing spark-resistant clothing/gloves. Keep
fire extinguishing equipment readily available.
Figure 29. Blade ends in correct position for welding.
Annealing
Button
Welding
Button
Clamping
Pressure
Dial
9. Press and release the welding button. The
blade ends will be welded together.
10. Rotate the lock levers down to release the
welding clamps, then rotate the clamping
pressure dial to "0".


