STUDER INNOTEC XP-COMPACT
XP-COMPACT V5.4 13/77
3.6.4 Connect the solar modules: SOLAR +/- (Only for solar option)
Solar modules are connected on these terminals. Under no circumstances should
any other energy source i.e. wind generator be connected to these terminals! Only
solar modules must be connected with two cables +/-. Depending on the power of the
modules, the cable cross section should be 2.5 up to 6mm2. Before connecting it is
necessary to check with a Voltmeter that the voltage of the Module meets the
following values:
XPC 1400-12 17-25V/30A, XPC 2200-24 34 – 45V/30A, XPC 2200-48 68 – 90V/20A.
3.6.5 Connection to Auxiliary Contact
This contact is a potential free change over contact the currents and voltages allowed
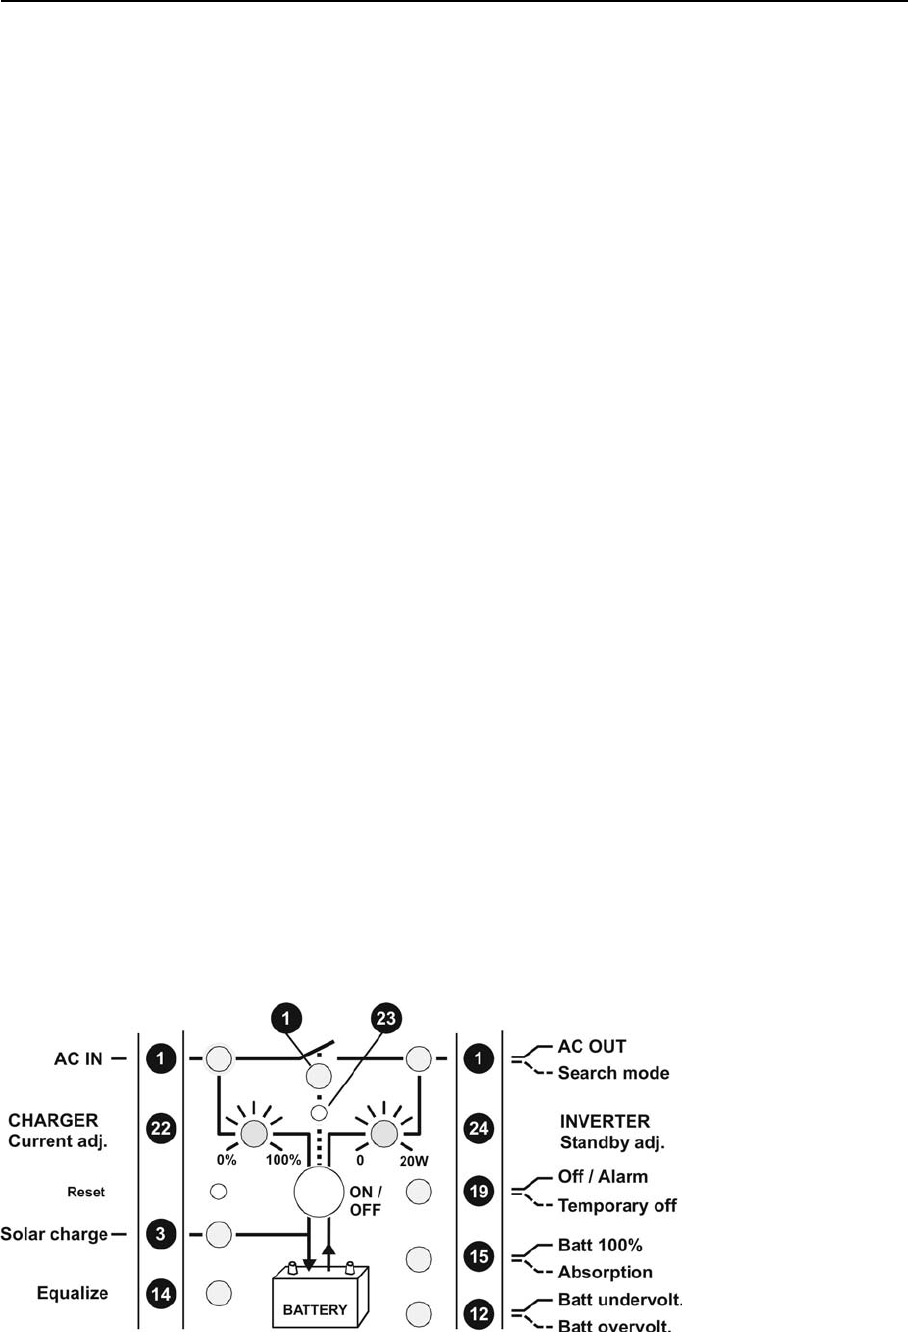
for this contact are max. 16A/250Vac. The LED 5 “Contact active” shows the position
of them: alight mind active and off mind non-active. The schematic view of the
connections on the front, show the relay in the non-active mode.
3.6.6 Connection to Remote control
The Remote Control RCC-01 is connected in the terminal marked „Remote control“
with a 20m long cable and a RJ11/8 connector. The Remote Control can be plugged
IN or plugged OUT during any operation situation. Push in the connector softly until
you hear the „click“ showing that the connector is locked. The same applies to the
plug in the Remote Control.
The length of the cable for Remote Control should not exceed 40m. We deliver it with
20m cable.
3.6.7 Connection to Temperature Sensor (Temp.)
The temperature sensor CT-35 is connected in the terminal marked „Temp“ with a
3m long cable and a RJ11/6 connector. The temperature sensor can be plugged IN
or plugged OUT during any operating situation. Push in the connector softly until you
hear the „click“ showing that the connector is locked. The temperature sensor must
be glued to the wall of the battery or near it. The Temperature Sensor cable must
not be tied together with the battery cables or laid in a rope/bundle.
4 Control
4.1 Display and control parameters


