Starting Up
1. Learn how to operate the control valve.
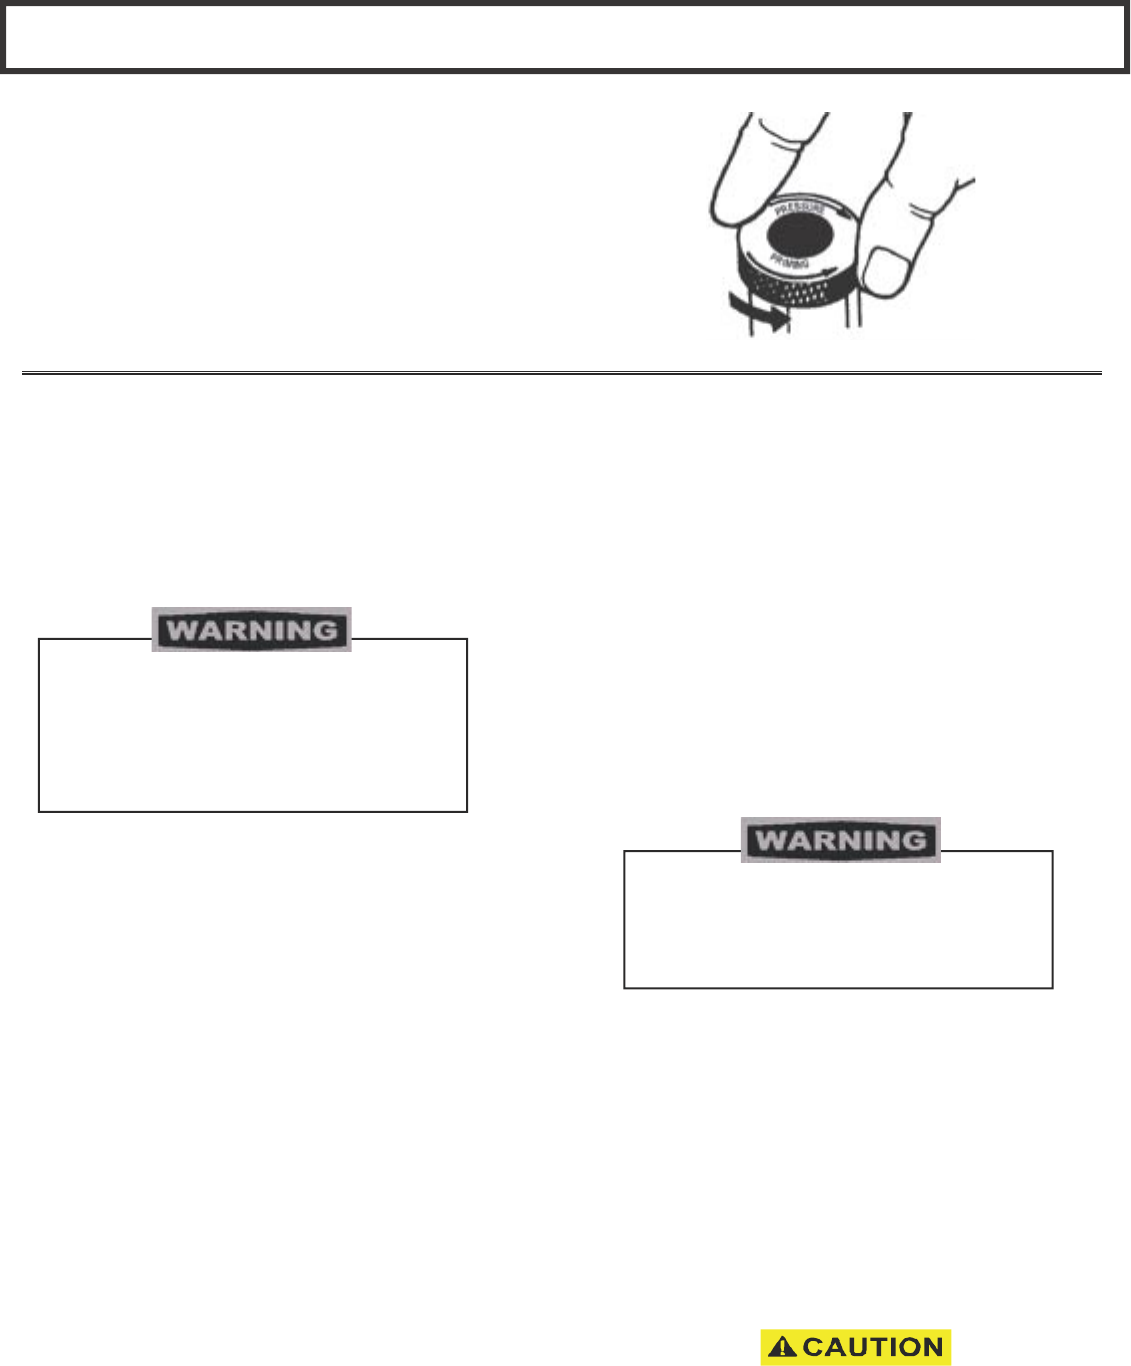
The control valve sets the prime or pressure position as well as the
spraying pressure. When the valve is fully counter-clockwise the unit
is in the prime position. As the control valve is turned clockwise,
the unit’s output pressure to the gun is gradually increased until
the control valve is fully clockwise and the unit is at it’s maximum
output pressure of 2500 psi. This will fully atomize any stain or paint
without needing to dilute the material.
To stop the unit in an emergency or
before performing any service or
maintenance procedure follow the
Pressure Relief Procedure on page 10
to relieve the uid pressure.
d. Install spray tip onto gun.
e. If so equipped, turn engine switch to ON position, then
pull starter rope vigorously until engine starts.
e. Turn Control Valve clockwise to the desired spray
pressure required to properly atomize your material
(Sprayer is limited to a maximum of 2500 psi).
f . Disengage the gun safety lock and you are ready to
start spraying.
5. Adjusting the Pressure
a. Turn the Control Valve clockwise to increase
pressure and counterclockwise to decrease pressure.
If you spray into the paint bucket,
always use the lowest spray pressure
and maintain rm metal to metal
contact between gun and container.
Operating the sprayer at higher engine RPM or
higher pressure than needed wastes material,
causes early tip wear and shortens engine and
sprayer pump life!
FOLLOW “PRESSURE RELIEF PROCEDURES”
ON PAGE 10 WHENEVER YOU:
- are instructed to relieve pressure
- stop spraying
- checking or servicing any of the system equipment.
- install or clean the spray tip.
b. Always use the lowest pressure and engine RPM
necessary to completely automize the material.
c. If wider coverage is needed, use a larger tip rather than
increasing the pressure.
d. Check the spray pattern. The tip size and angle
determines the pattern width and ow rate.
e. A trigger locking button is provided on the engine
speed and spray gun actuation levers to prevent hand
cramping and user fatigue during extended striping
sessions.
11
HANDLE THE SPRAY SYSTEM AS YOU
WOULD A LOADED FIREARM!!
2. Prepare the Material
a. Prepare the material according to the manufacturer’s
material recommendations.
b. Place the suction tube into the material container.
3. Starting the Sprayer
(see Figure above)
a. Pressure Control Knob must be in the low pressure
position.
b. Control Valve must be open to the priming position or
fully counterclockwise.
c. Follow the procedure under “How to Flush”, Steps 6
through 12.


