


8
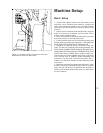
Operating Instructions
These sanders can be used to remove stock from a
wide variety of machinable materials. Different materials
require different grit types and grades to achieve the de-
sired stock removal rate and surface finish. Please consult
with your abrasive materials supplier for specific recom-
mendations on the correct grit material and grade required
for your specific needs.
When removing stock from soft materials (wood, plas-
tic, etc.) these machines are typically called "sanders."
When removing stock from hard materials (cast iron, steel,
etc.) they are referred to as "grinders". The word "sander"
is used, more-or-less consistently, throughout this manual.
It refers to the machines and not the type of abrasive finish-
ing being performed.
Before operating your sander, please read the basic
instructions on safe machine usage on the preceding two
pages.
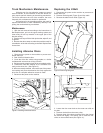
Belt Sander
The sanding belt must be in good condition, at proper
tension, and tracking correctly, before doing any sanding,
grinding or other abrasive machining operations. Refer to
the section on Track Mechanism Maintenance if you have
any problems with belt tension or tracking.
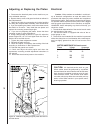
Adjusting the Belt Sander Table
You can tilt the table in a range between 20
o
upward
and 45
o
downward. A single locking handle on the side of
the table is used to lock and unlock the table to permit
adjustment.
There are two positive lock stop positions: at 90
o
(that
is, at a right angle to the platen) and at 45
o
downward (es-
sentially 90
o
+ 45
o
or 135
o
total to the platen.)
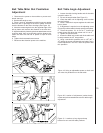
To Tilt the Belt Sander Table:
1. Unlock the locking handle on the side of the table.
2. Using the pointer and scale, set the angle to any re-
quired angle between 20
o
upward and 45
o
downward.
3. Lock the lock handle.
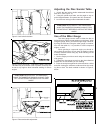
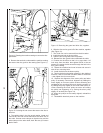
To Tilt the Table to Exactly 45
o
:
1. Flip out the stop bracket (see Figure 20).
2. Unlock the locking handle.
3. Move the table until it contacts the stop bracket.
4. Lock the table lock handle.
Figure 1: Locking handle for belt table
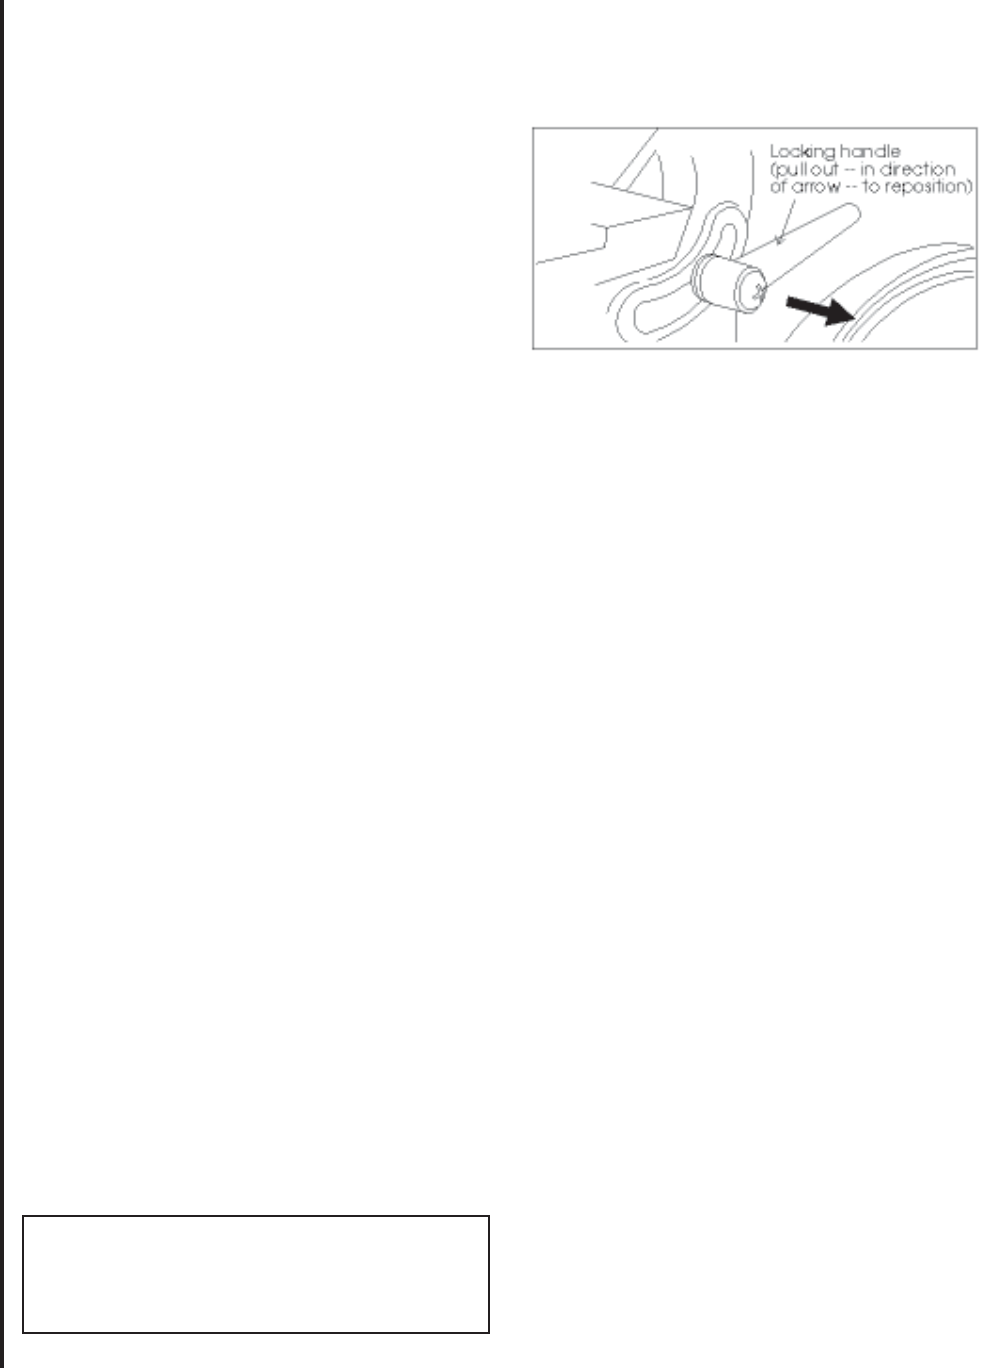
Using the Indexing Lock Handle
The lock handle is spring loaded and can be reposi-
tioned on its shaft to permit easy locking and unlocking.
To Reposition the Handle:
1. Pull outward against its spring.
2. Rotate the handle to the position you require.
3. Release the handle and its spring will return it to the
correct operating position.
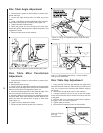
Adjusting the Belt Sander Arm
The arm which holds the sanding belt can be posi-
tioned at a full vertical position, a full horizontal position, or
at any angle in between which is convenient to the type of
sanding you are doing.
A positive stop mechanism is used to permit quick
adjustment to the vertical or horizontal positions.
To Adjust to Vertical:
1. Unlock both of the lock bolts. These are located under
the arbor cover.
2. Move the arm to vertical until it contacts its stop.
3. Tighten both of the lock bolts, and replace arbor cover.
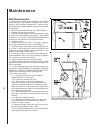
To Adjust to Horizontal:
1. Unlock both of the lock bolts.
2. Move the arm to horizontal until it contacts its stop. (See
Figure 3.)
3. Tighten both of the lock bolts and replace arbor cover.
To Adjust the Arm to Any Angle Between
Vertical and Horizontal:
1. Unlock both of the lock bolts.
2. Use a machinist's protractor and level to set the arm to
the required angle.
3. Tighten both of the lock bolts and replace arbor cover.
CAUTION: NEVER ADJUST THE TABLE ANGLE
WHILE THE SANDER IS RUNNING. ALWAYS TURN
THE MOTOR OFF BEFORE ADJUSTING THE TABLE
ANGLE.