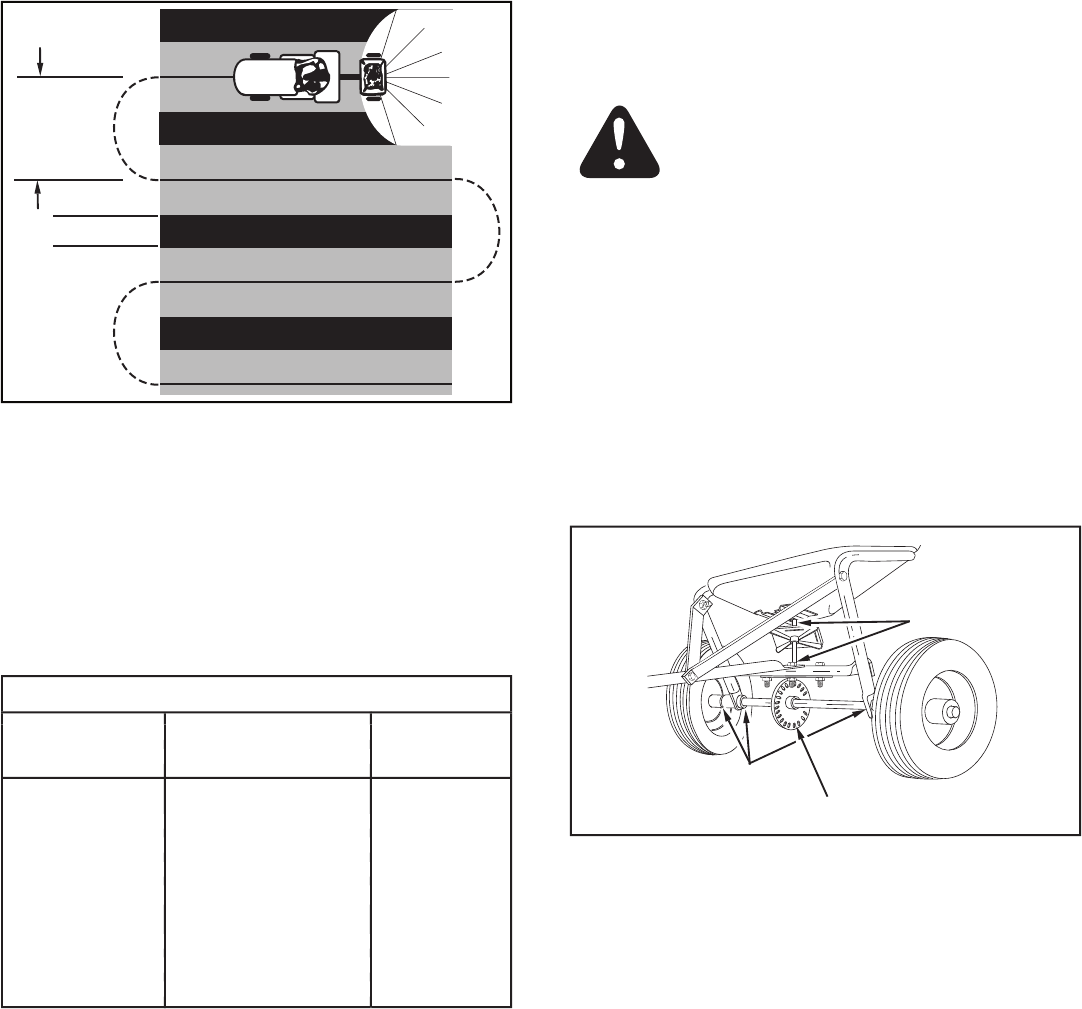
ICE MELTER 6 - 8 10' - 12'
ICE MELTER 6 - 8 10' - 12'
ICE MELTER 6 - 8 10' - 12'
ICE MELTER 6 - 8 10' - 12'
MATERIAL FLOW SETTING WIDTH
MATERIAL FLOW SETTING WIDTH
MATERIAL FLOW SETTING WIDTH
MATERIAL FLOW SETTING WIDTH
- 3 MPH. (100 ft. in 23 seconds)
Application rates shown in the chart are
affected by humidity and by the moisture content of
the material (granular and pellet). Some minor setting
adjustments may be necessary to compensate for this
CHECK FOR LOOSE FASTENERS
Before each use make a thorough visual check of the
spreader for any bolts and nuts which may have loosened.
Retighten any loose bolts and nuts.
CHECK FOR WORN OR DAMAGED PARTS
2. Check for worn or damaged parts before each use.
Repair or replace parts if necessary.
1. Rinse inside of hopper and exterior of spreader and dry
2. Store in a clean, dry area.
maximum recommended pressure printed on
4. Rinse inside of hopper and exterior of spreader and dry
5. Lightly apply automotive grease as needed to the
6. Oil the nylon bushings on the vertical sprocket shaft
and on the axle at least once a year, or more often as
7. Oil right hand (idler) wheel bearing at least once a year
1. If the axle, slotted gear and sprocket assembly is
disassembled, mark down the positions of the parts as
they are removed. The drive wheel and sprocket positions
in relation to the slotted gear determine which direction
the spreader plate will spin. Be sure to reassemble them
in their original positions. (Refer to fi gure 4 on page 5.)
Use shim washers (Ref. no. 21 on pages 10 and 11)
as needed for minimum backlash. Add grease to gear
3. Check if tires are adequately infl ated before each use. Do
not infl ate beyond maximum recommended pressure.


