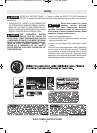
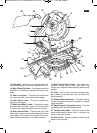
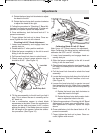
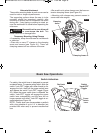
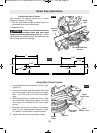
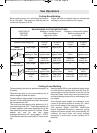
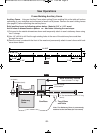
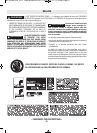
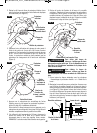
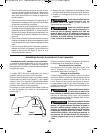
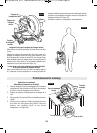
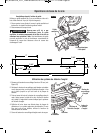
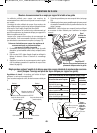
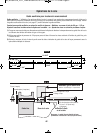
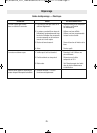
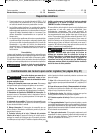
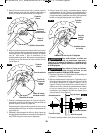
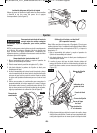
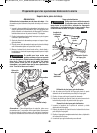
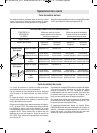
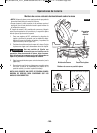
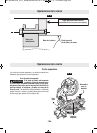
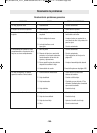
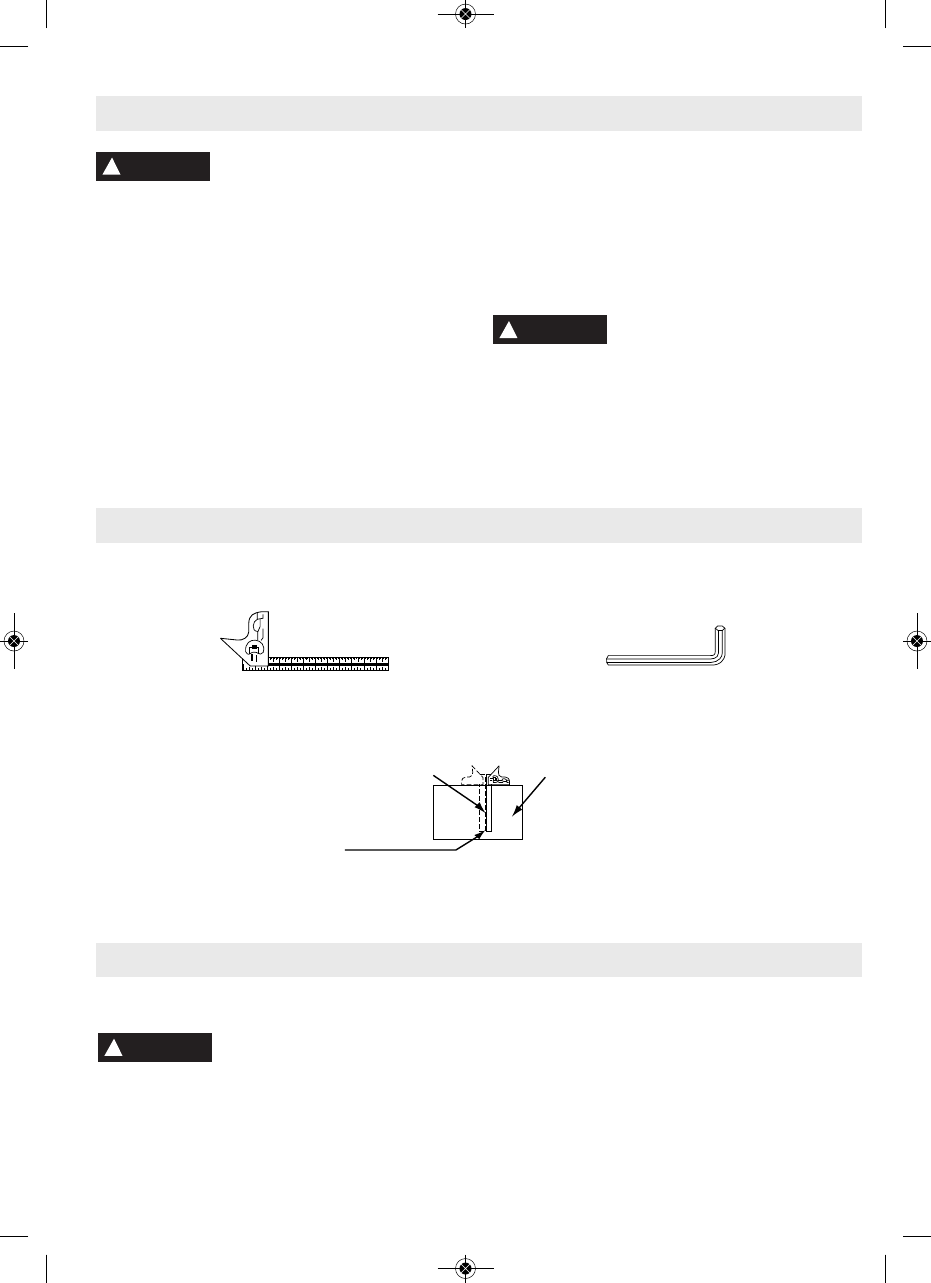
Should be no Gap or Overlap
when Square is Flipped Over
in Dotted Position
Draw Light
Line on Board
Along this Edge
Straight Edge of Board 3/4"
Thick This Edge Must be
Perfectly Straight
Combination Square Must be True
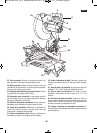
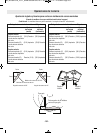
Combination Square
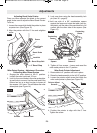
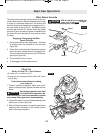
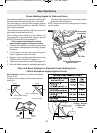
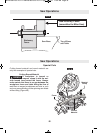
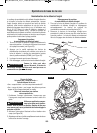
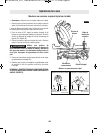
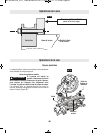
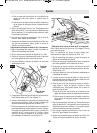
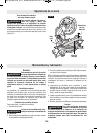
Multi Purpose “L” Wrench 6/4mm
(;=.086;4;152086;4<;A2;A@
23<?2:<C6;4A52@.D <08
A52:6A2?9<088;</6;H=<@6
A6<; <0852.1.@@2:/9F6;A521<D;=<@6A6<;
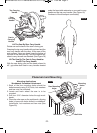
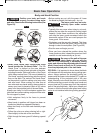
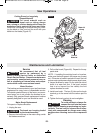
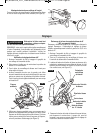
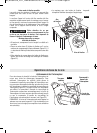
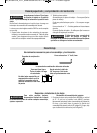
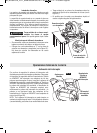
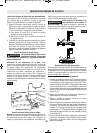
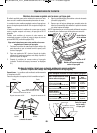
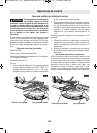
Never carry the tool by the cord or head assembly
power switch handle.
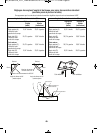
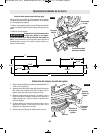
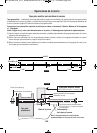
The CM12 Miter Saw is shipped complete in one box.
1. Separate all parts from packing materials and
check each one with the “Table of Loose Parts” to
make sure all items are accounted for before
discarding any packing material.
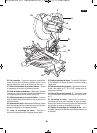
2. Table of Loose Parts:
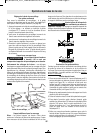
Workpiece Clamp - Used to clamp workpieces.
Dust Elbow/Dust Bag - Used to collect saw dust.
Multi purpose “L” wrench - Should be stored on
the left rear base.
Miter Lock Knob - Used to lock the table at desired
miter angle.
3.;F=.?A@.?2:6@@6;41<;<A
=9B46;=<D2?0<?1<?AB?;A52
@D6A05<;B;A69A52:6@@6;4=.?A@.?2</A.6;21
.;1.?26;@A.99210<??20A9F
!
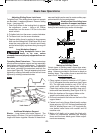
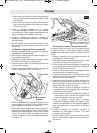
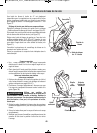
WARNING
@@2:/9F
'<.C<61=<@@6/926;7B?F16@0<;
;20A =9B4 3<?: =<D2? @<B?02
/23<?2=2?3<?:6;4.;F.@@2:/9F.17B@A:2;A<?
?2=.6?@
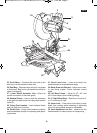
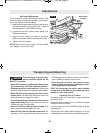
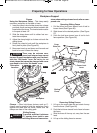
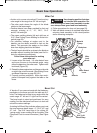
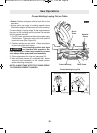
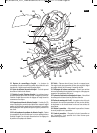
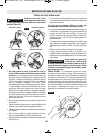
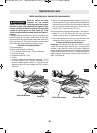
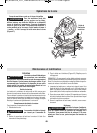
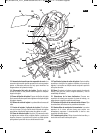
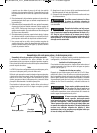
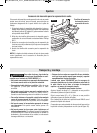
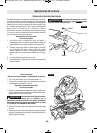
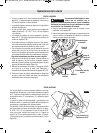
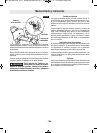
!<C6;4B.?1@@2:/9F
1. Position the saw in the UP position and at 0°
bevel. If in the DOWN position, press down slightly
on the saw head assembly and pull out the head as-
sembly lock pin (item 36, page 8); then allow the saw
head to come up (See Figure 3).
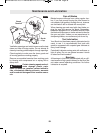
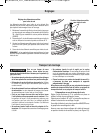
!
WARNING
!
WARNING
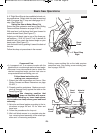
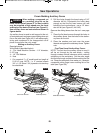
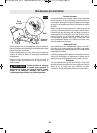
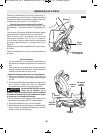
%2:<C6;4.;1;@A.996;49.12@
@@2:/9F